Practitioner's Guide
As a doctor, nurse, paramedic, or insurance agent, accessing and understanding your patient's clinical data is critical to providing the best care possible. This guide will help you understand how to use Ignite to access your patient's clinical data.
Accessing Ignite
Login to Ignite with your practitioner account. If you do not have an account, please contact your organization's Ignite administrator.
Creating patients and encounters
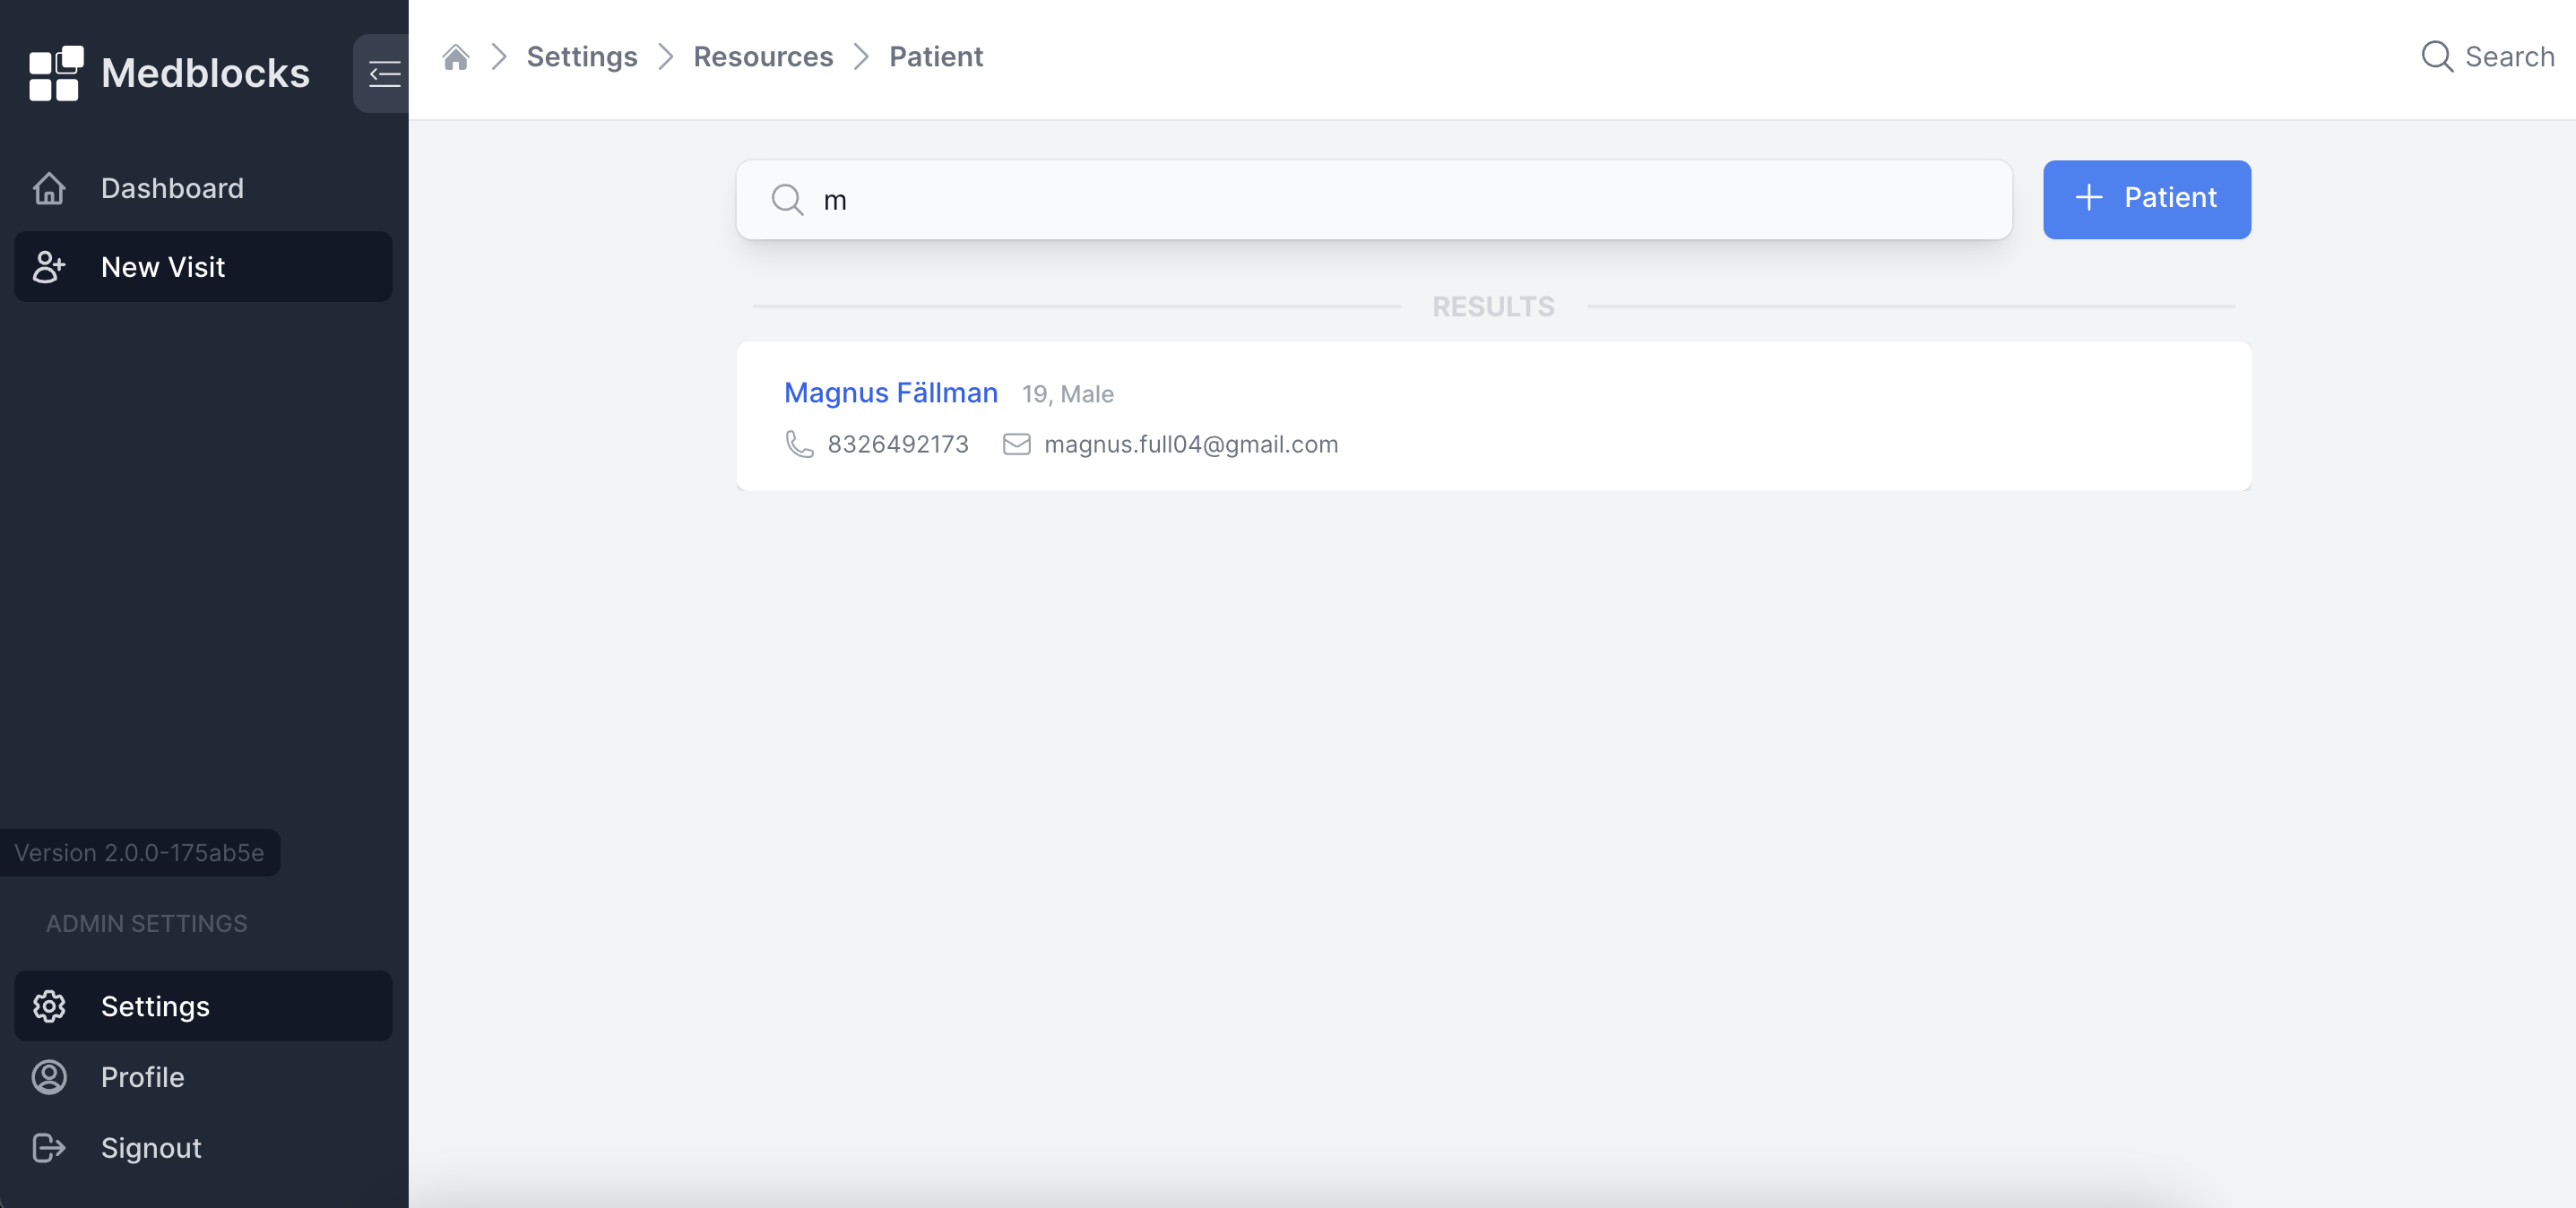
To initiate patient and encounter creation, our dashboard features a "New Visit" button. Clicking on it will direct you to the patient section, where you can search for an existing patient or add a new patient entry by clicking on "+ Patient" button.
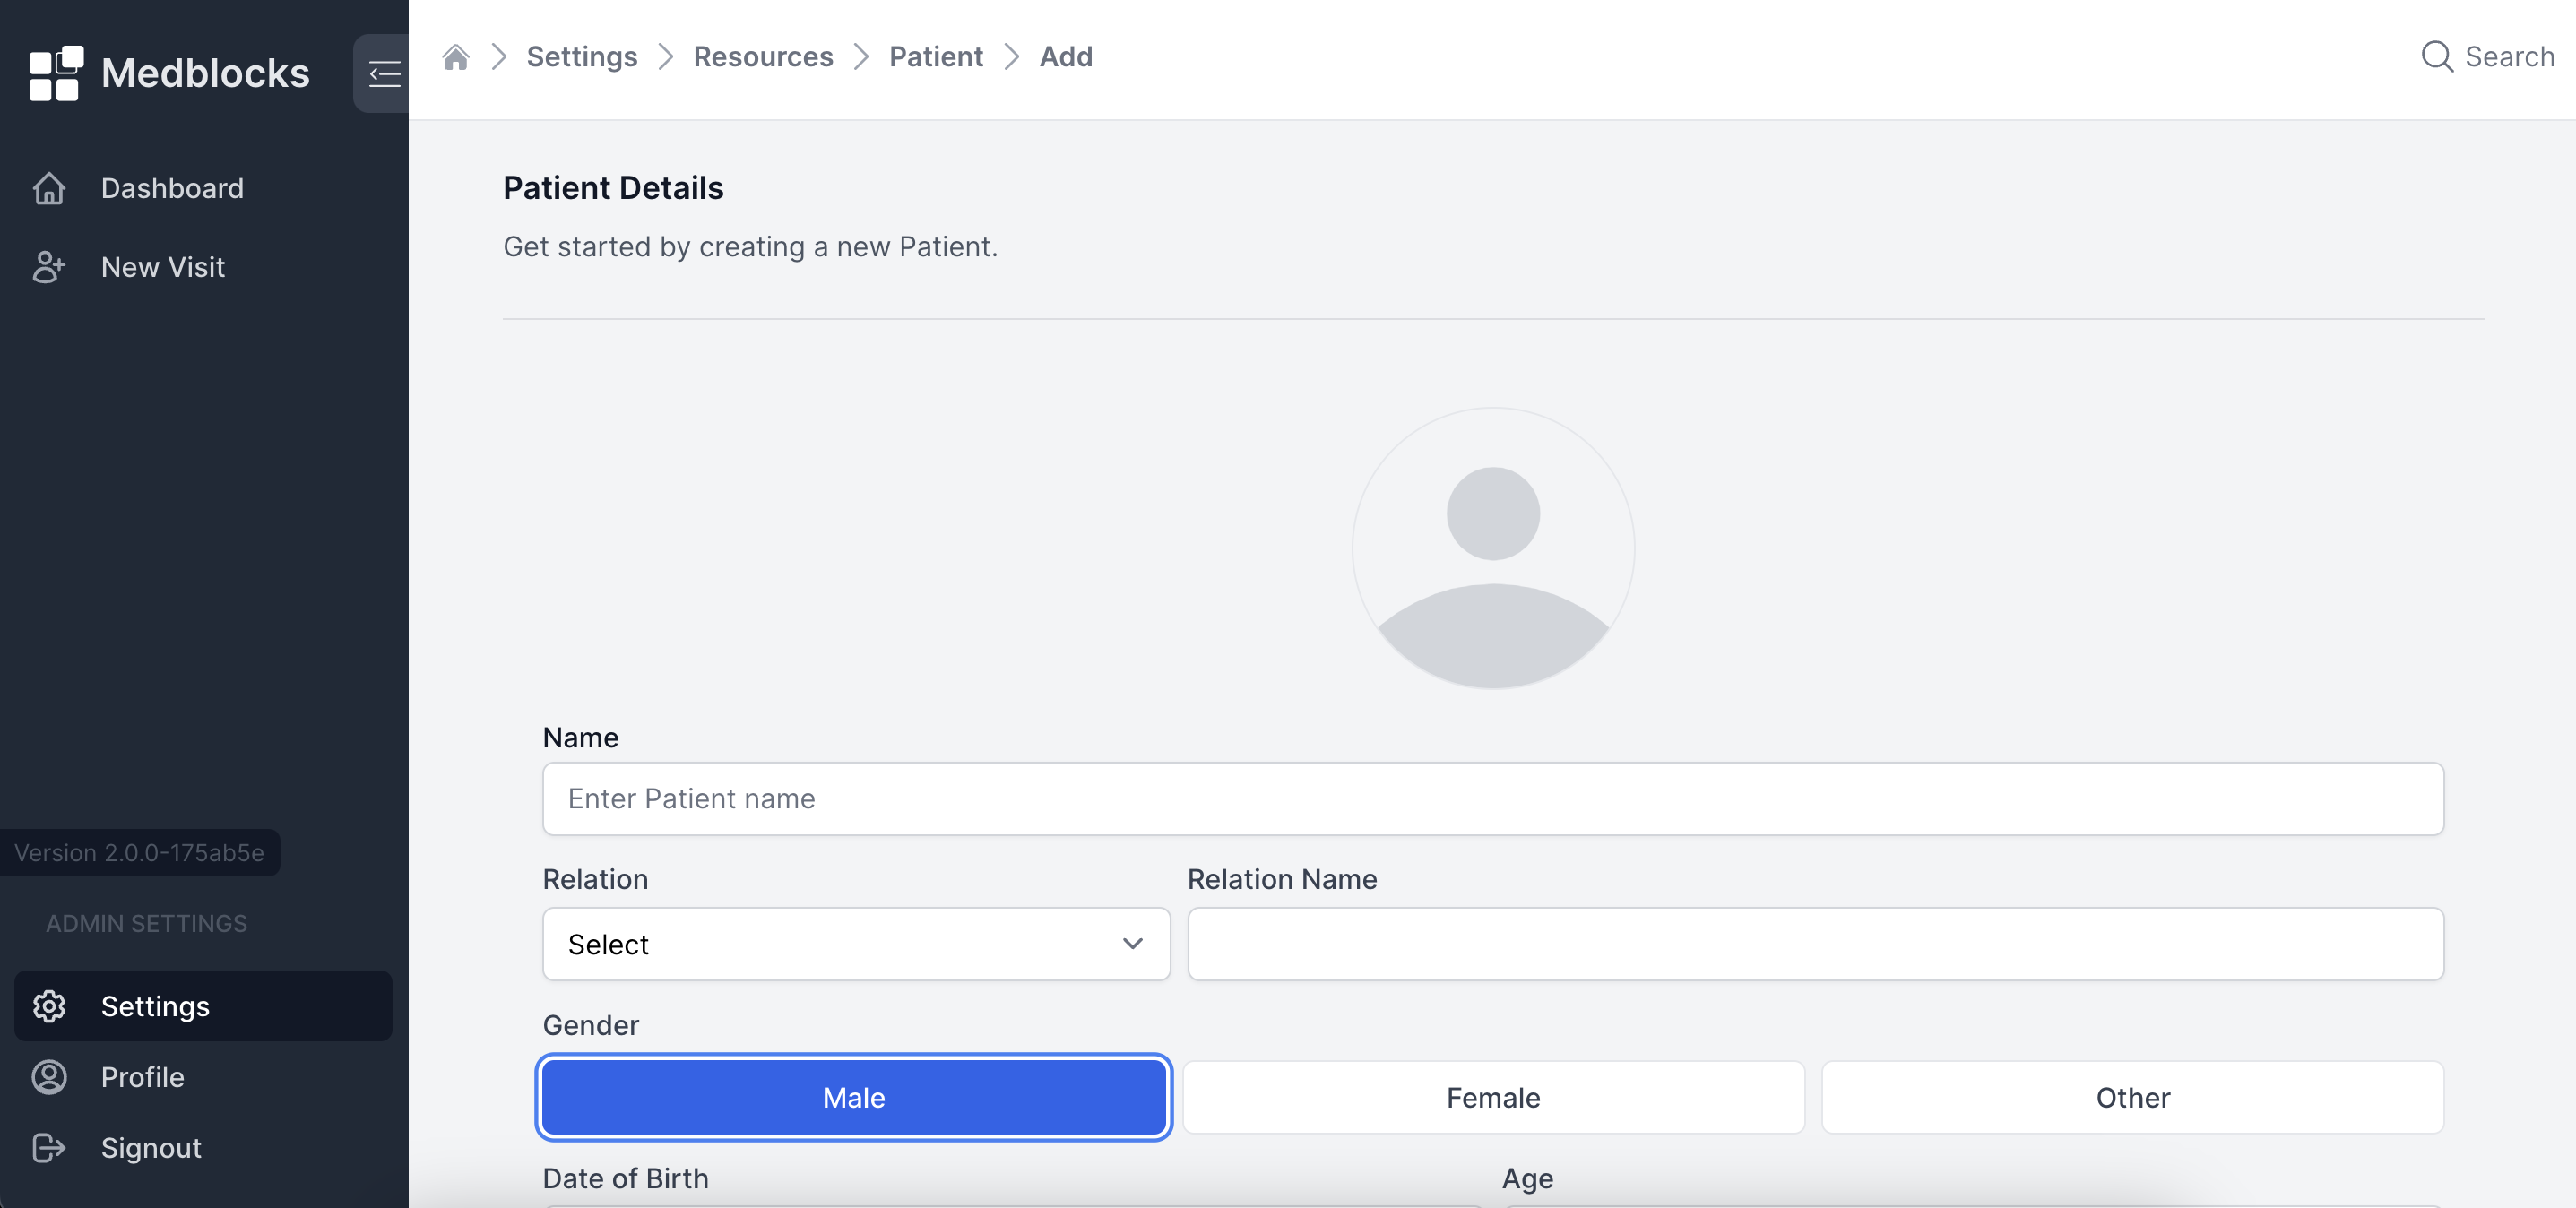
When you click on the "Add Patient" button, you'll be directed to a page where you can input the patient's basic information such as name, email, phone number, etc. After filling out the required details, click on the "Create" button located at the bottom of the page to finalize the patient creation process.
After successfully creating a patient, you will be redirected to a page where you can edit the patient's details, add encounters, and print the patient's information. Additionally, if the patient has no previous encounters, you can also delete the patient entry from this page.
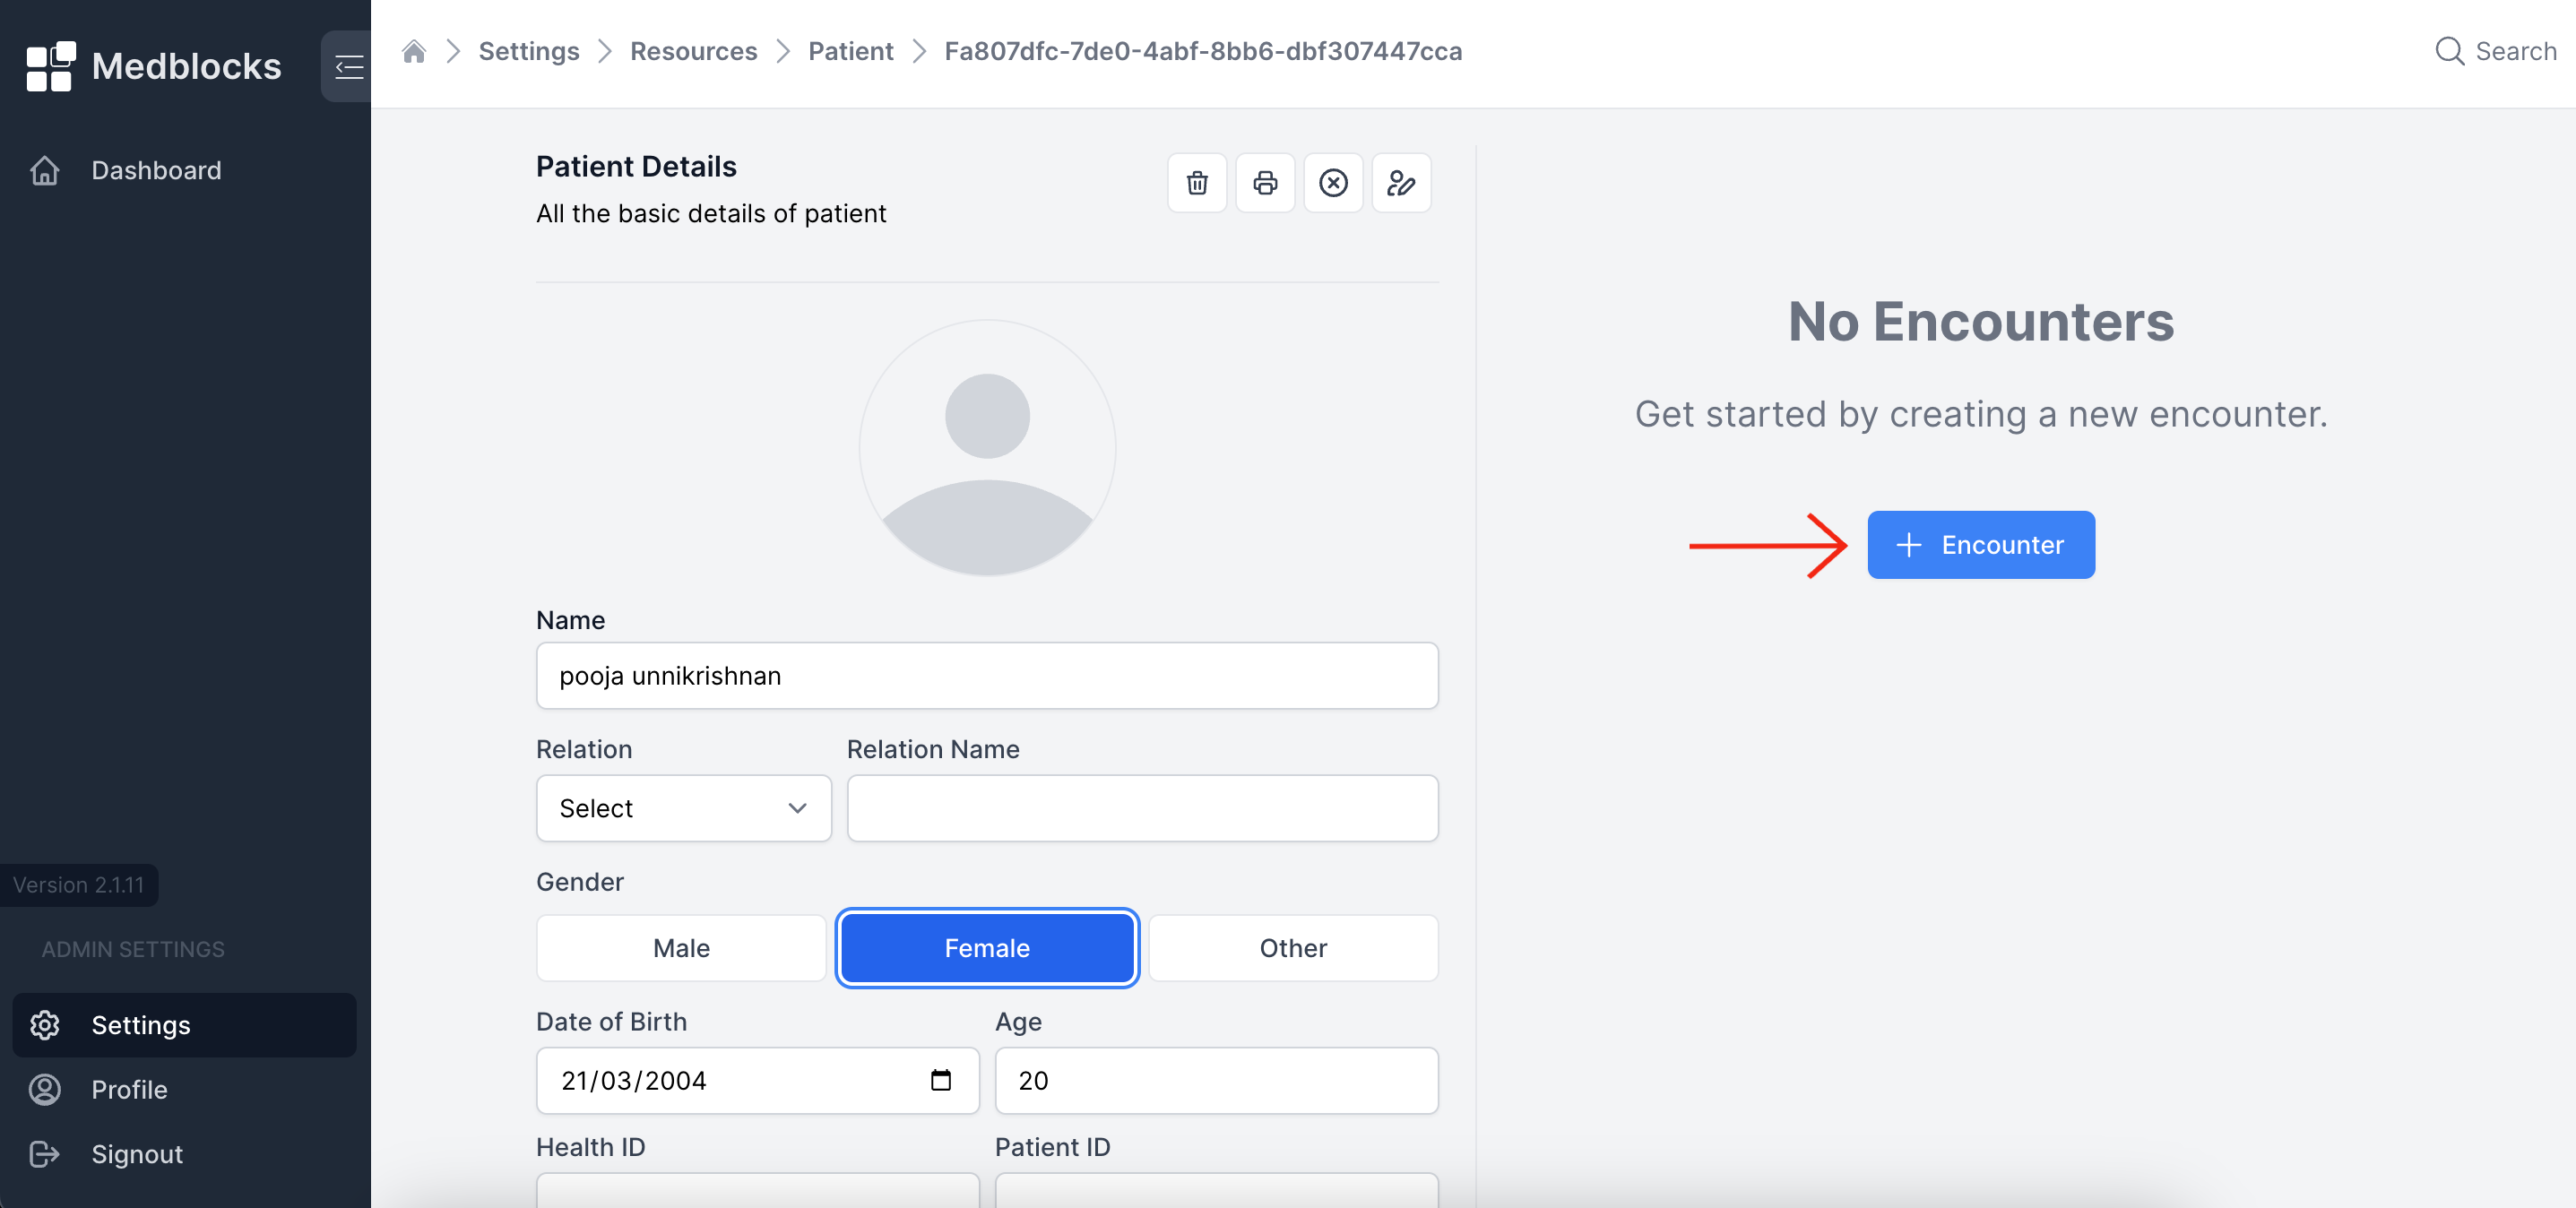
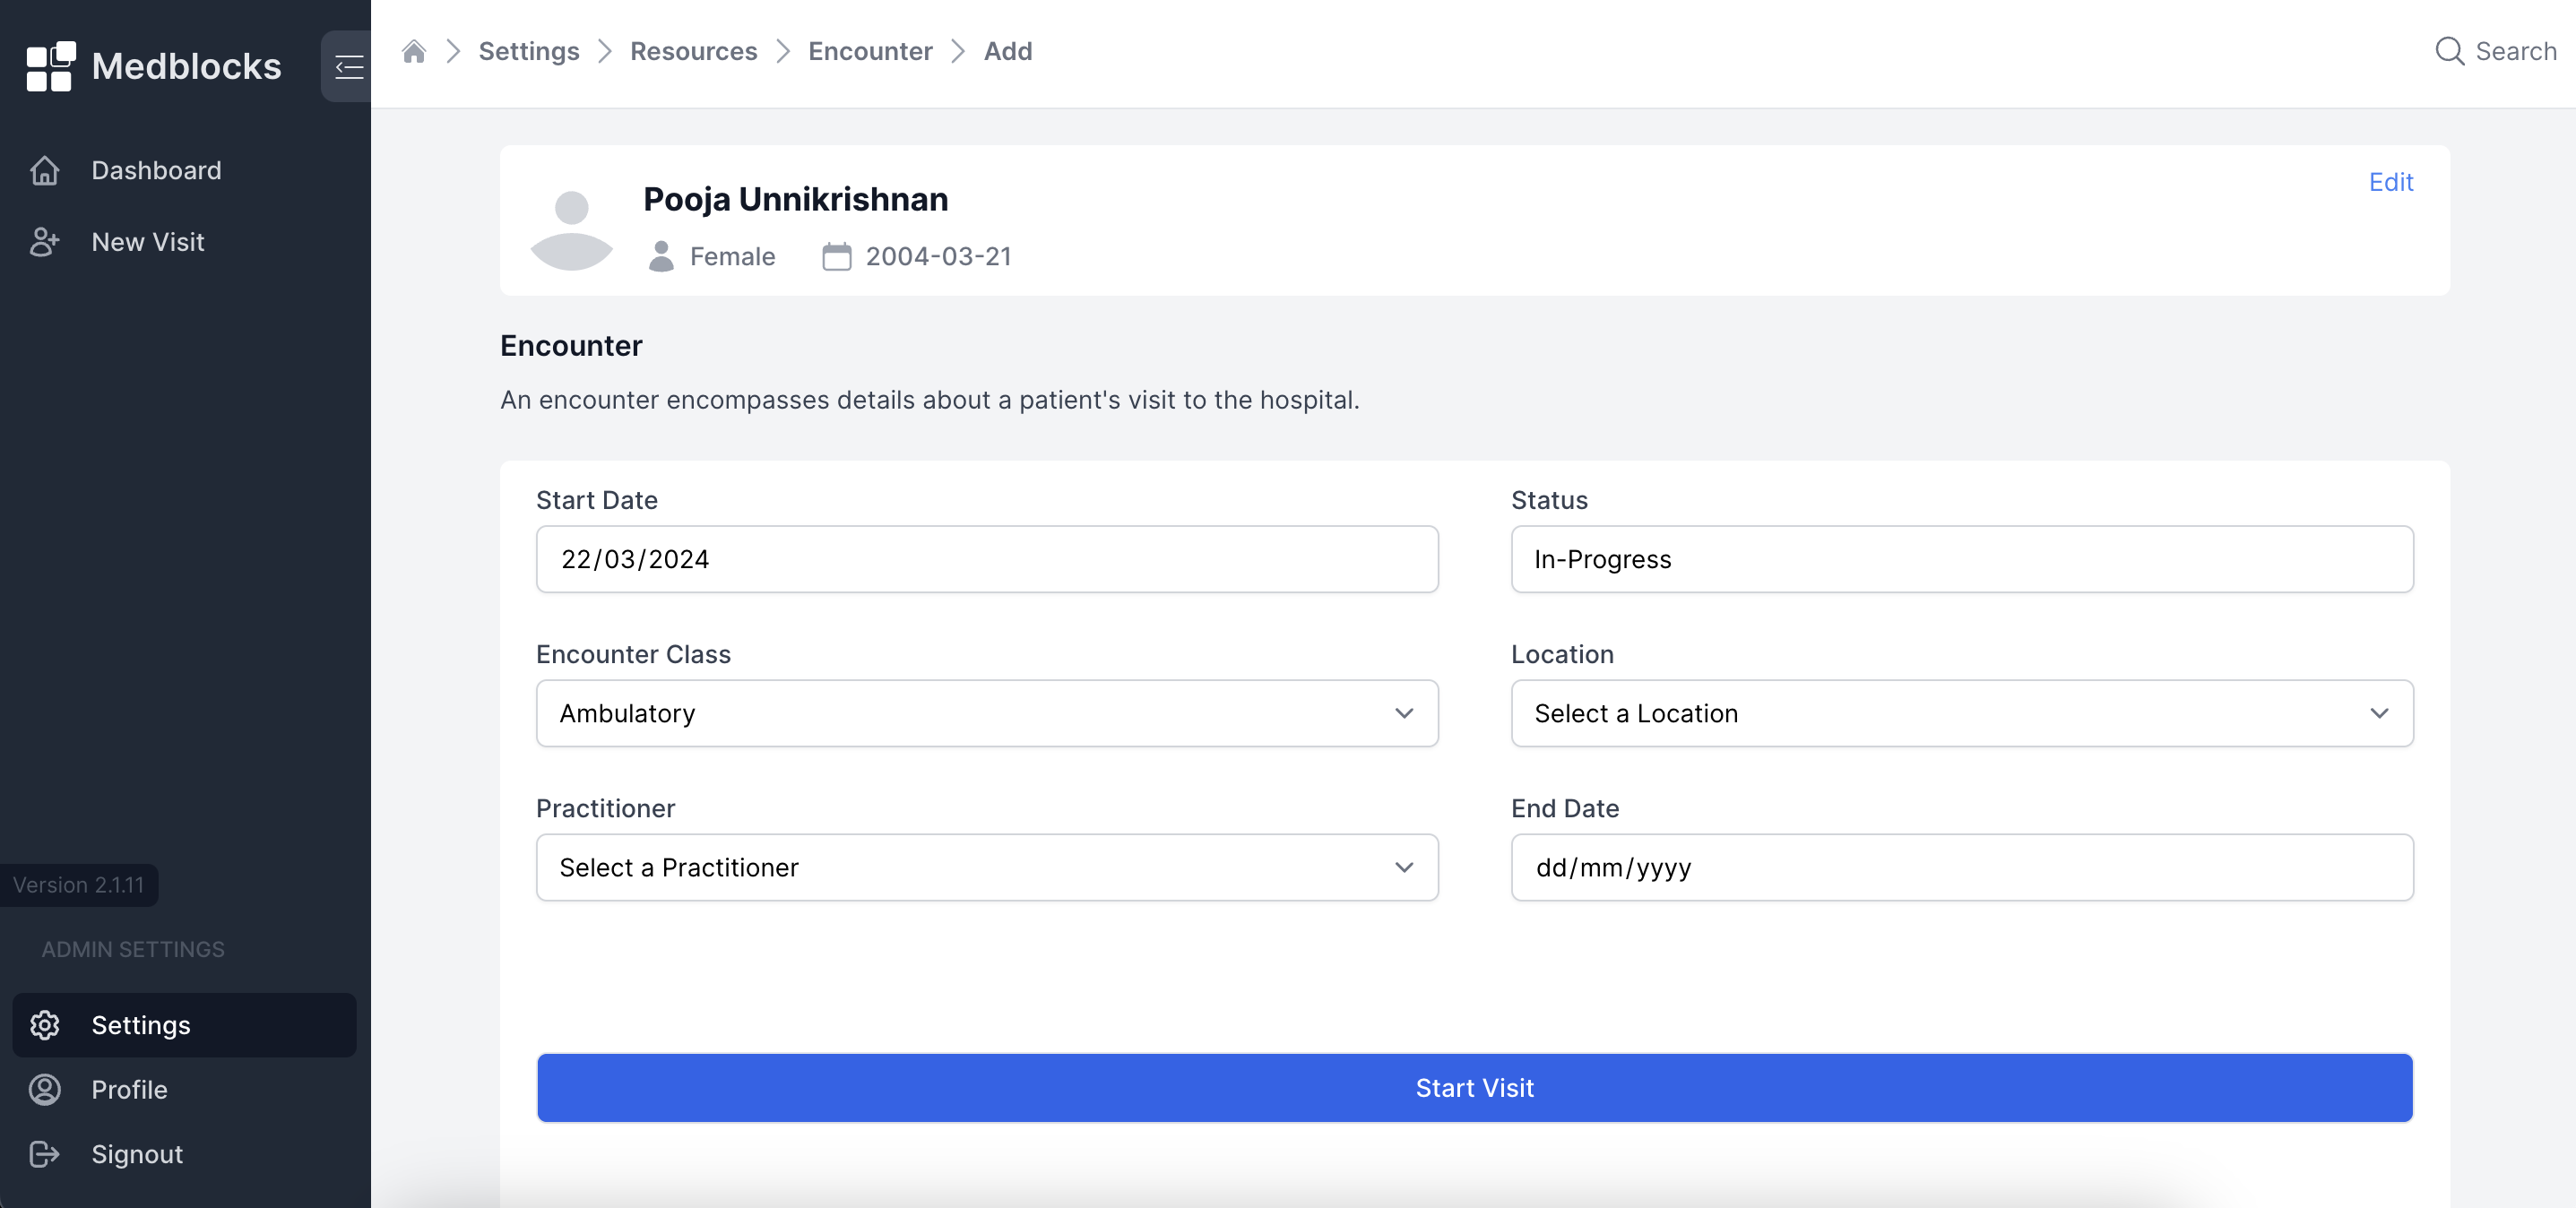
To proceed with creating an encounter for this patient, you can simply click on the "Add Encounter" button. This action will enable you to specify the encounter class, location, and assigned practitioner for the encounter. Further clicking on "Start Visit" an encounter is successfully created for that patient and you will be redirected back to home page.
Dashboard
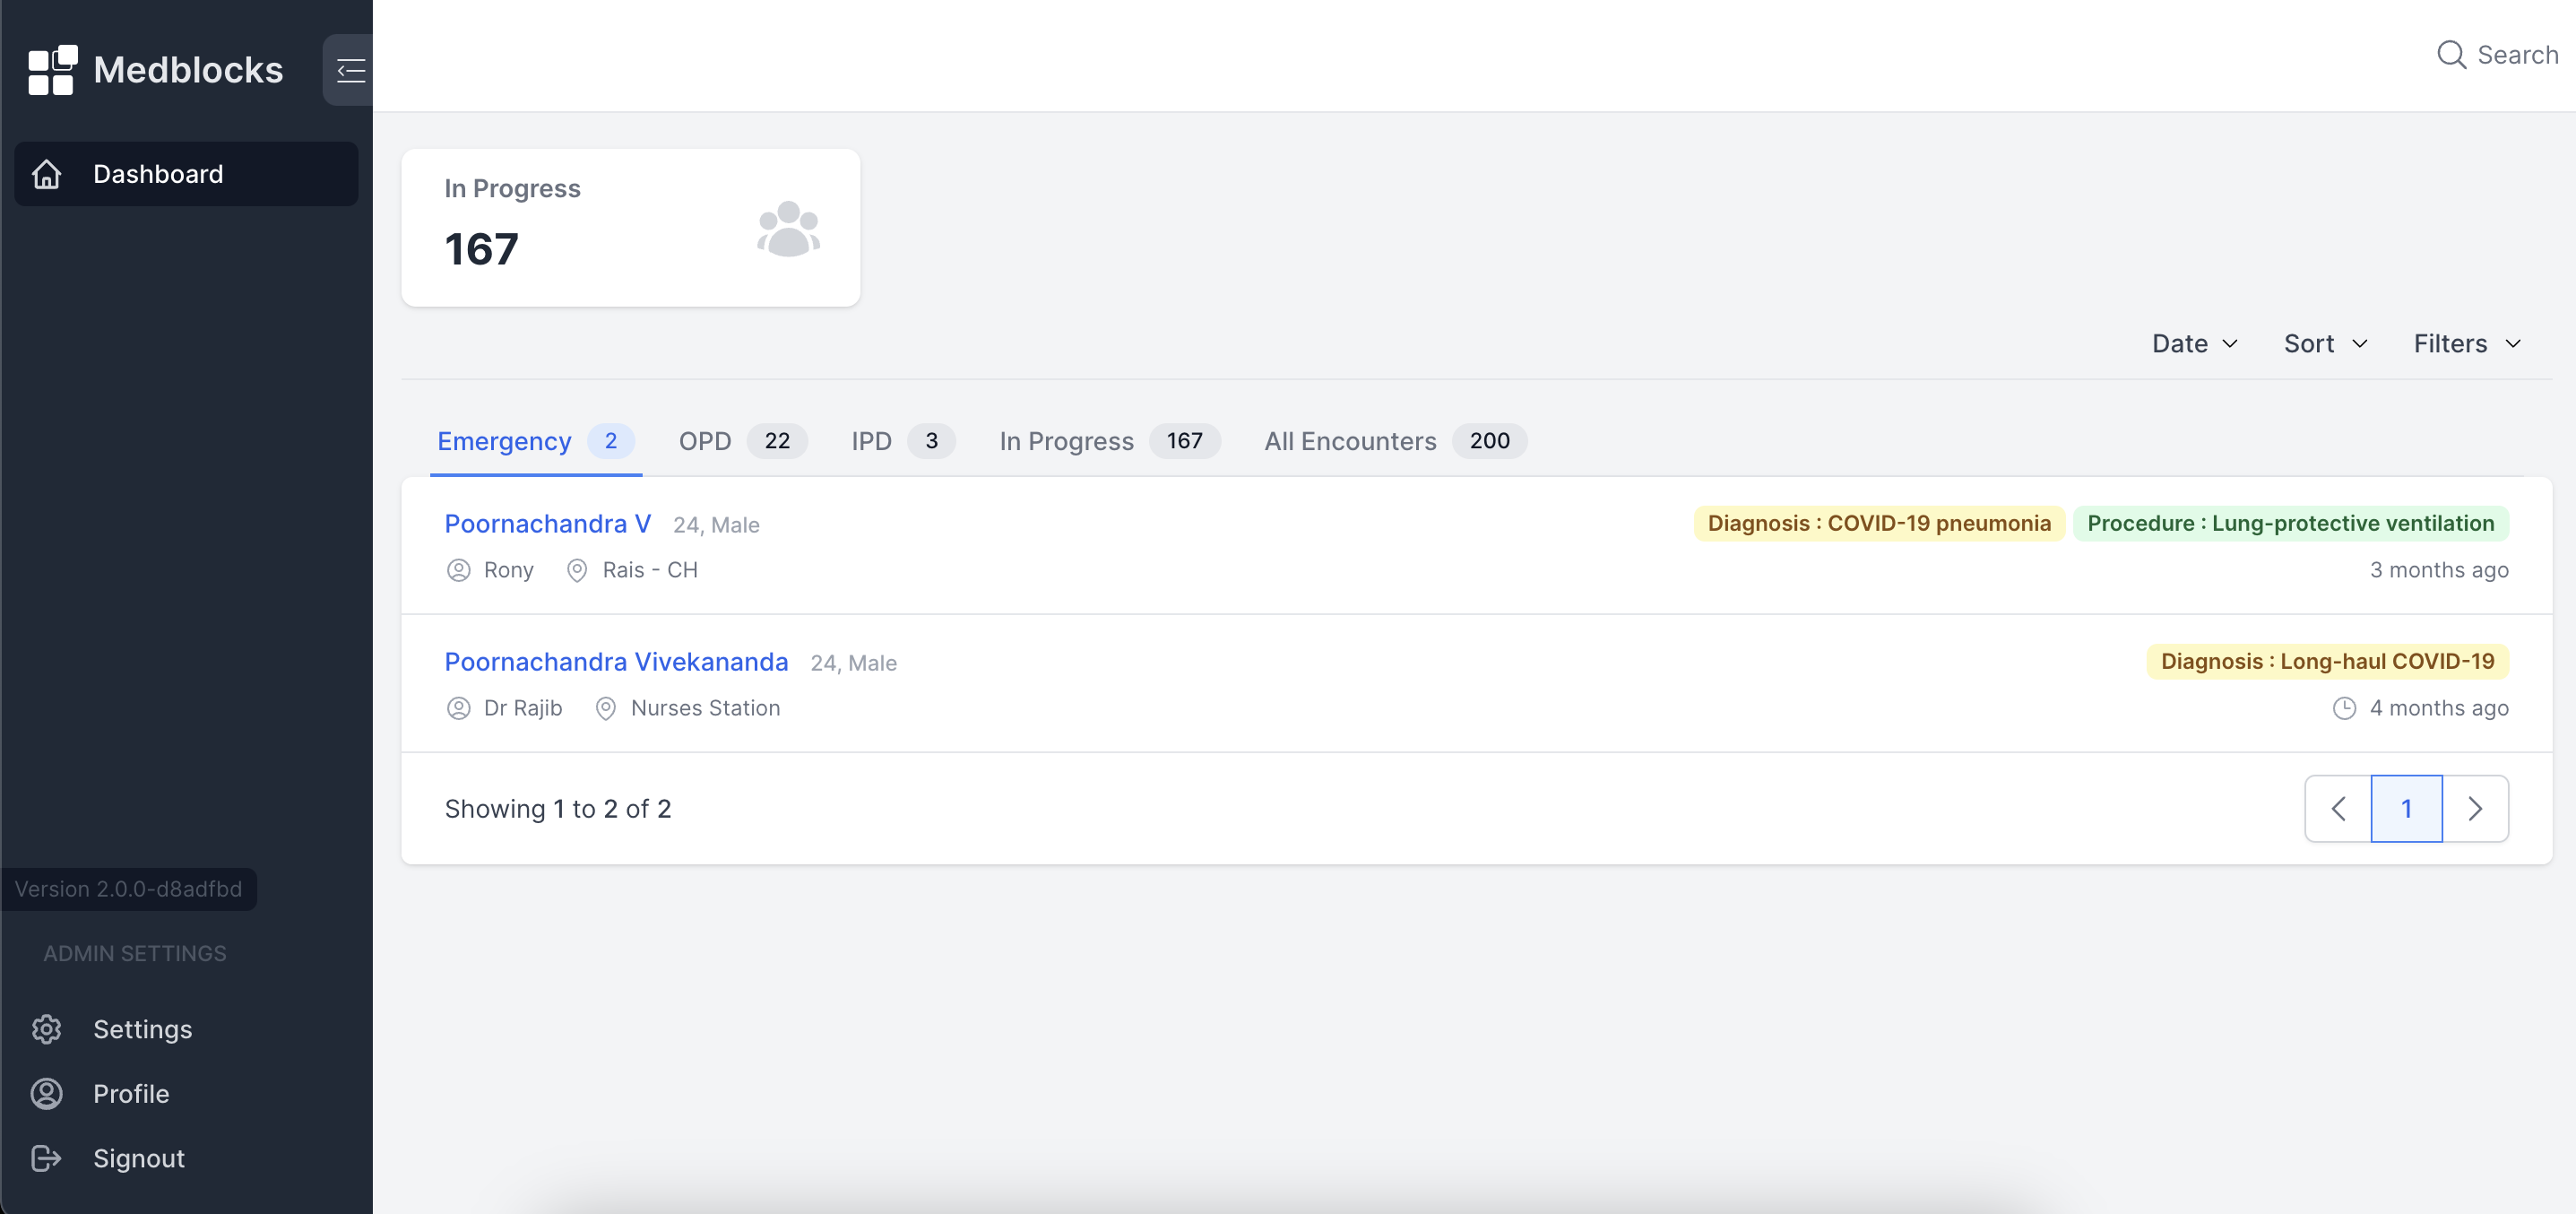
The image displayed above provides an overview of the Ignite dashboard. The patient list is organized based on encounter status and encounter class. The dashboard offers four primary sorting methods for organizing your patient list:
- Statistics
- Filtering
- Sorting
- Tabs
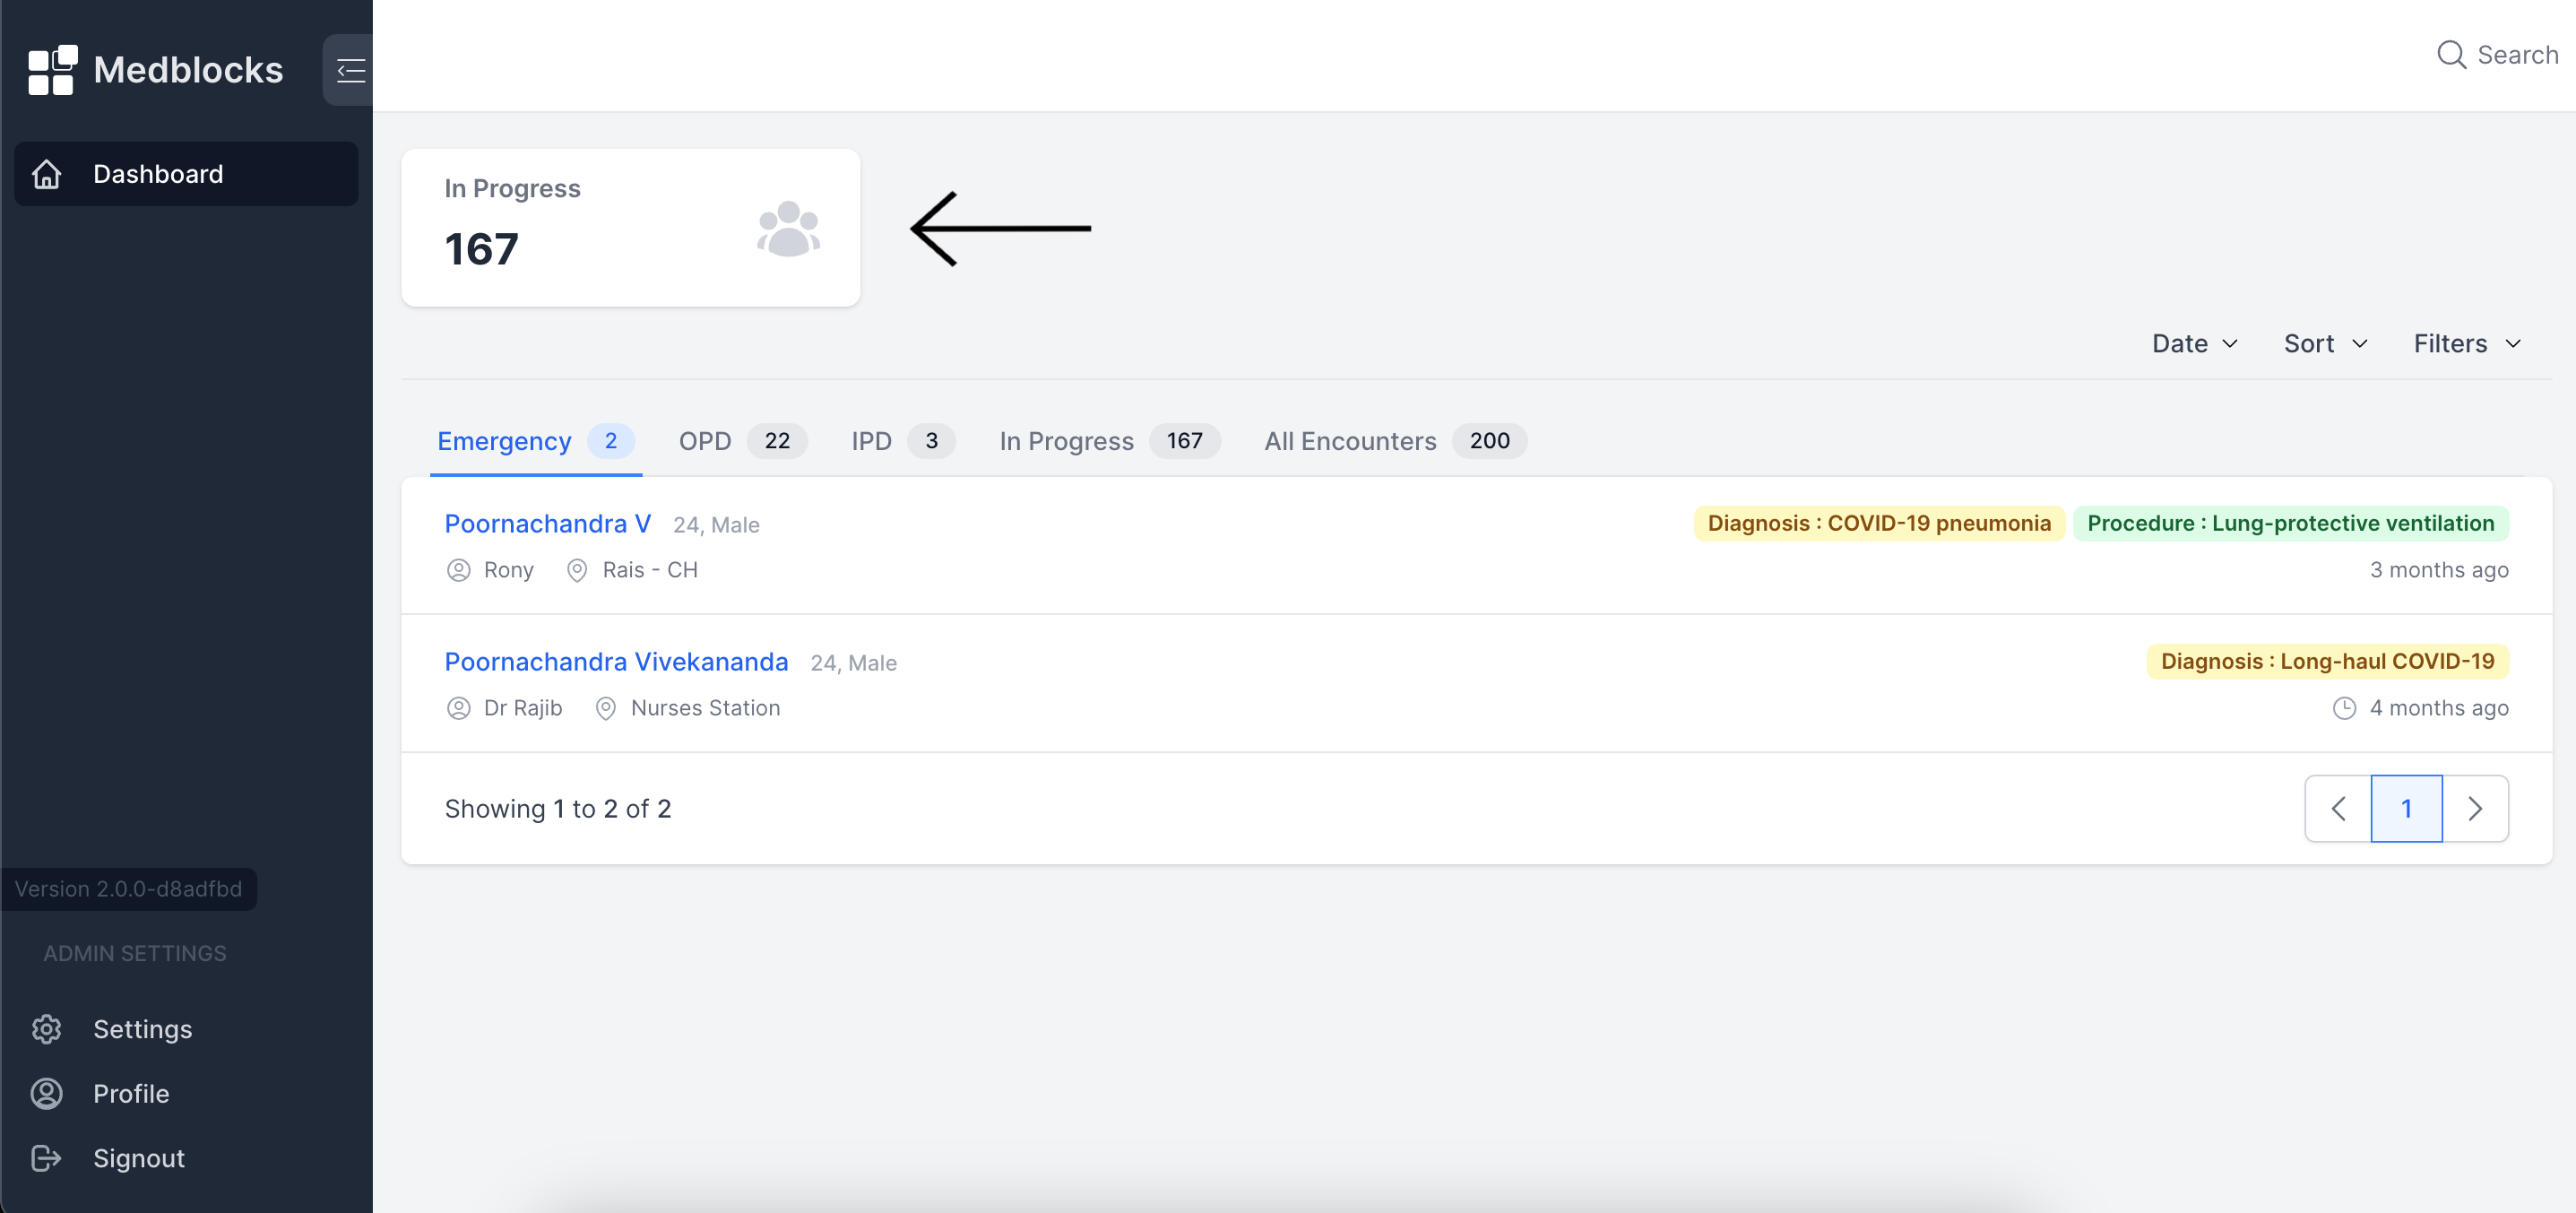
Statistics
By leveraging the status of patient visits, whether they are ongoing or completed, we can display statistics at the dashboard's top using cards, showcasing the current number of users in each respective status category.
Filtering
Filtering is enabled via a dropdown menu within the dashboard interface. Users can filter patient data based on the status of encounter.
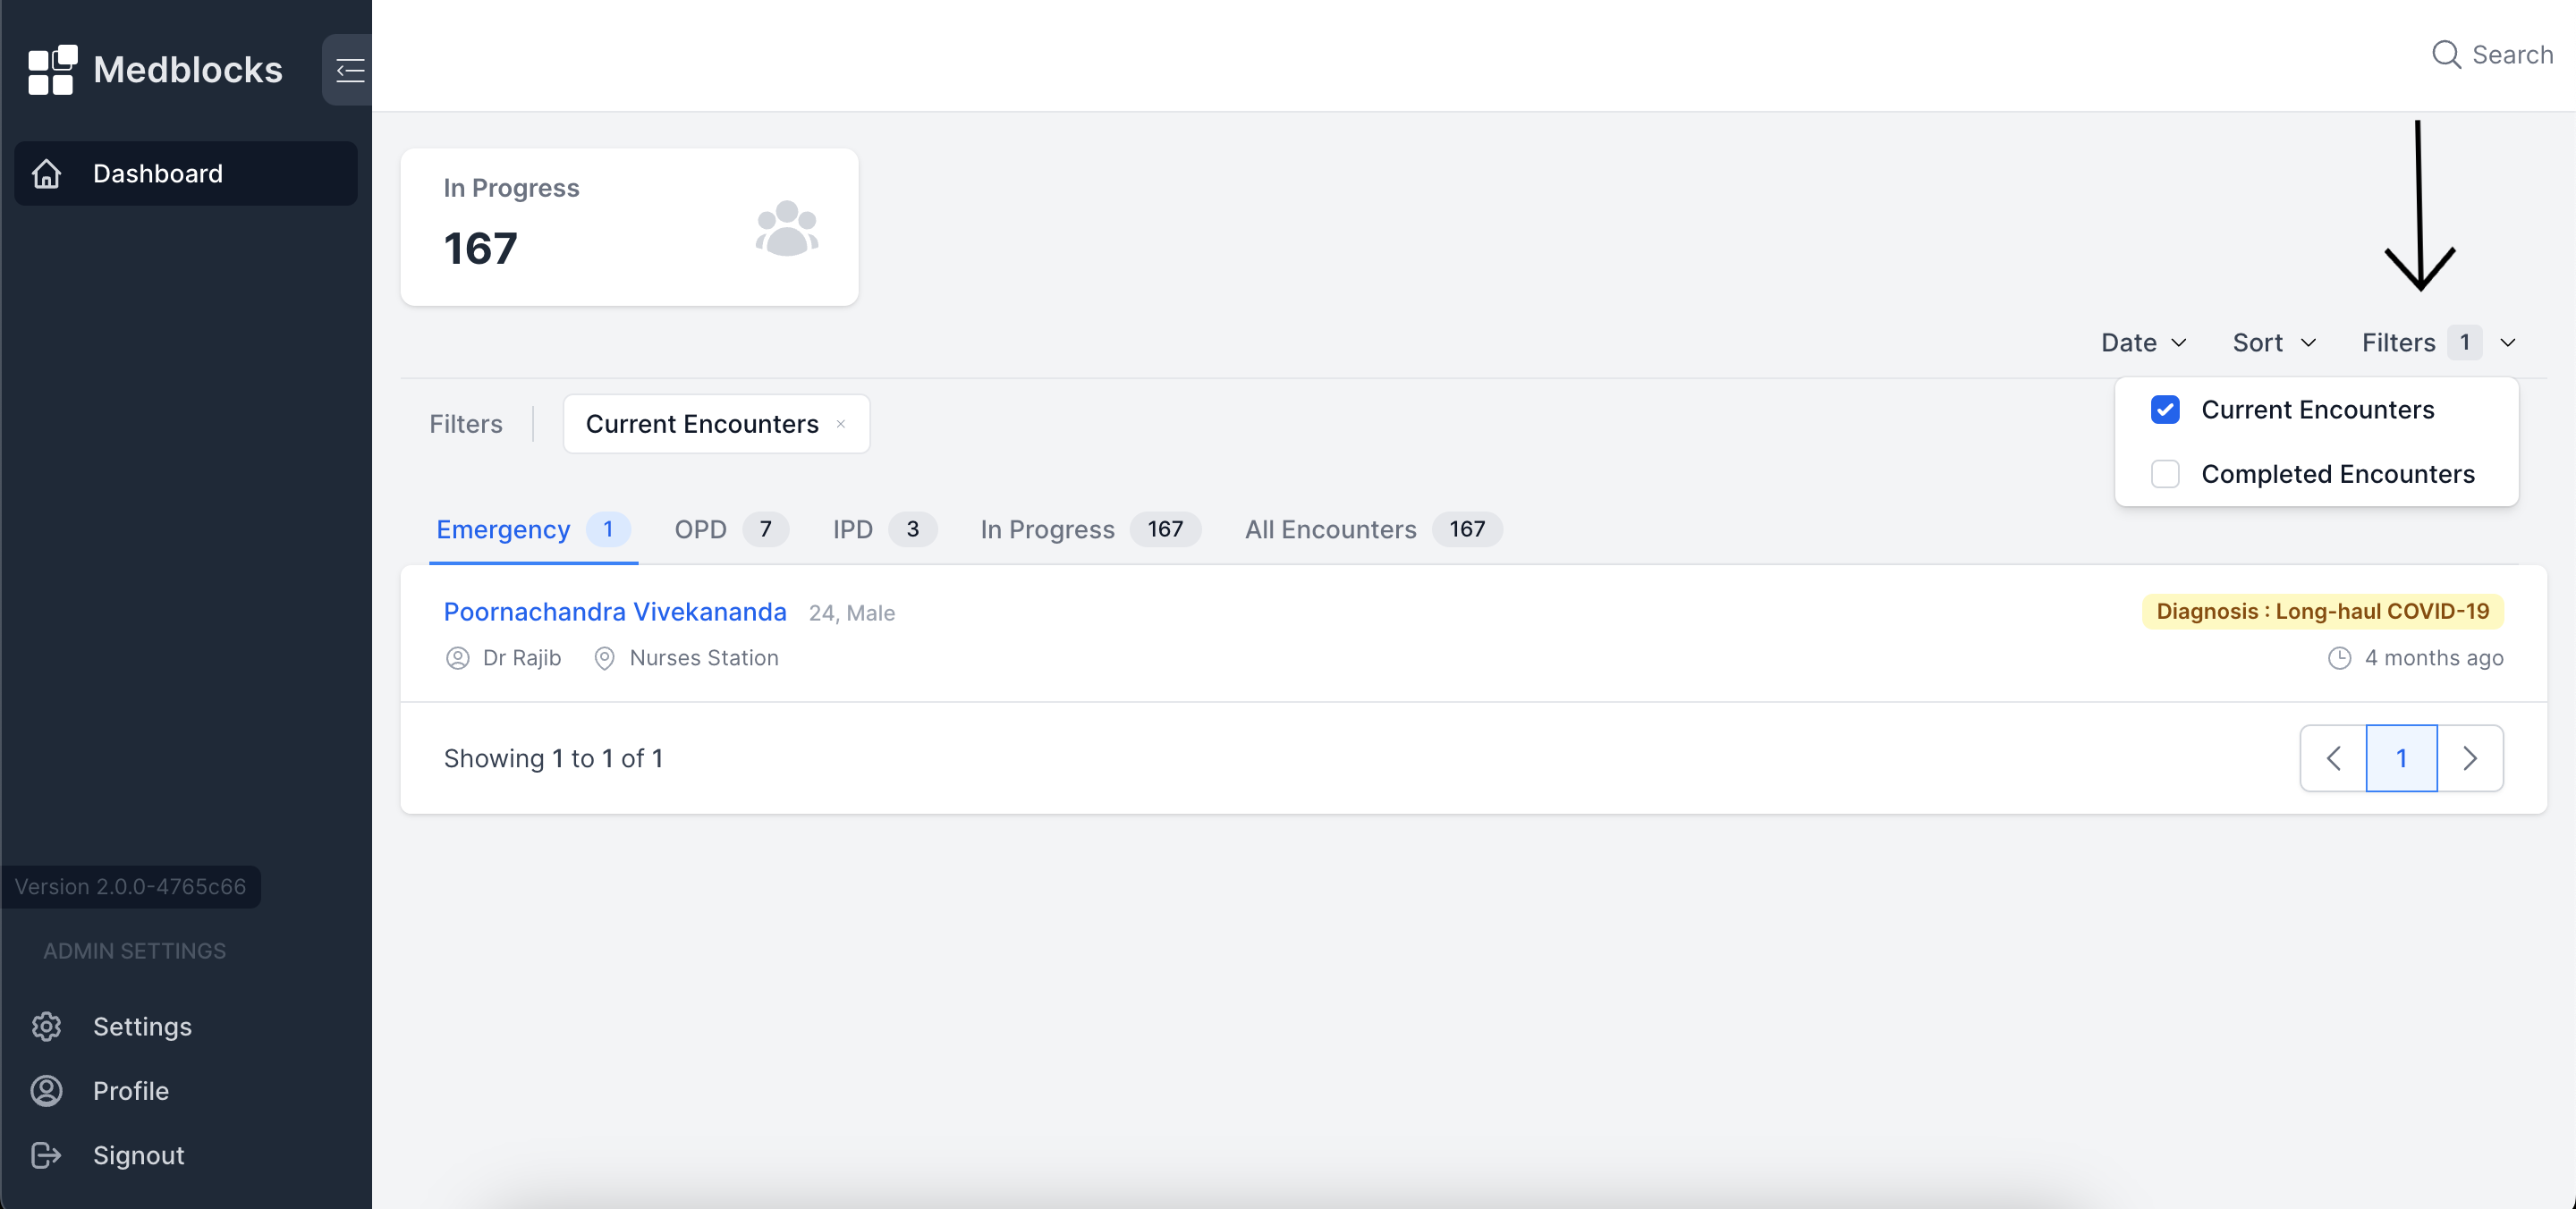
Users can select checkboxes corresponding to various encounter statuses to filter and display patient records based on the selected field.
Sorting
Sorting can be performed based on the date and also allowing to sort based on both newest and oldest encounters.
Sorting with date
For sorting by date, you can specify the start and end dates based on the desired data range. This action will refine the list of patient encounters to those that occurred within that specified time interval.

Sorting based on newest and oldest data
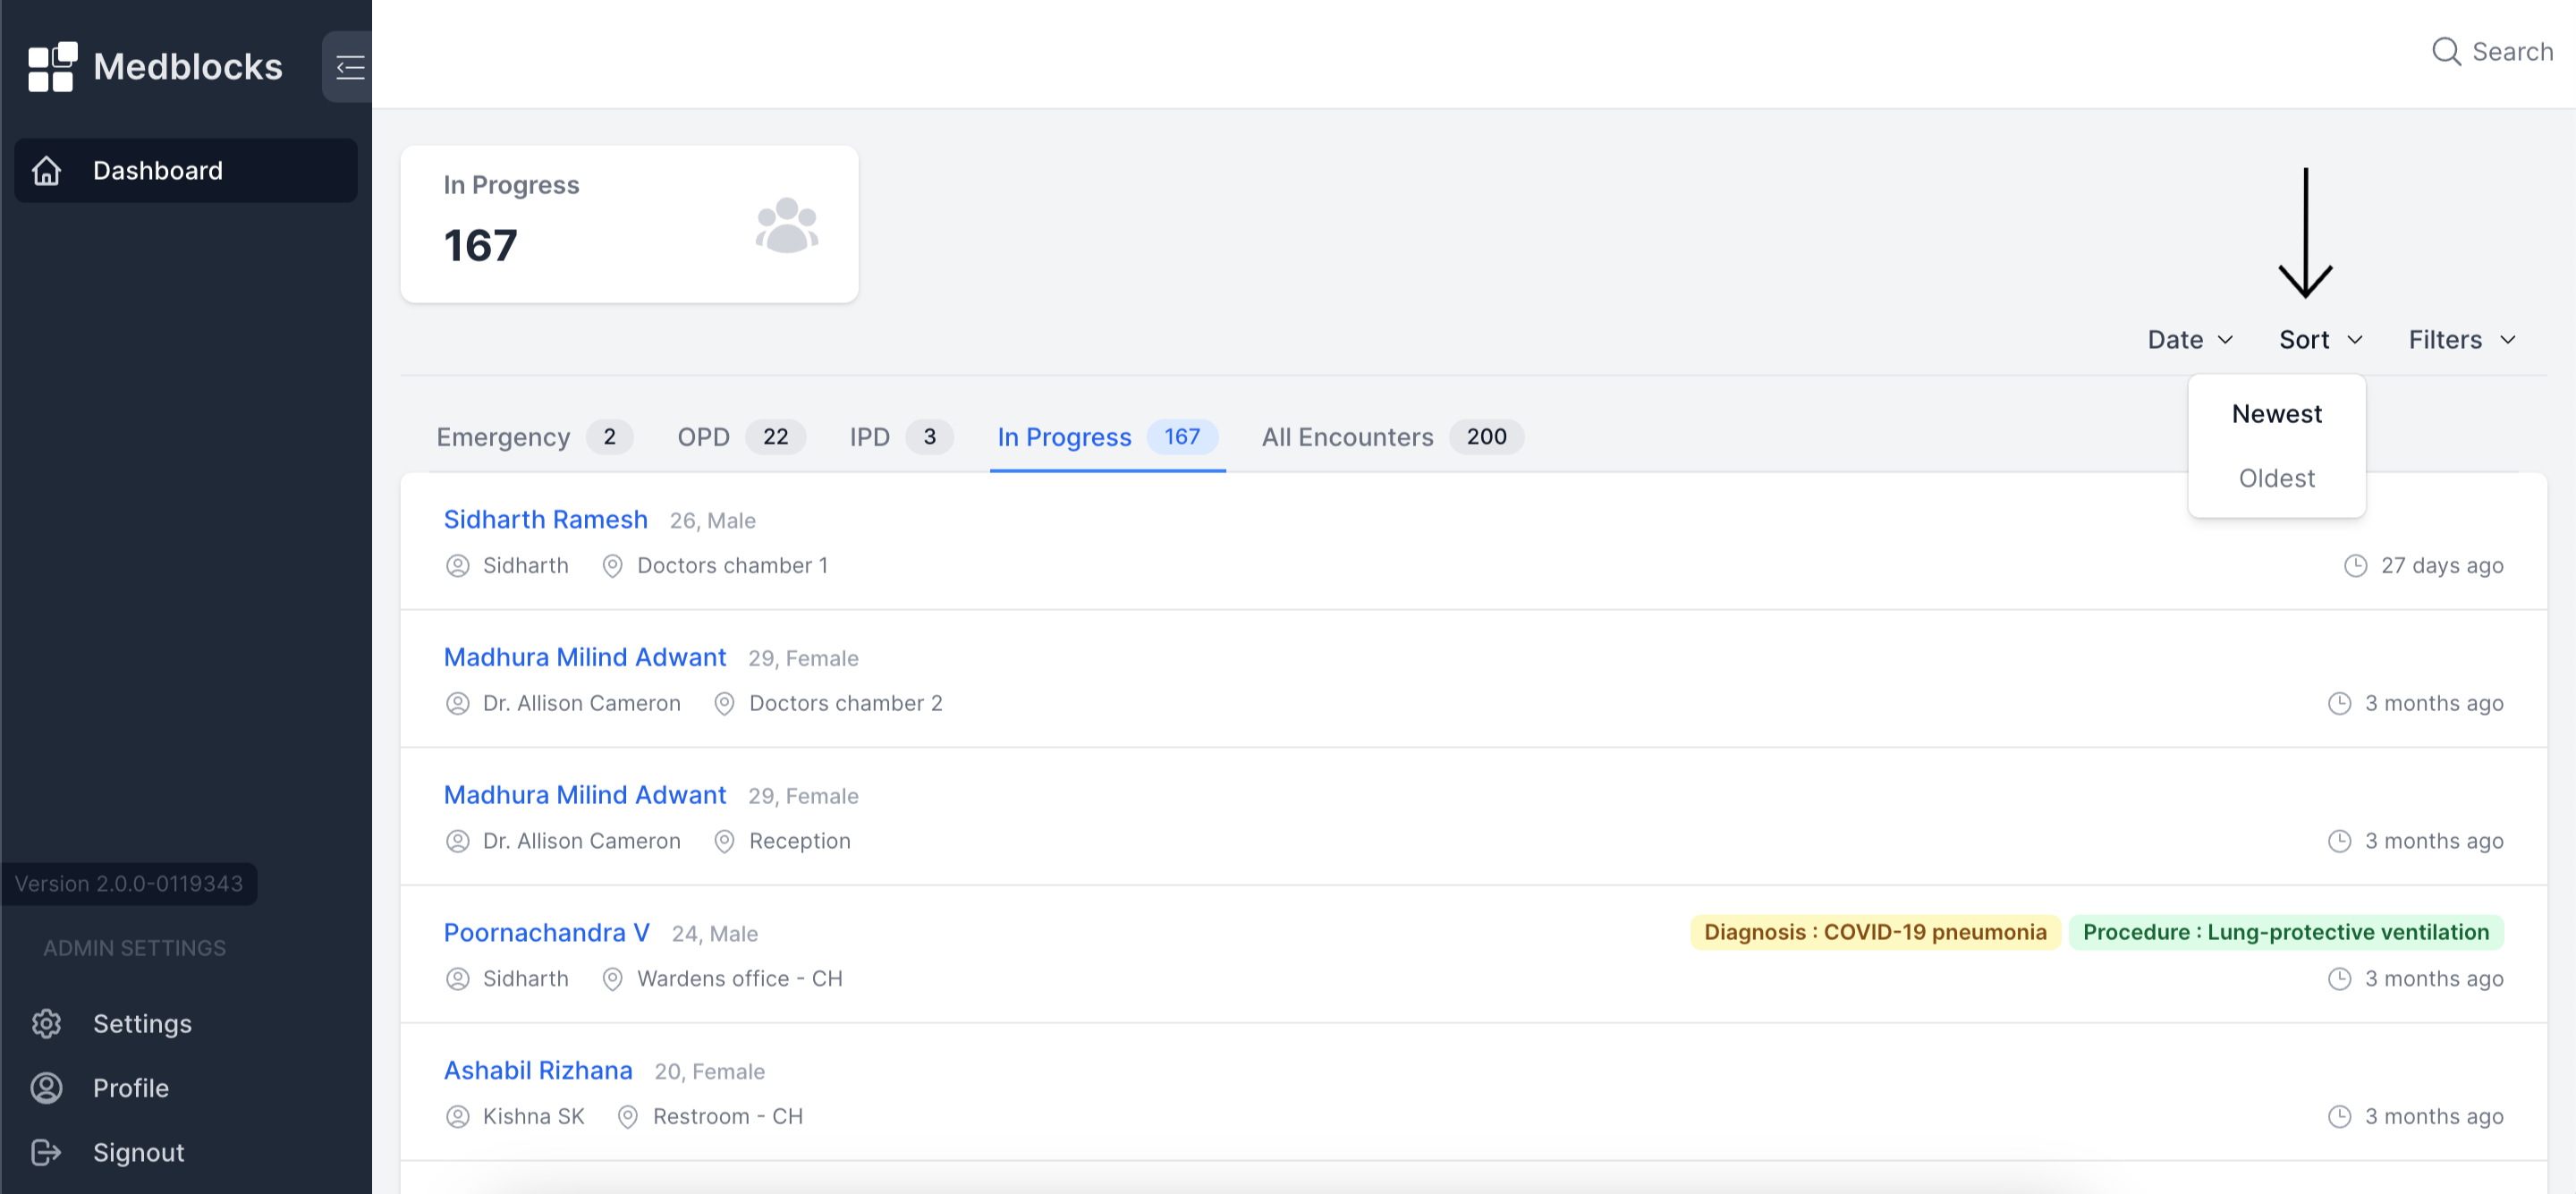
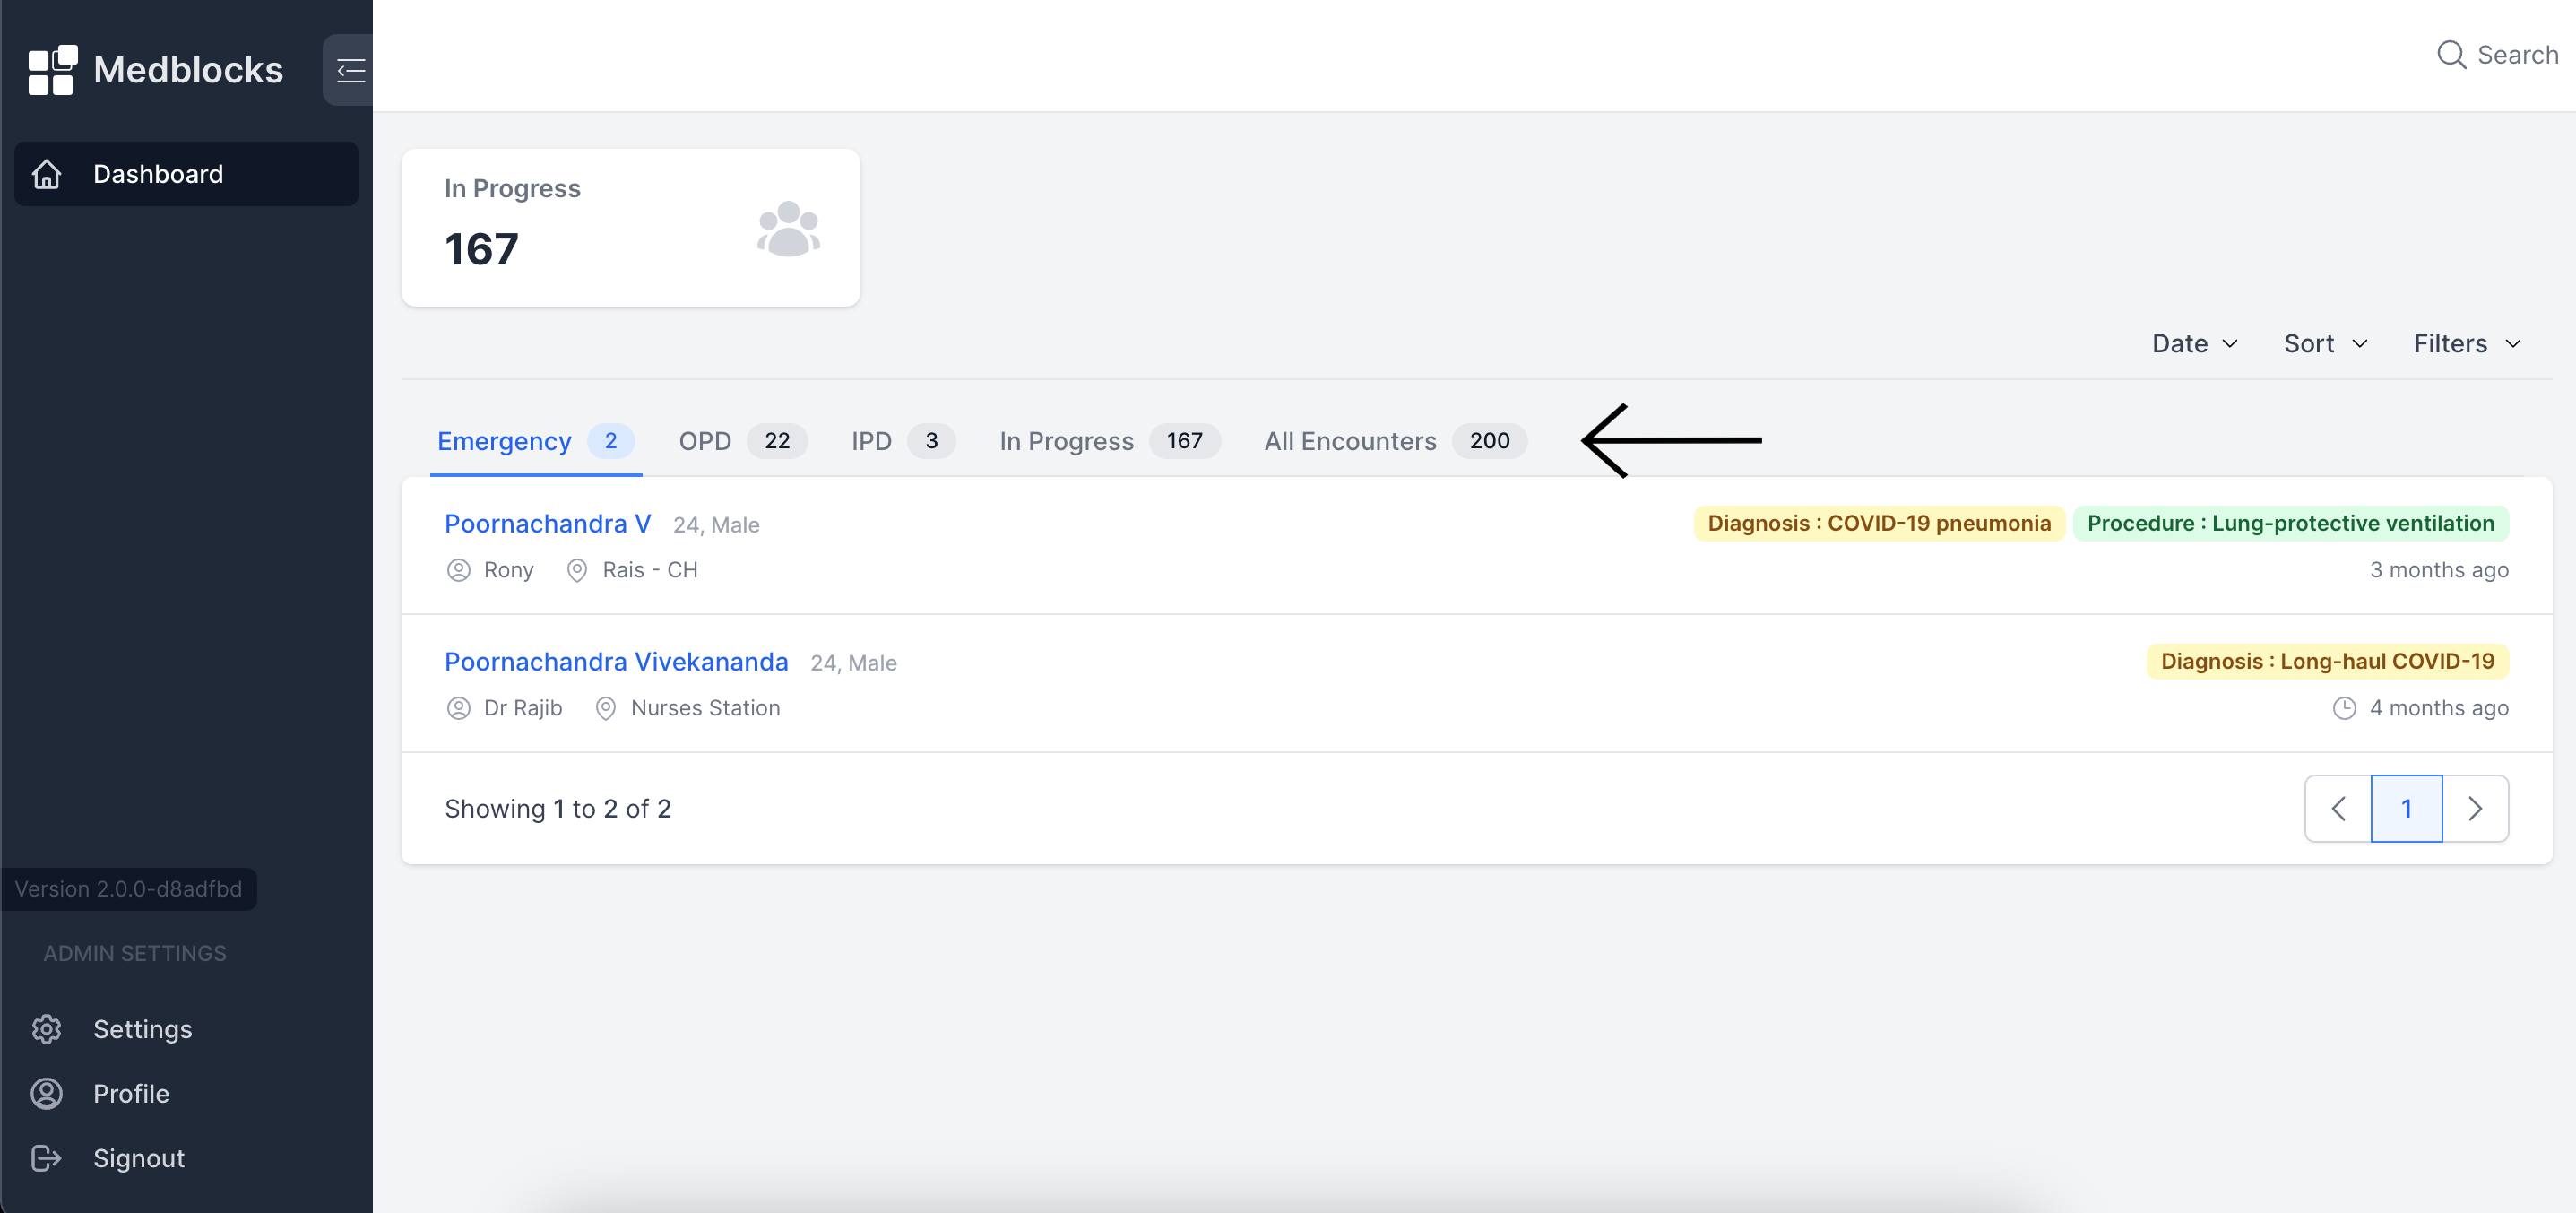
Tabs
Tabs can be created according to the encounter class, such as inpatient, ambulatory, virtual, or emergency. Each of these categories is represented as separate tabs with patient counts displayed as badges.
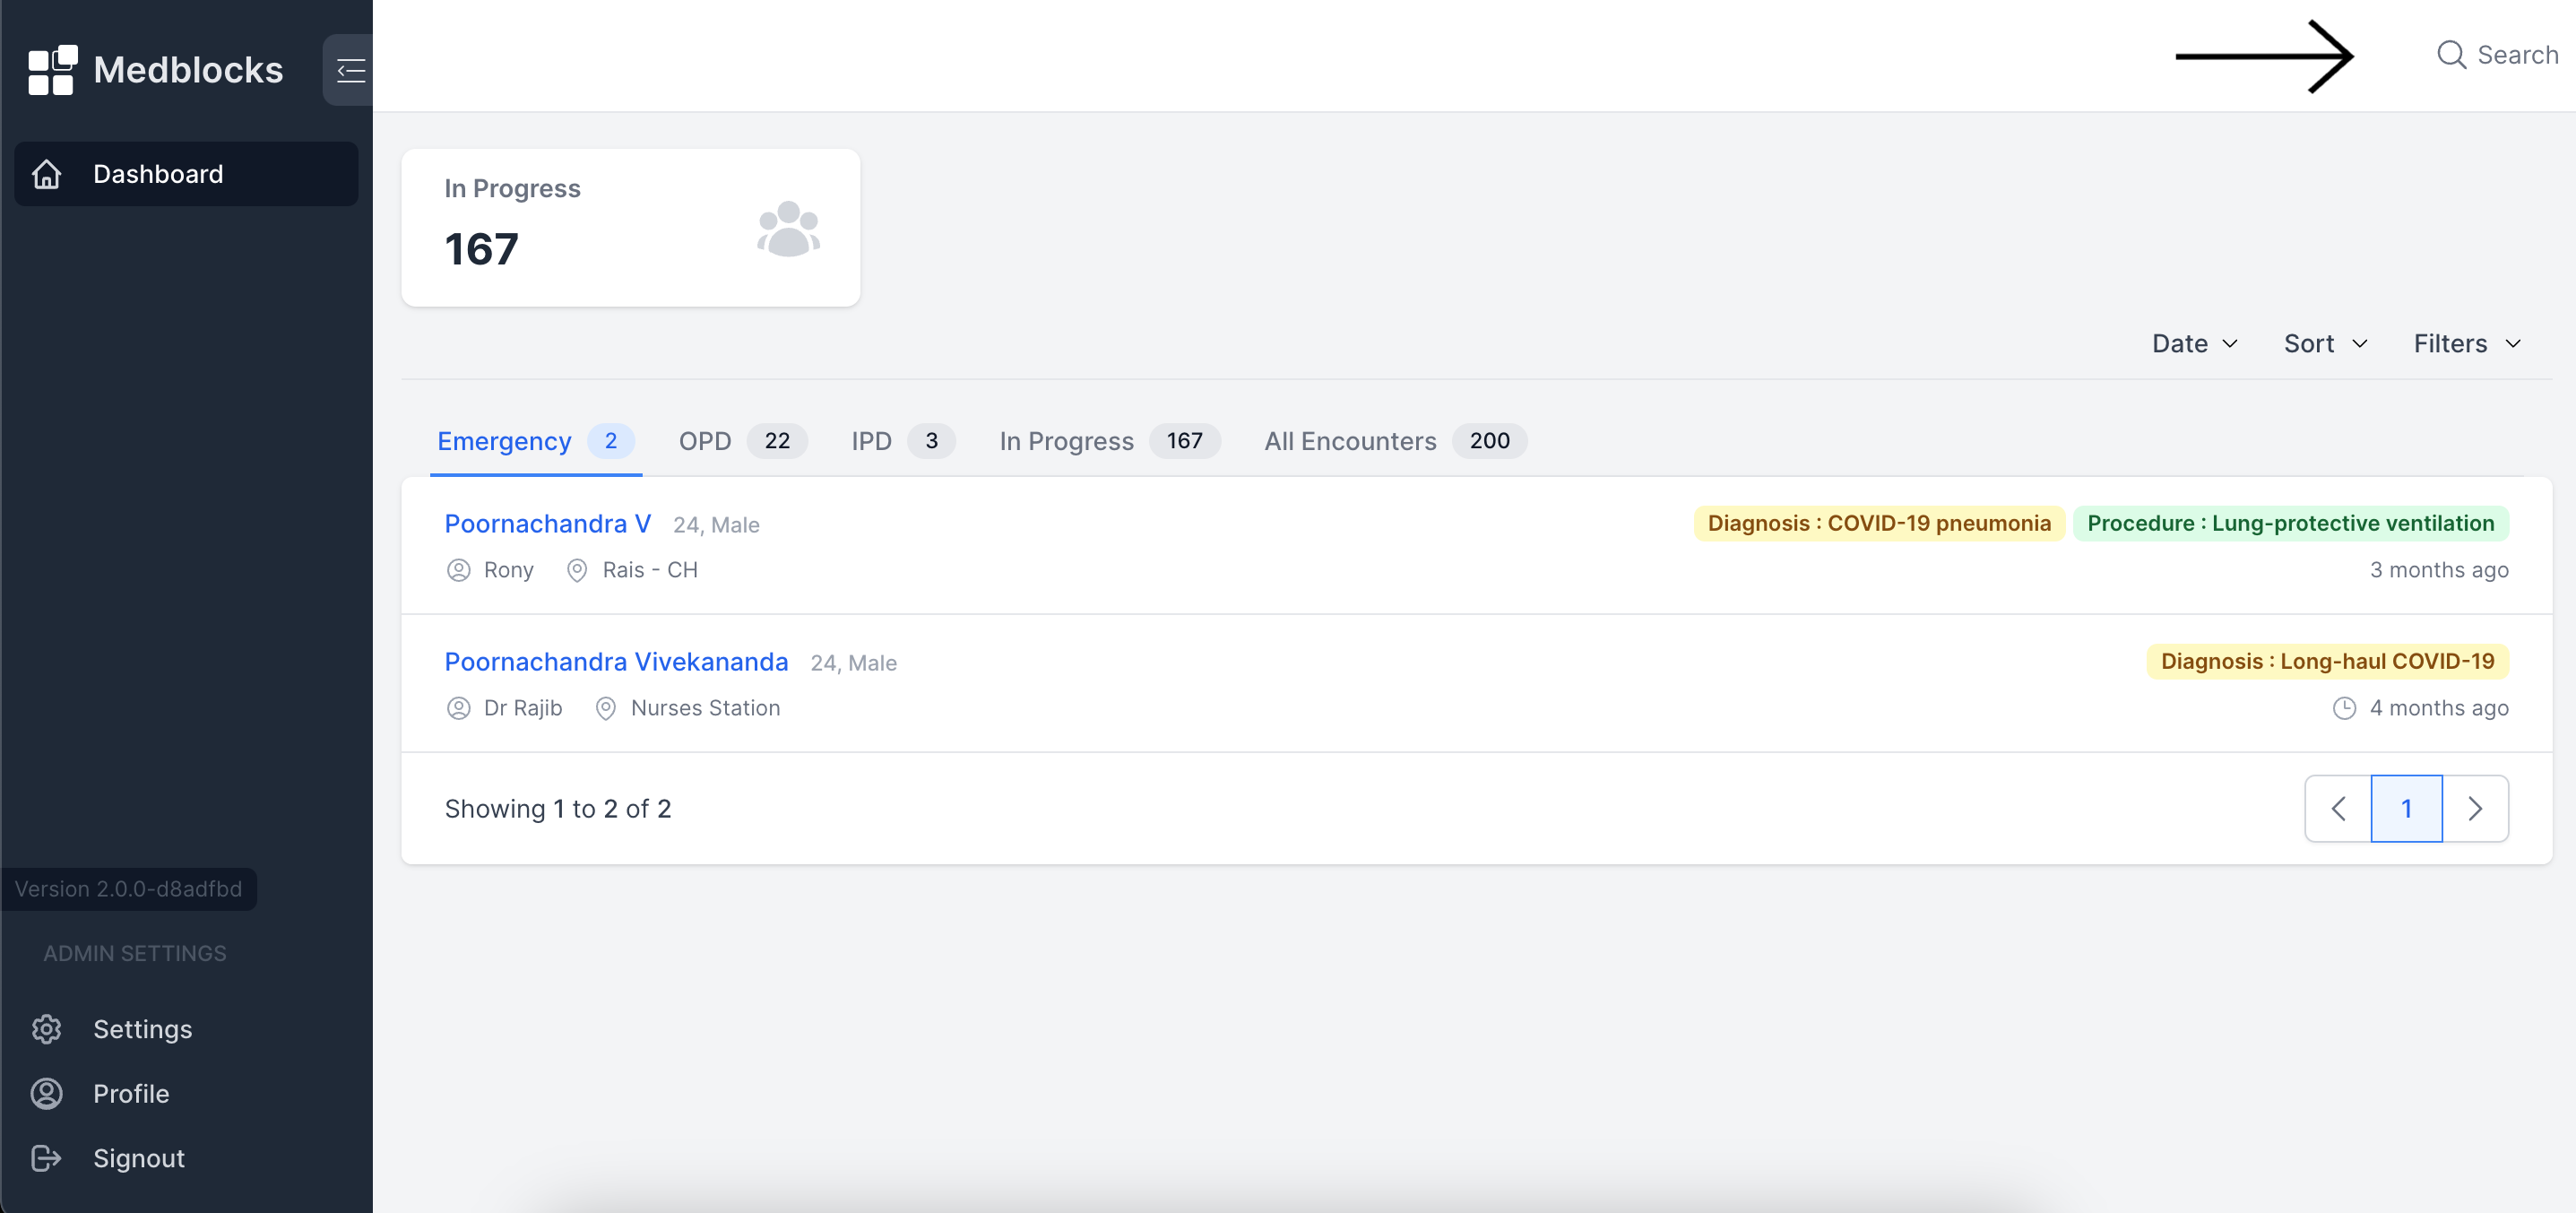
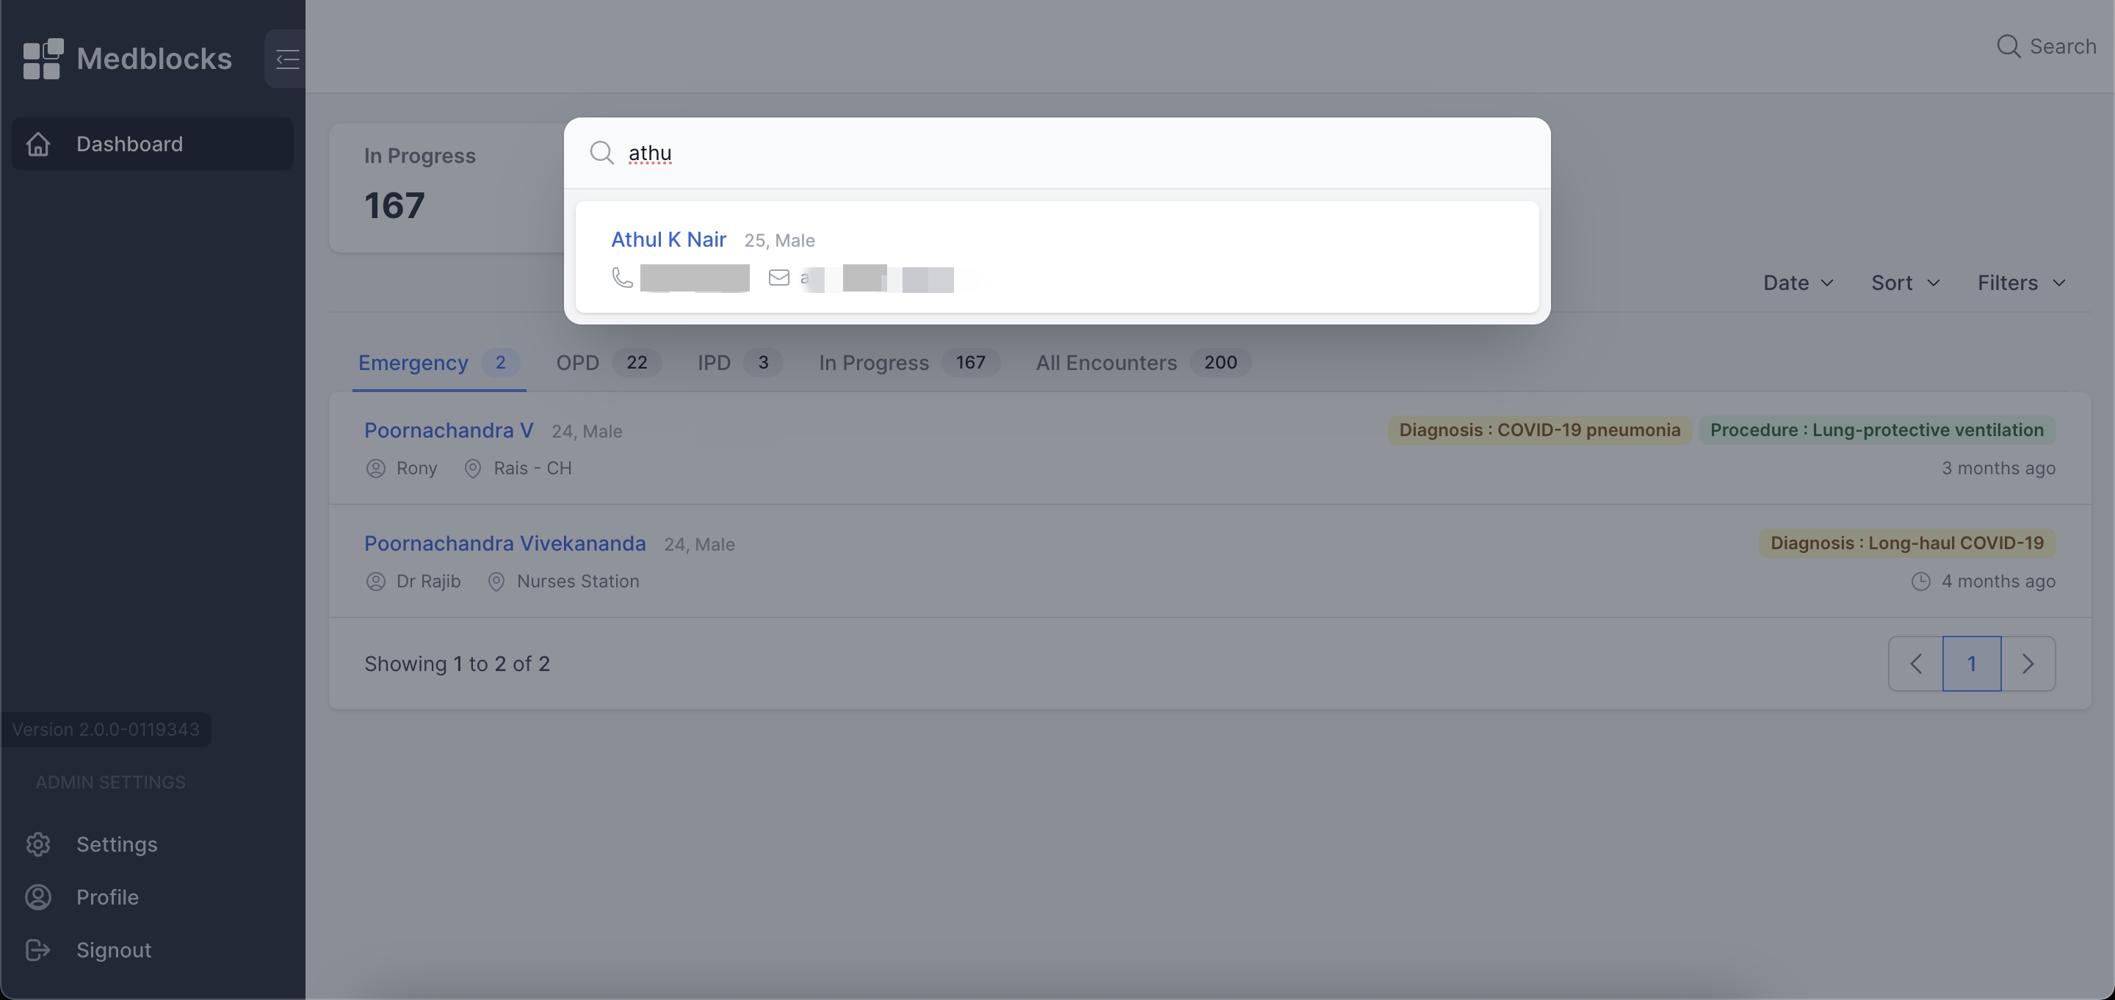
Patient Search
In the far right corner of the dashboard, there is a search icon that allows users to search for patients by their name, phone number, and MRN. These customized search parameters need to be configured on the FHIR server as per the specific requirements.
Forms
The picture demonstartes the available forms in dashboard. By clicking on each forms the practitioner can enter patient data to the form and save it for future refernces. If the patient has a patient id to login to the dashboard they can also fill this form and upload data.
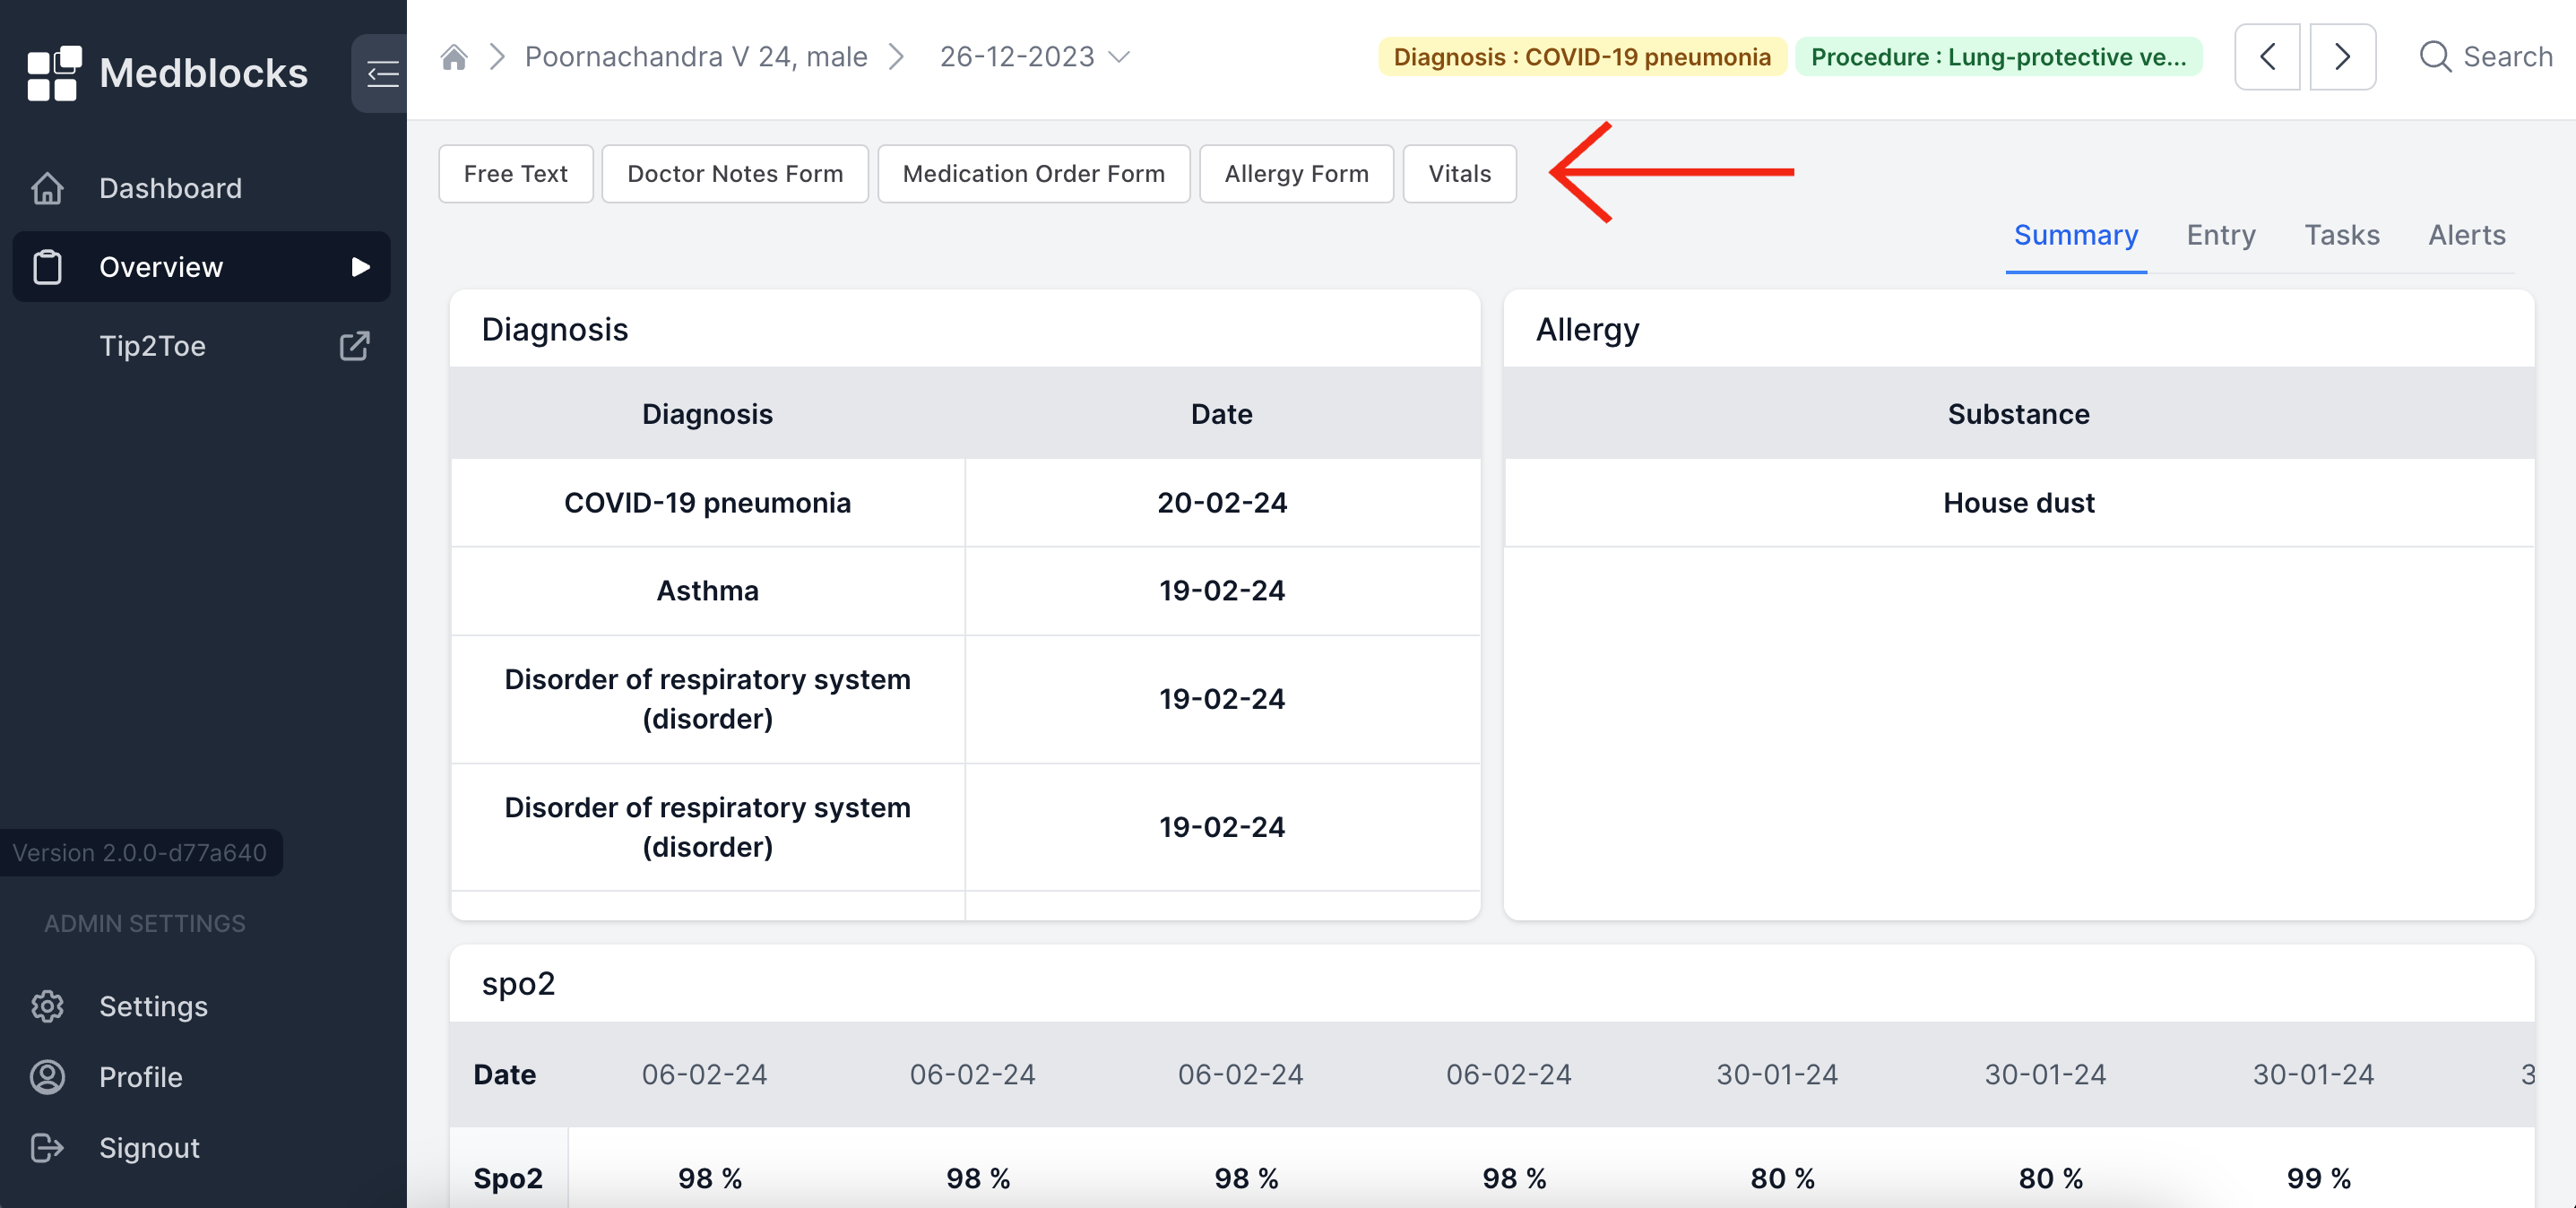
To add data to an existing form the practitioner can click on each form which opens the form and they can enter the data in it and hit submit which will save the form.

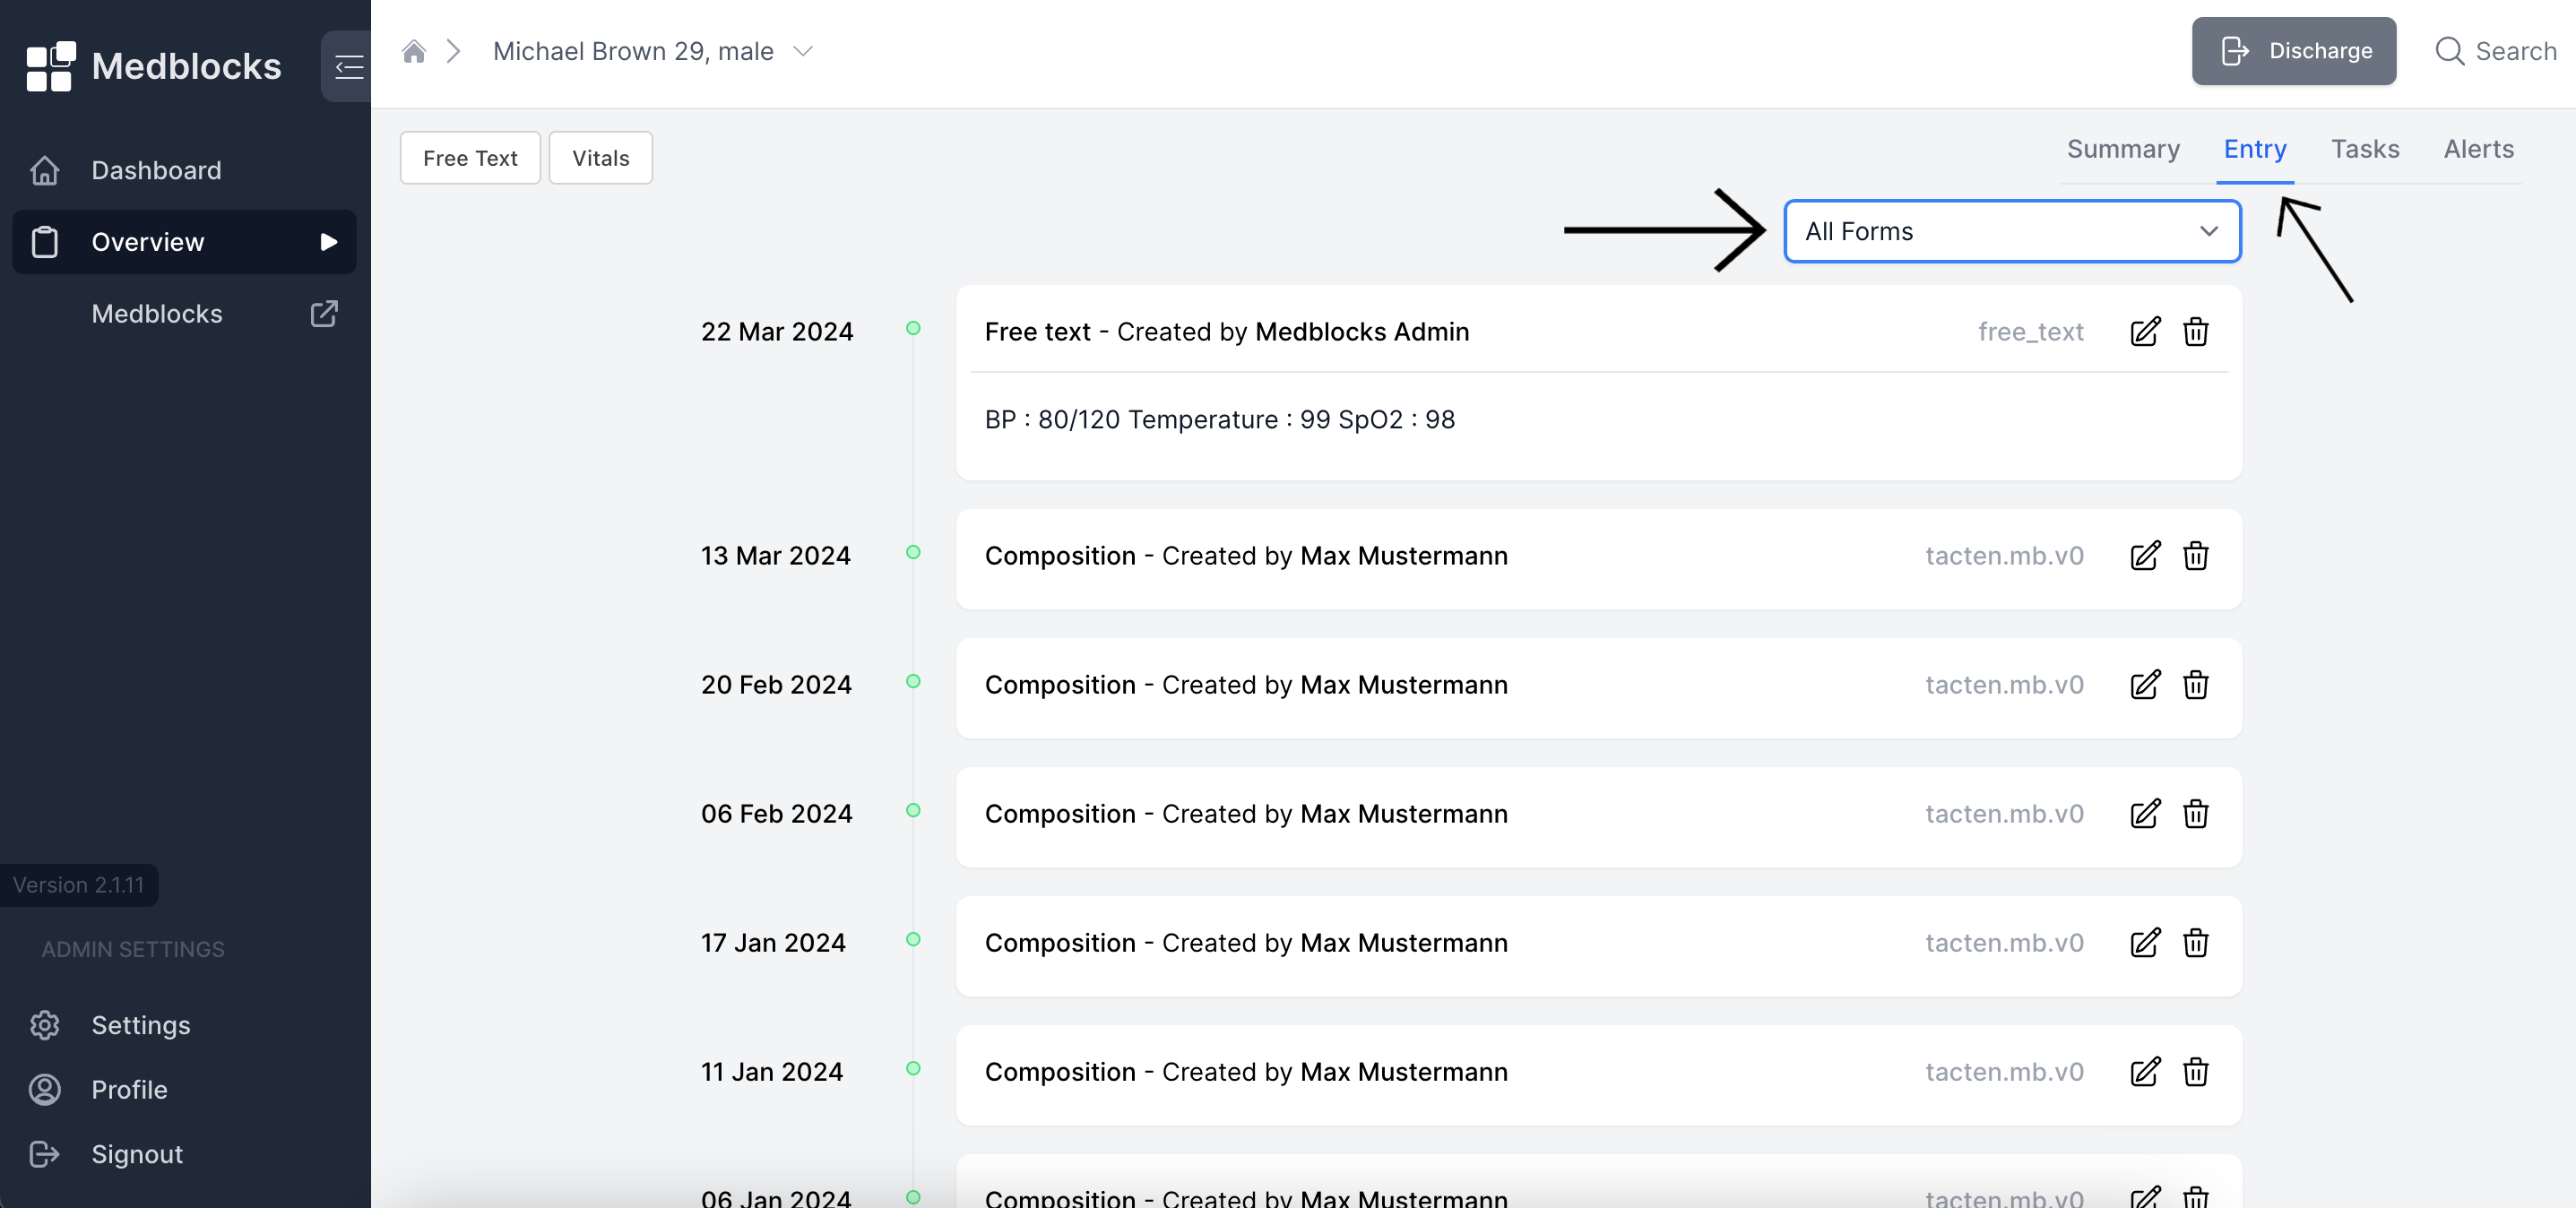
To access the saved forms, users can click on the "Entry" button highlighted in the image and filter based on the desired form.
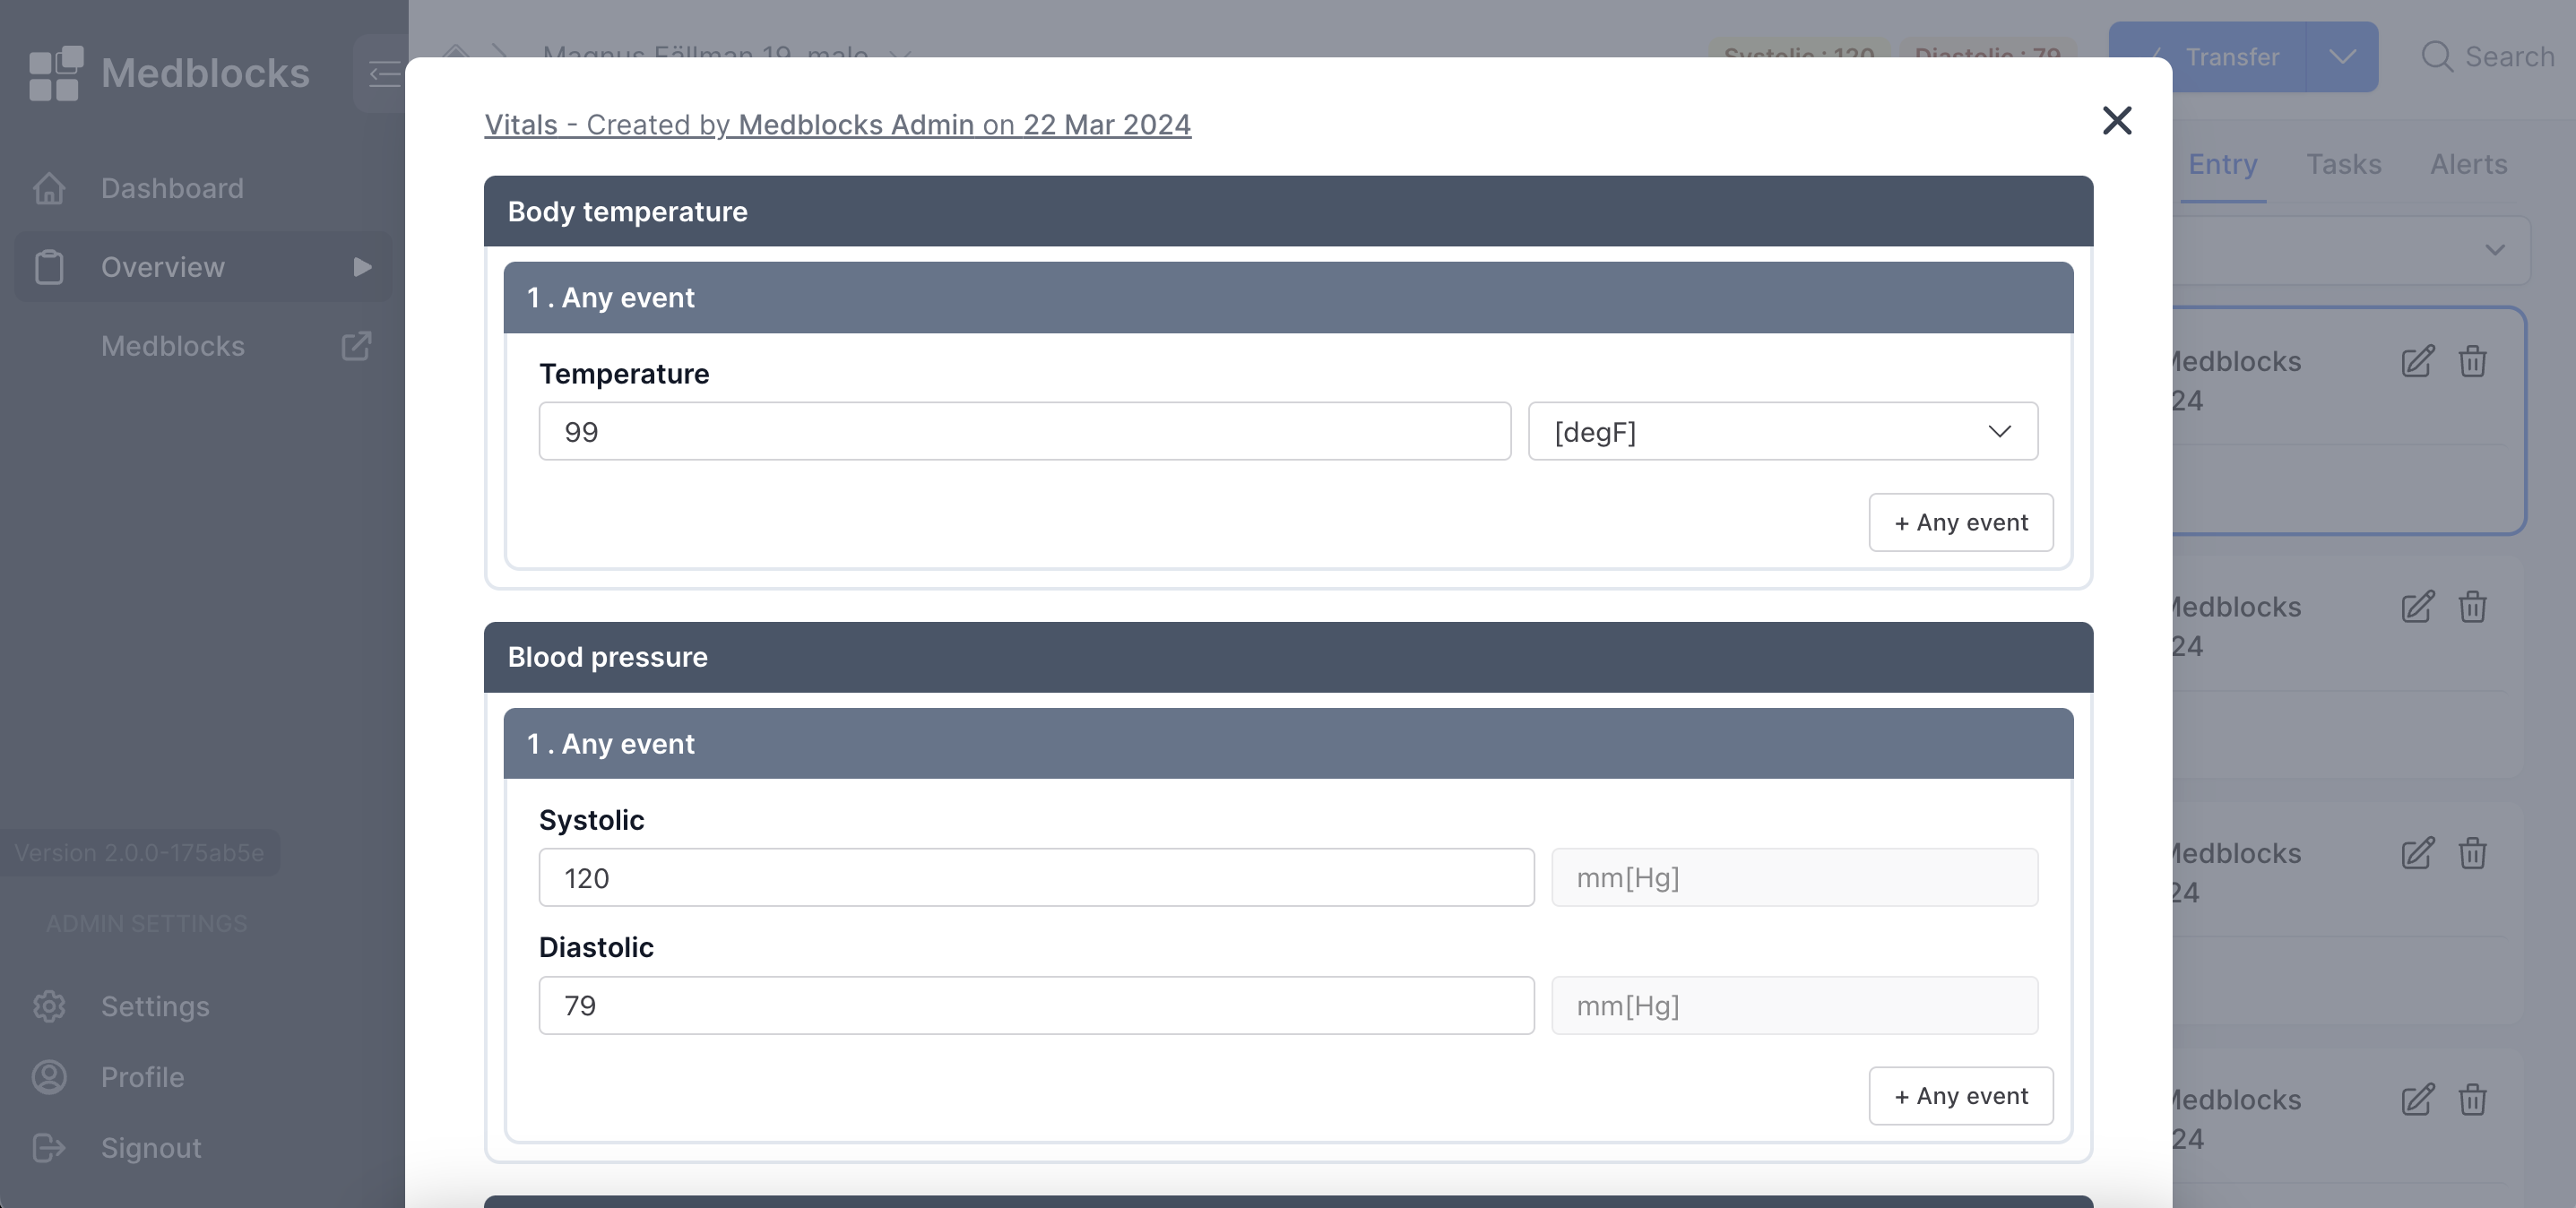
By clicking on the edit icon, users can access the contents of the form.
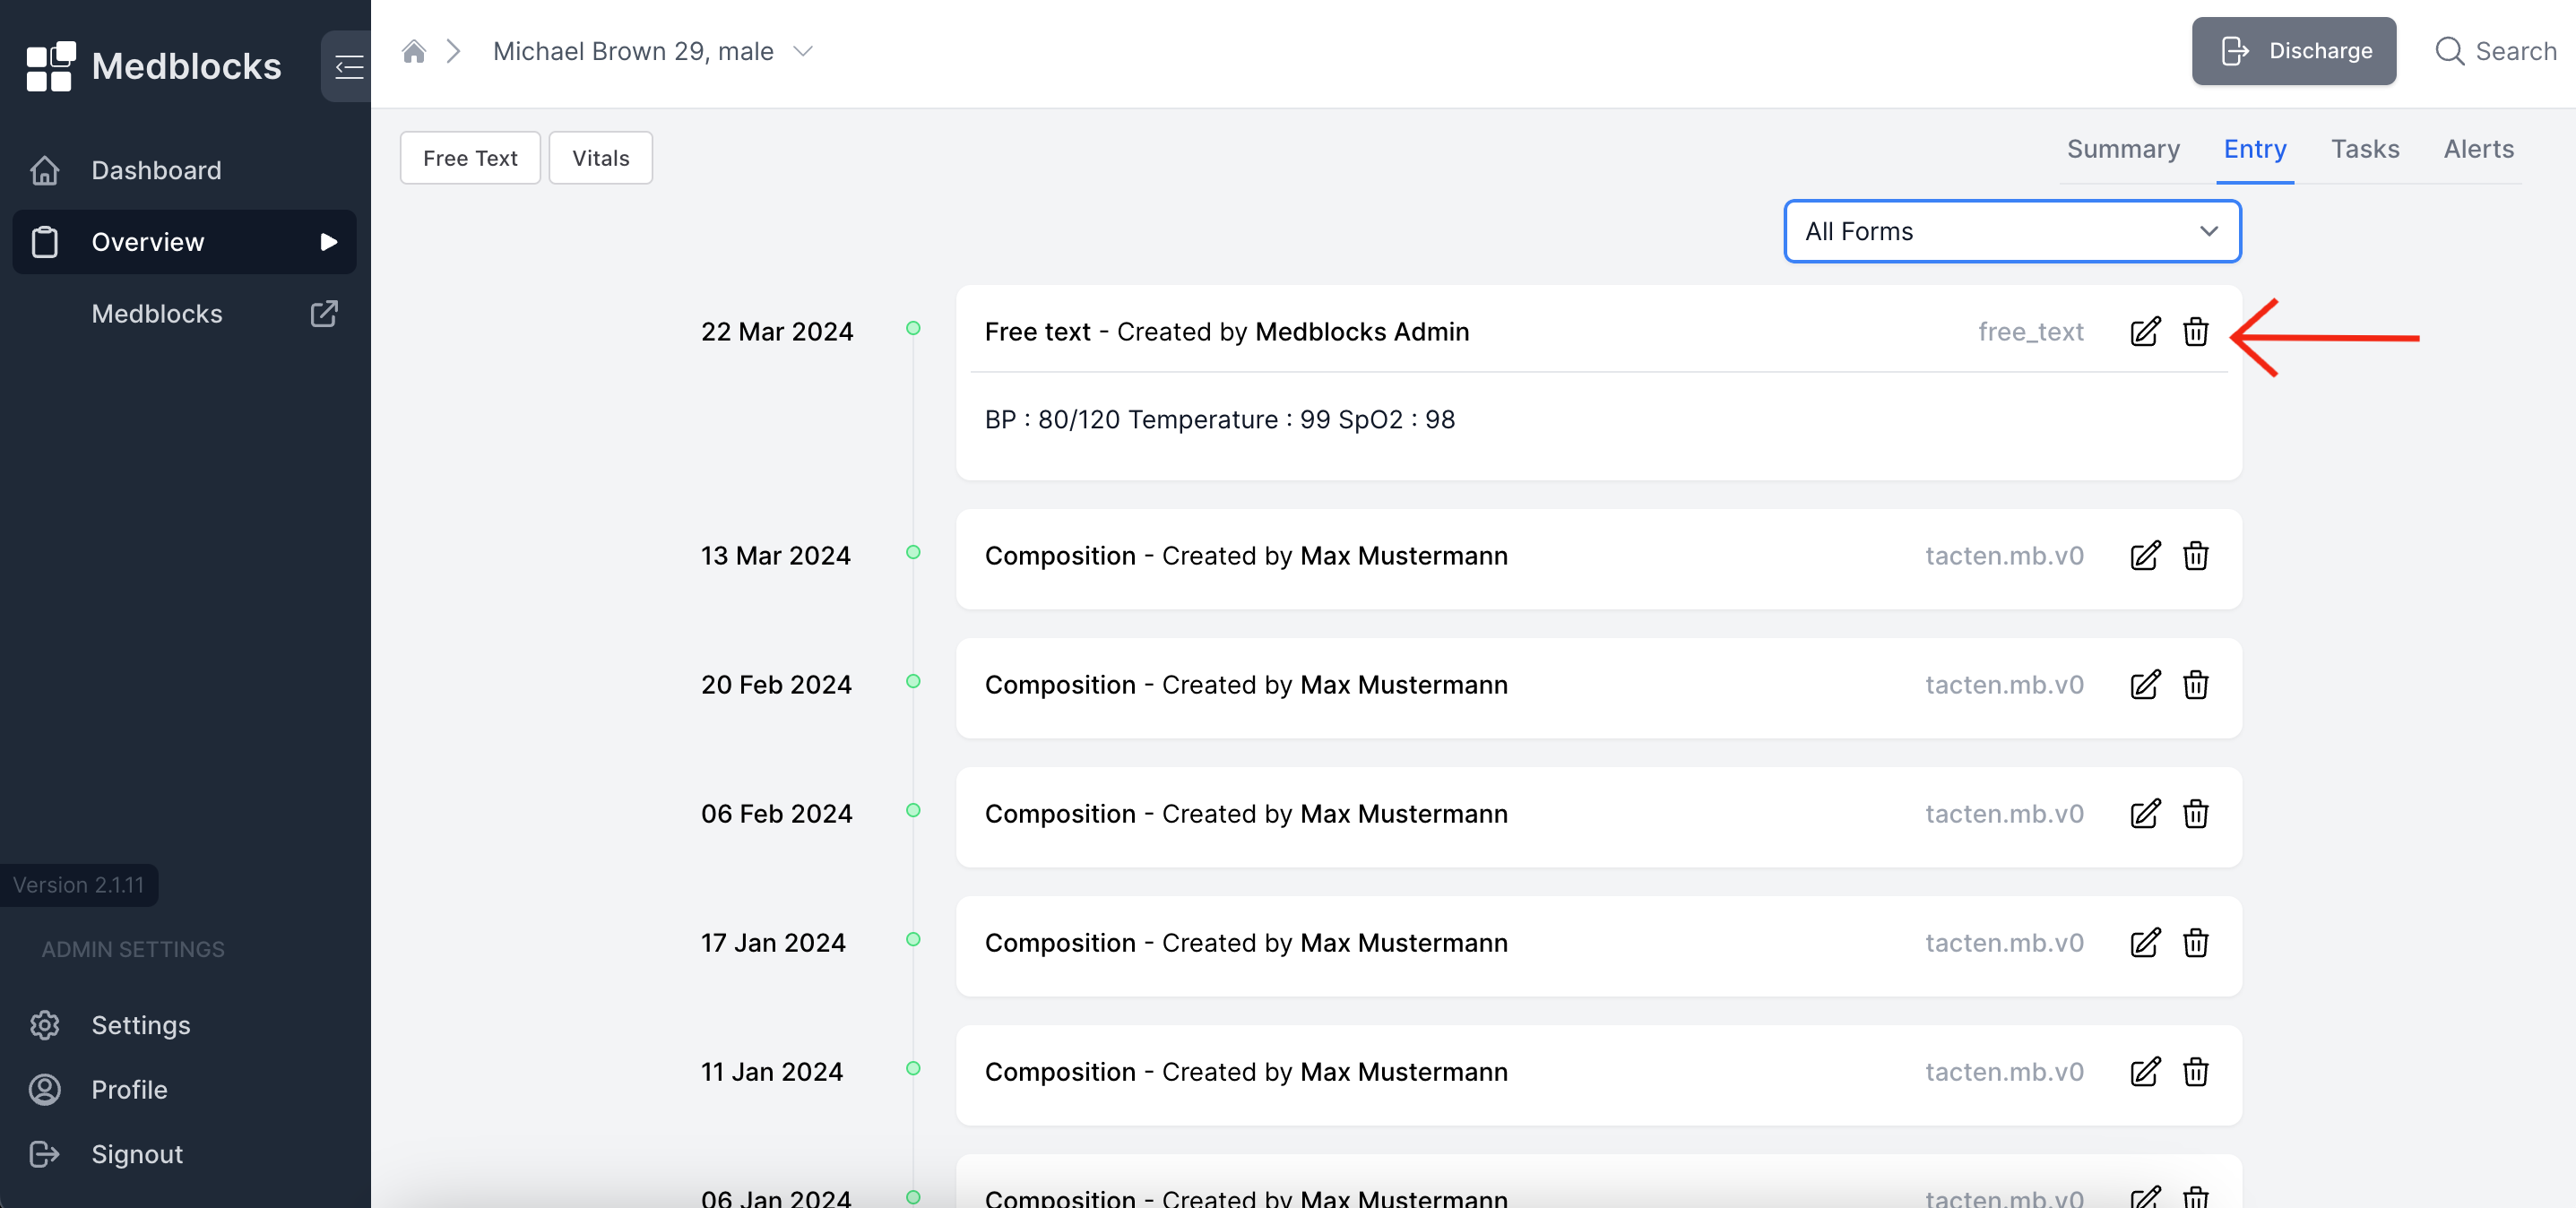
If the practitioner needs to remove an existing form, they can click on the delete icon associated with each form.
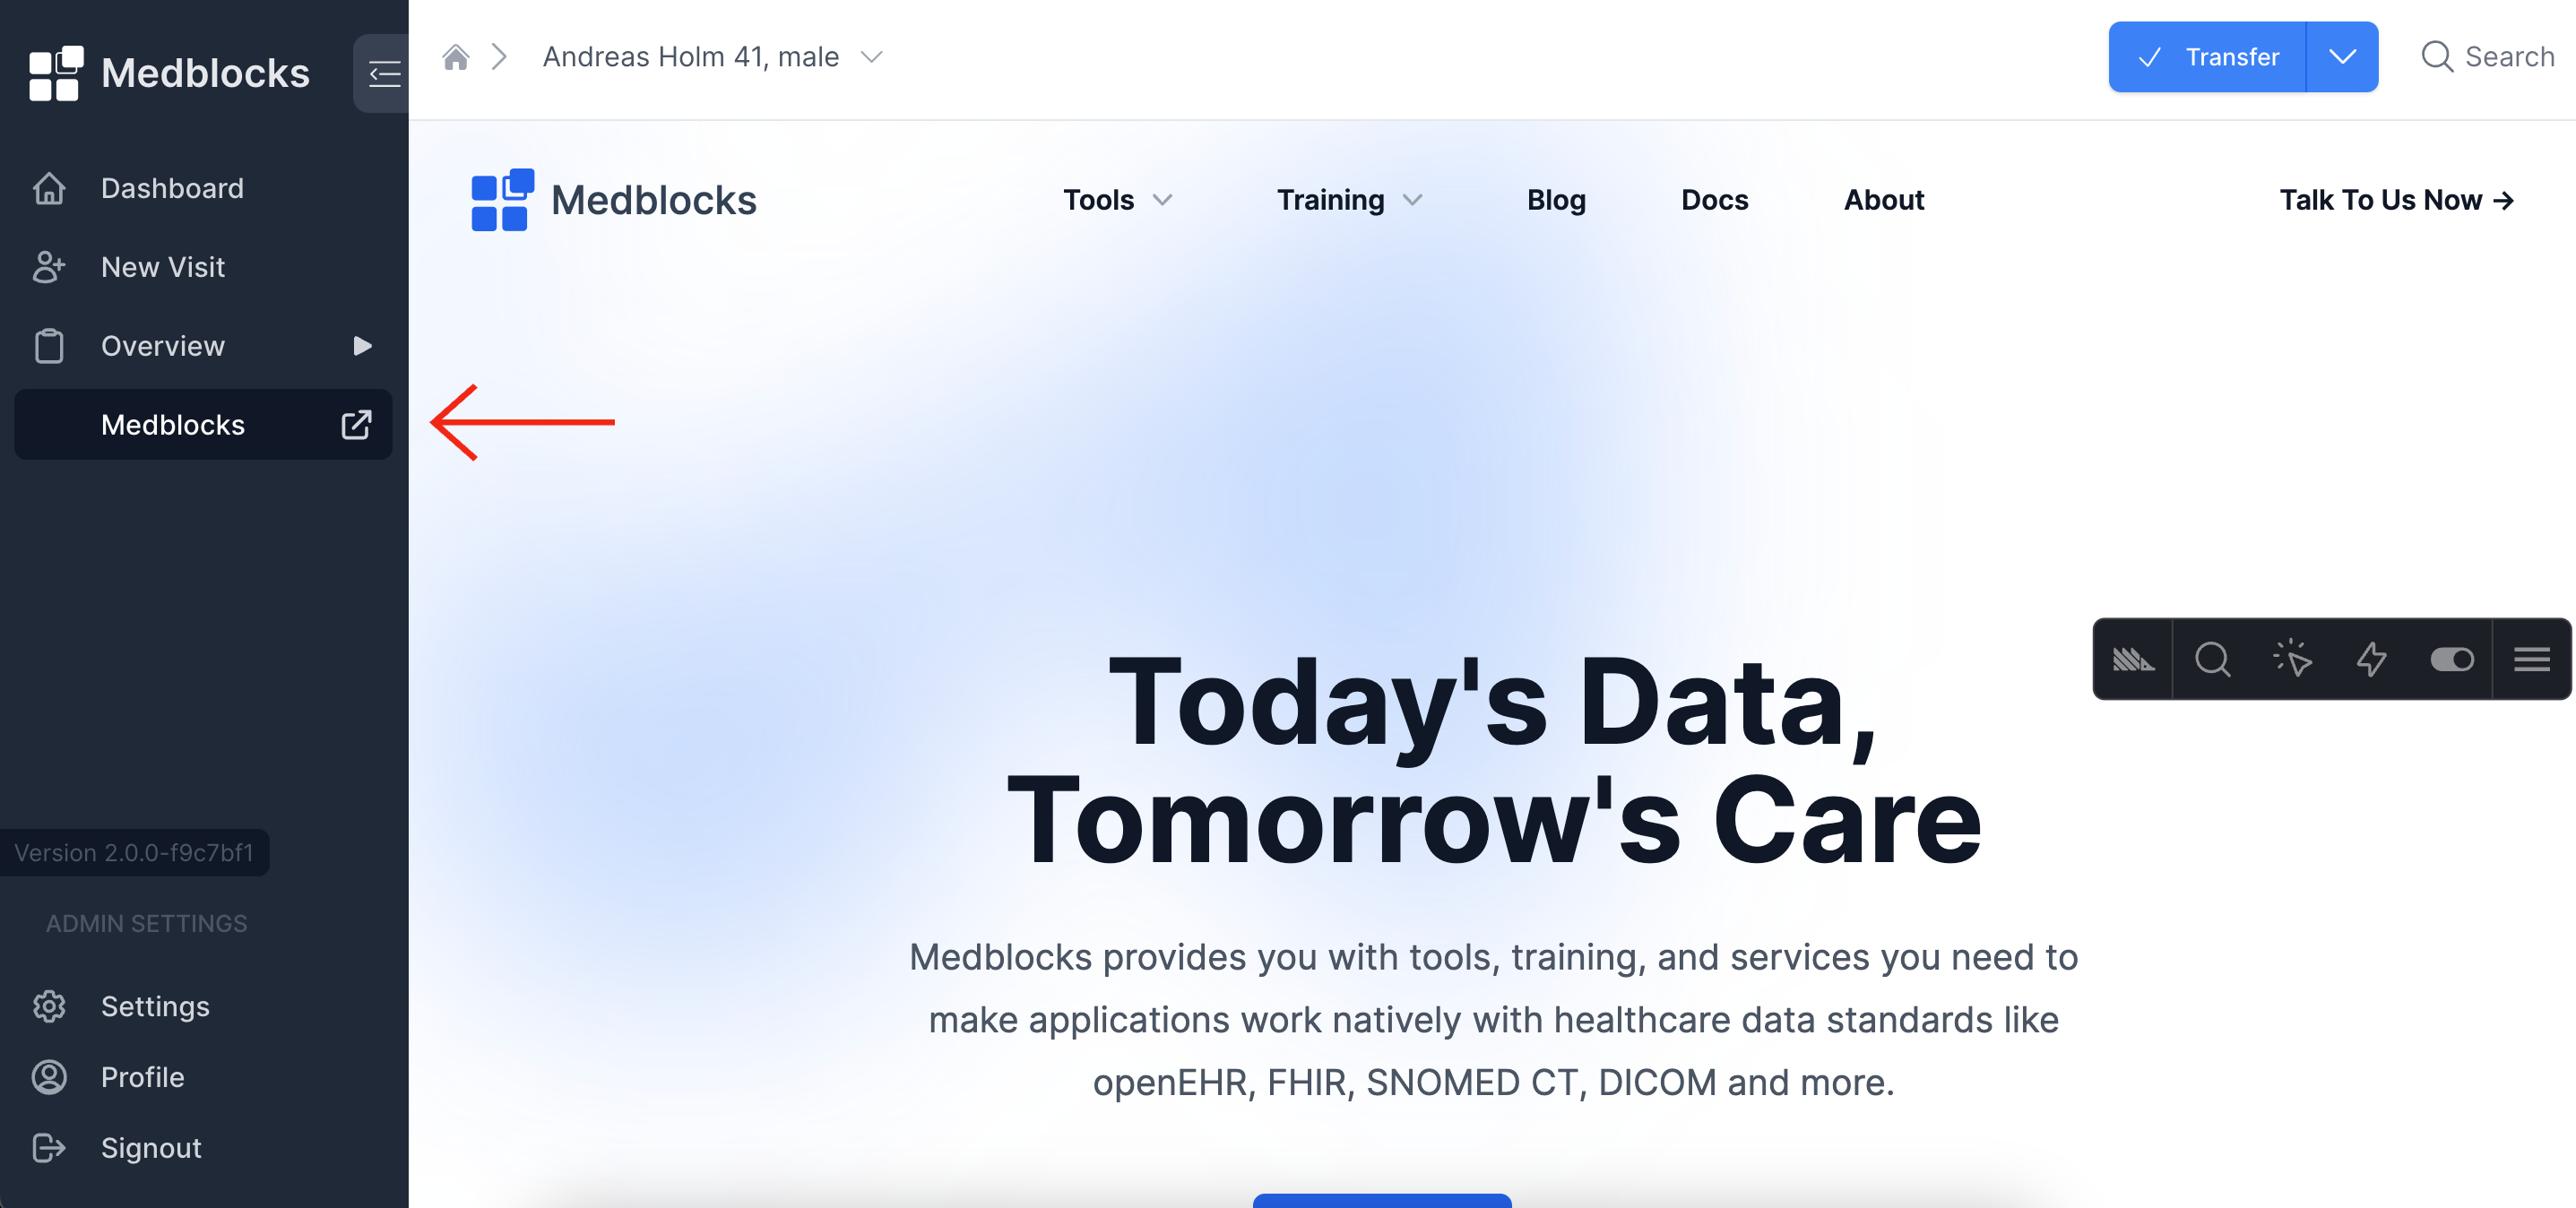
Launching Applications
- Open a patient in another application using sidebar