Building Internal applications
There are some trusted usecases where you might want to build and use an application that is purely internal to your system and all its operations are trusted. In such cases the SMART flow might be an overkill and you might want to build your applications with simpler authentication.
For example: Analytics dashboard
This is only recommended for internal applications where you have full control over the environment. The deployment of an internal application and Medblocks Ignite should be the same for this to work.
Add application to Medblocks Ignite
Choose the Apps tab in the Medblocks Ignite Settings.
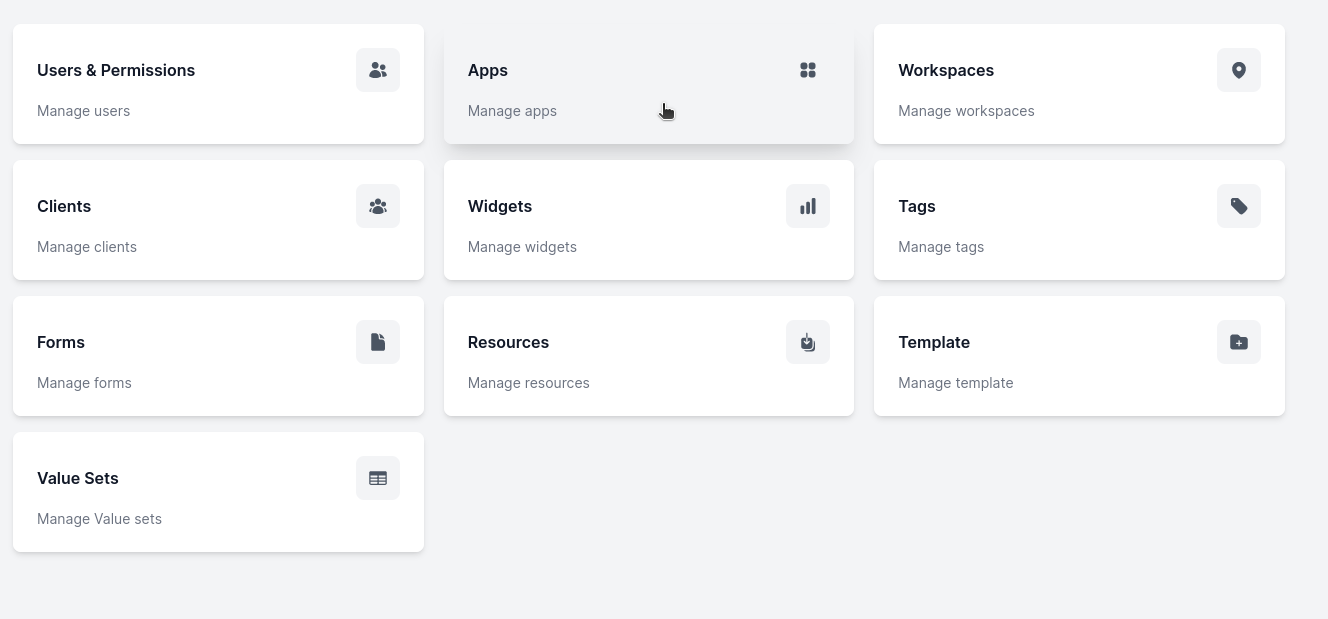
Add an application
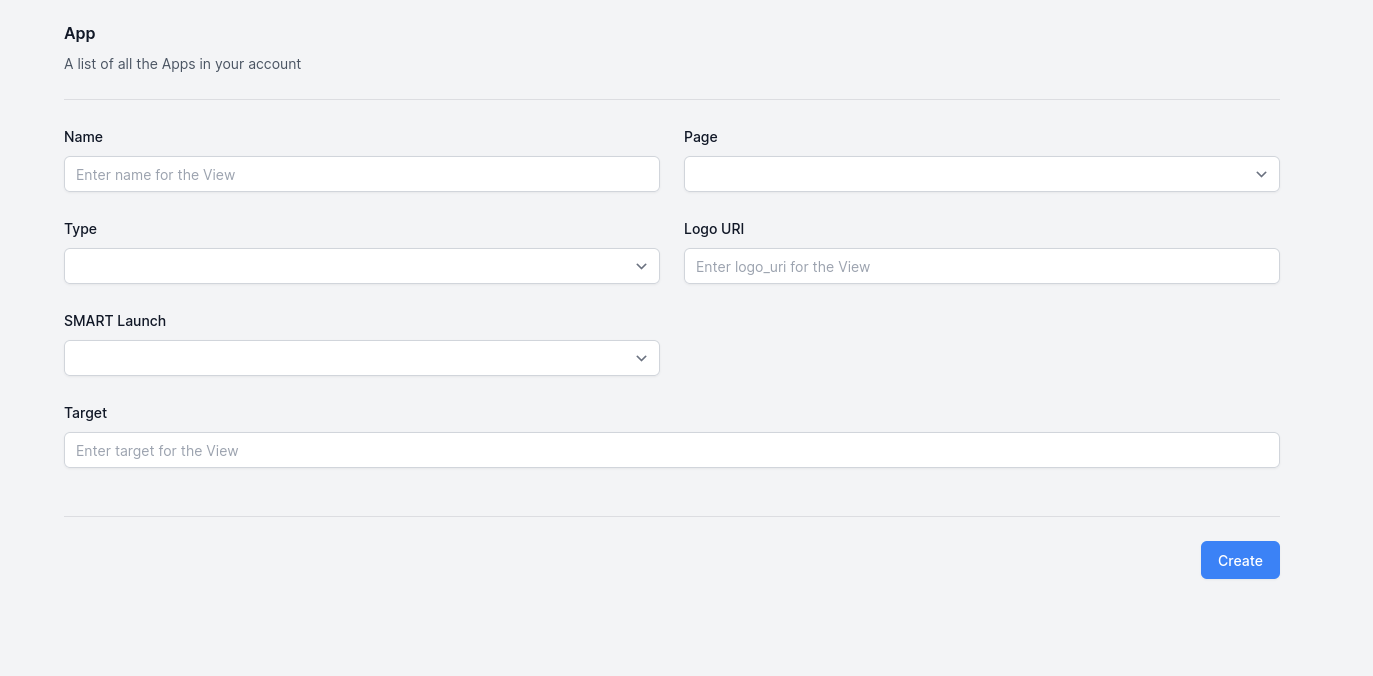
The add application form has fields for the following:
- Name: The name of the application
- Page: Which page of Medblocks Ignite the application should be available on. Choose Home if you want your application to be available on the home page or choose Patient if your application should open in individual patient pages. For example: A new prescription application should be available on the patient page whereas an analytics application would be available on home page.
- Type: Options are iframe or webcomponent. For now only iframe is supported.
- Logo URI: The URI of the logo of the application. This will be displayed in the application list.
- SMART Launch: Specify whether the application requires SMART launch. Choose false for internal apps.
- Target: The URL of the application. This is where the application will be loaded from.
Using Cookie authentication
If your application requires to read or write data from any of Ignite's APIs then you can use the cookie authentication from the browser.
Using cookie authentication in the browser is very straightforward. The example below uses the fetch API to make a request to the Medblocks Ignite server. The server will respond with a Set-Cookie header on login that will be stored in the browser. The browser will then automatically send the cookie with each subsequent request to the server.
Now when a new request needs to be made you can use the withCredentials option to send the cookie with the request.
const fhirPatientsResp = await fetch(`/fhir/Patient`, {
    method: 'GET',
    credentials: 'include'
});
This restricts the use of API in the browser only. If you want to use the API in a server environment, you can use the cookie header to send the cookie with the request.
const fhirPatientsResp = await fetch(`/fhir/Patient`, {
    method: 'GET',
    headers: {
        'cookie': '<cookie-value>'
    }
});
Using URL templates
When building such applications you might want to pass useful variables such as Patient ID or Encounter ID to the application. This can be done using URL templating. The URL templates are only enabled in the patient page applications. We use curly braces to specify the variables that need to be replaced. For example, if you want to pass the patient id to the application, you can use the following URL template.
https://internal-app.com/patient/{patientId}
When the application is opened from the patient page, the {patientId} will be replaced with the actual patient id.
If you need to pass encounter id, you can use {encounterId} in the URL template. Both can be used together as well.
https://internal-app.com/patient/{patientId}/encounter/{encounterId}
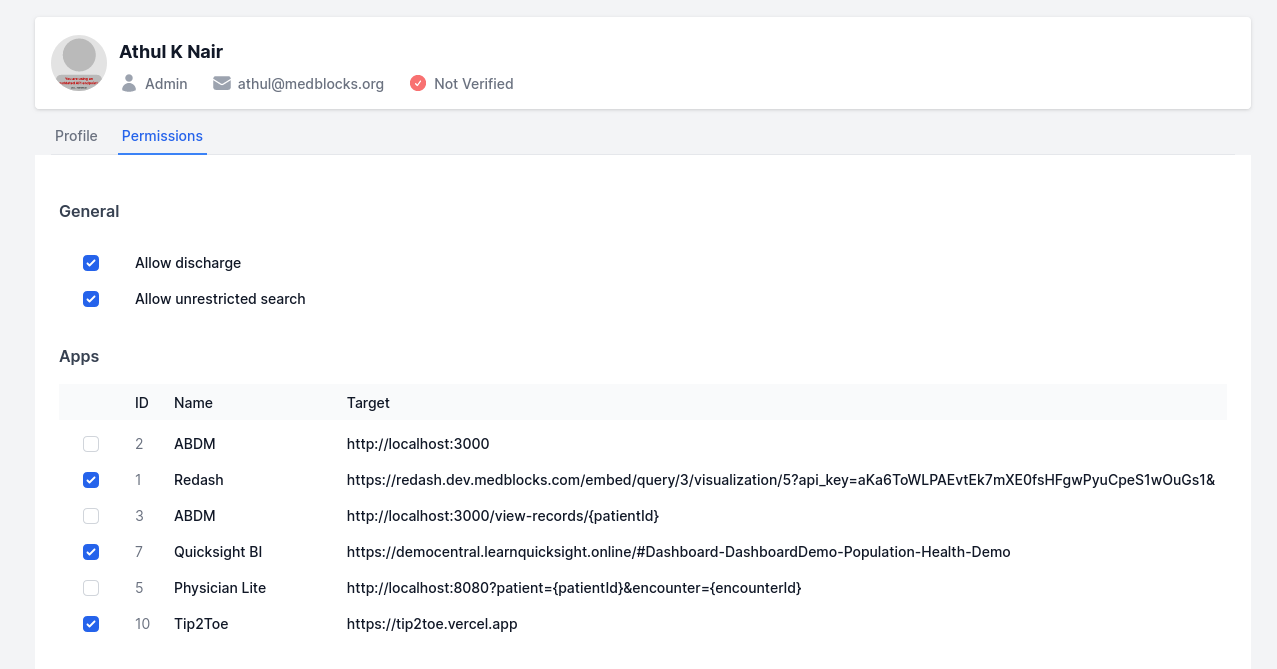
Configure permissions
Once an application has been added you need to grant permission to all the users who can view the application.
That can be achieved using Users & Permissions page in Medblocks Ignite settings.