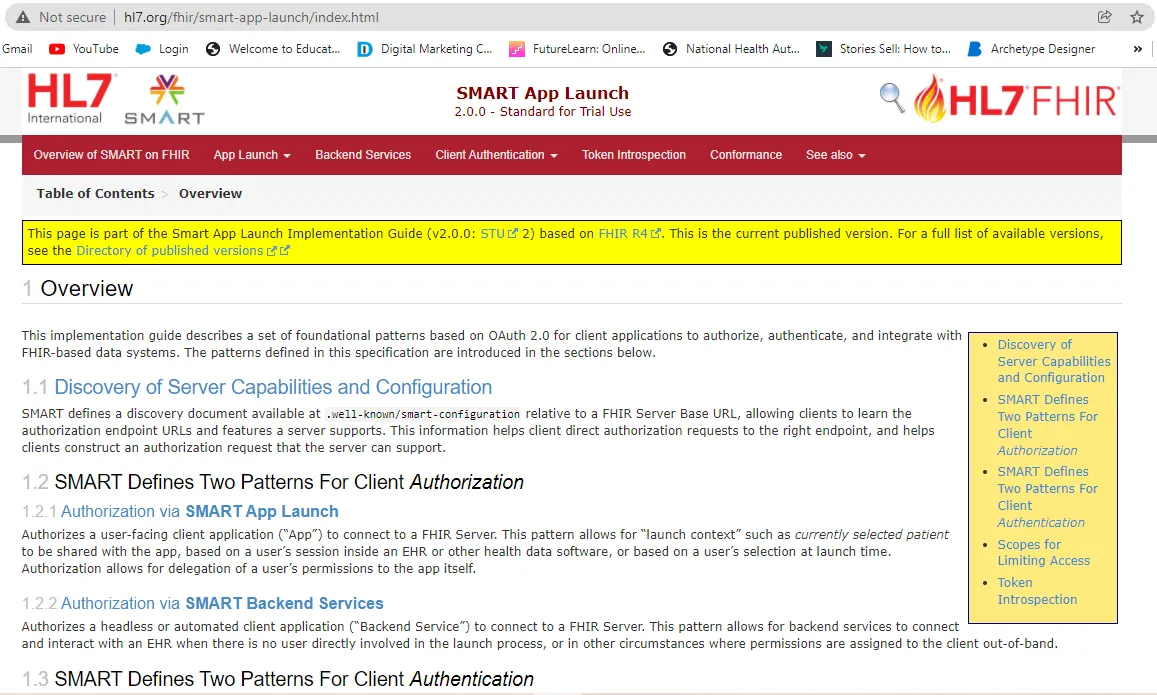
The SMART App Launch Framework integrates third-party applications to EHR data, allowing apps to launch from within or outside an EHR system’s user interface. This framework allows physicians, patients, and others to access applications through a PHR, Patient Portal, or any other FHIR system that allows a user to launch an app. It offers a dependable and secure authorization mechanism for a range of app architectures, including applications that run on a user’s device as well as apps that operate on a secure server.
To know more watch Introduction to SMART on FHIR.
Now let’s have a look at how we can authenticate backend services using SMART on FHIR framework without user interaction:
If you have a look at the whole breakdown of the framework of SMART App Launch, we first have a discovery that allows us to discover what a server can do. It helps clients to direct authenticate requests to the right endpoint and helps clients to construct an authentication request that the server can support. It heavily relies on OAuth2.

Then we have authorization and authentication which are commonly used interchangeably at times but in reality, they are not.
Authentication
Authentication is the act of proving an assertion, such as the identity of a computer system user. In contrast with identification, the act of indicating a person or thing’s identity, authentication is the process of verifying that identity.
For e.g. It identifies whether the person who is claiming resources is true or false.
Authorization
Authorization is the process of defining access rights/privileges to resources, which is connected to information security in general and computer security in particular, as well as access control.
For e.g. It talks about does a person have access to the resource.
But in this article, we will be talking about authentication. Let’s start authenticating the backend Services using SMART on FHIR.
Discovery API
A Discover API tells that if we query this URL /.well-known/smart-configuration through the GET request then you will get the discovery endpoint response.
A JSON document must be returned using the application/json mime-type.
HTTP/1.1 200 OK
Content-Type: application/json
{
	"issuer": "https://ehr.example.com",
	"jwks_uri": "https://ehr.example.com/.well-known/jwks.json",
	"authorization_endpoint": "https://ehr.example.com/auth/authorize",
	"token_endpoint": "https://ehr.example.com/auth/token",
	"token_endpoint_auth_methods_supported": [
        "client_secret_basic",
        "private_key_jwt"
    ],
	"grant_types_supported": [
        "authorization_code",
        "client_credentials"
    ],
	"registration_endpoint": "https://ehr.example.com/auth/register"
Example Response for /.well-known/smart-configuration
In this, we will be taking into consideration the token endpoint and registration endpoint.
The Registration endpoint in which you go to the EHR and ask I want to register my app so tell me how I can do that. In registration, you need to fill in all the details of the app. There are two ways to authenticate your app. Let’s discuss them in detail.
Ways to Authenticate:
SMART on FHIR defines two ways in which clients can authenticate.
1. Client Authentication: Symmetric (shared secret)
This method is used by clients who can maintain a secret but cannot manage asymmetric keypairs. In this authentication method, the client registers for a Client Password Authentication and this password is also known to the EHR vendor.
The client authenticates by providing an Authorization header with an HTTP Basic Authentication. In this, the username is the app’s client ID and the password is the app’s client secret.
Process
Using this secret key you make a post request to the token endpoint. We already have a clientId and clientSecret.
- Your app uses its Client ID and Client Secret to authenticate with the Authorization Server (token endpoint).
- The Client ID and Client Secret are validated by the Authorization Server.
- An Access Token is returned by the Authorization Server.
- The Access Token allows your application to make API calls on its own behalf.
- The API returns the info that was requested.
POST /token HTTP/1.1
Host: authorization-server.com
Content-type: application/x-www-form-urlencoded
grant_type=urn:ietf:params:oauth: grant-type:device_code&client_id=a17c21ed&
device_code=NGU50WFiNjQ5YmQwNGY3YTdmZTEyNzQ3YzQ1YSA
Example Token Request
The response with an access token will have the following components:
- access_token (required) It is issued by the authorization server.
- token_type (required) The type of token this is, typically just the string “Bearer”.
- expires_in (recommended) If the access token expires, the server should reply with the duration of time the access token is granted for.
- refresh_token (optional) If the access token will expire, then it is useful to return a refresh token which applications can use to obtain another access token. However, tokens issued with the implicit grant cannot be issued as a refresh token.
HTTP/1.1 200 OK
Content-Type: application/json
Cache-Control: no-store
{
"access_token": "AYjcyMzY3ZDhiNmJkNTY",
"refresh_token": "RjY2NjM5NzA20WJjuE7c",
"token_type": "Bearer",
"expires": 3600,
"scope": "create"
}
Example Token Response
2. Client Authentication: Asymmetric (public key)
This is another way of authenticating backend services using SMART on FHIR. In this first, you will need to register the app the same way we did it earlier. Then they ask you to provide a public key or a public key URL. So now we don’t have any common secret key in this. Regardless of how a client registers with an FHIR authorization server, the public key that the client will use to authenticate themselves to the FHIR authorization server must be registered. The public key SHALL be conveyed to the FHIR authorization server in a JSON Web Key (JWK) structure.
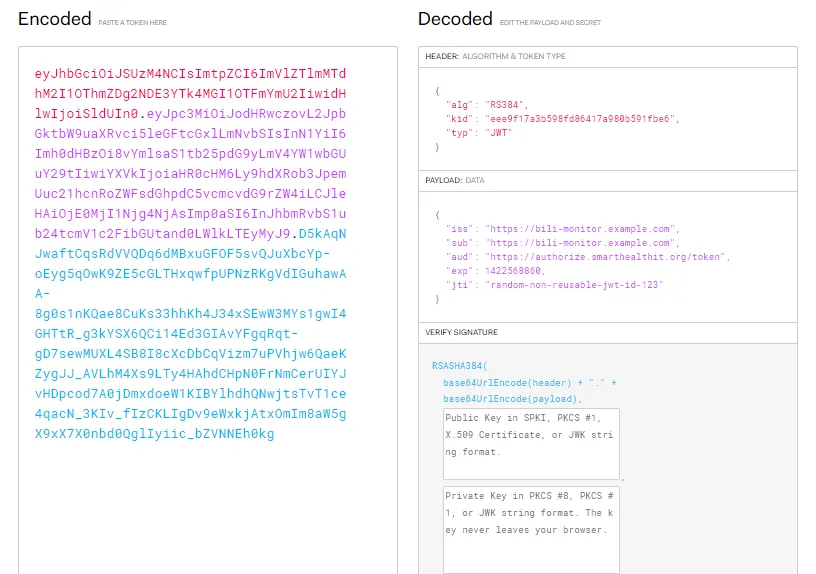
Authenticating to the Token endpoint: When we are requesting an access token for authenticating our app using the asymmetric key, the authentication is based on the OAuth 2.o client credentials flow with a JWT assertion as the client’s authentication mechanism. Before a client can request an access token, it SHALL generate a one-time-use JSON Web Token (JWT) that will be used to authenticate the client to the FHIR authorization server. After generating this authentication JWT, the client requests an access token via HTTP POST to the FHIR authorization server’s token endpoint URL, using content-type application/x-www-form-urlencoded with the following parameters:

JWT Structure: In its compact form, JSON Web Tokens consist of three parts separated by dots (.), which are:
- Header
- Payload
- Signature
You can verify this thing with JWT.io.

So once you have a JWT signed using a private key, you send that to the server. You get back the same response as above i.e access token and you have a type bearer and now you have everything to make a request for authenticating your backend services using SMART on FHIR.

