
Meditech
Guide to integrate with Meditech Expanse via the Greenfield Workspace program.
Meditech is one of the longest-standing EHR vendors in healthcare, with deployments across more than 2,300 hospitals and health systems in over 20 countries. Their flagship platform, Expanse, is a web-native EHR used widely across community hospitals, large health systems, and post-acute and ambulatory settings. Its FHIR APIs are exposed under the Greenfield Workspace developer program. Integrate with Meditech to plug your app into Expanse.
This is a step-by-step guide to registering a patient-facing FHIR app against Meditech Expanse and taking it from the Greenfield sandbox to production at customer hospitals. We use the US Core FHIR R4 APIs with SMART Standalone Launch and 3-legged OAuth 2.0.
Three things make Meditech meaningfully different from Epic, Cerner, or eClinicalWorks, and you should plan for all three up front.
- There is no self-service portal. Greenfield Workspace is application-gated. You submit a registration form, then your Client ID and Client Secret are delivered to your organization’s primary contact via a secure 1Password link (active for 14 days). Don’t expect a same-day Client ID like Epic. There is a registration and delivery turnaround.
- There is no automatic distribution to customers. Every Meditech-using hospital must register your app individually. Production onboarding is initiated by the healthcare organization (not you), by opening a case with their Meditech Interoperability team. Plan for a per-hospital onboarding loop.
- The sandbox is shared and synthetic. All Greenfield tenants point at the same FHIR base URL with synthetic patient data, so there is no per-tenant
issto discover. Production endpoints are listed in Meditech’s public endpoint directory and are separate from Greenfield.
For Medblocks Platform integrations, use a confidential client with a Client Secret and PKCE (S256). Meditech requires both on the same token request, so the platform sends the secret in the POST body and the PKCE code_verifier alongside it.
Meditech splits its developer surface across several hosts. Picking the right one matters, and it is the most common reason people ask “where’s the portal?”.
| URL | What it’s for |
|---|---|
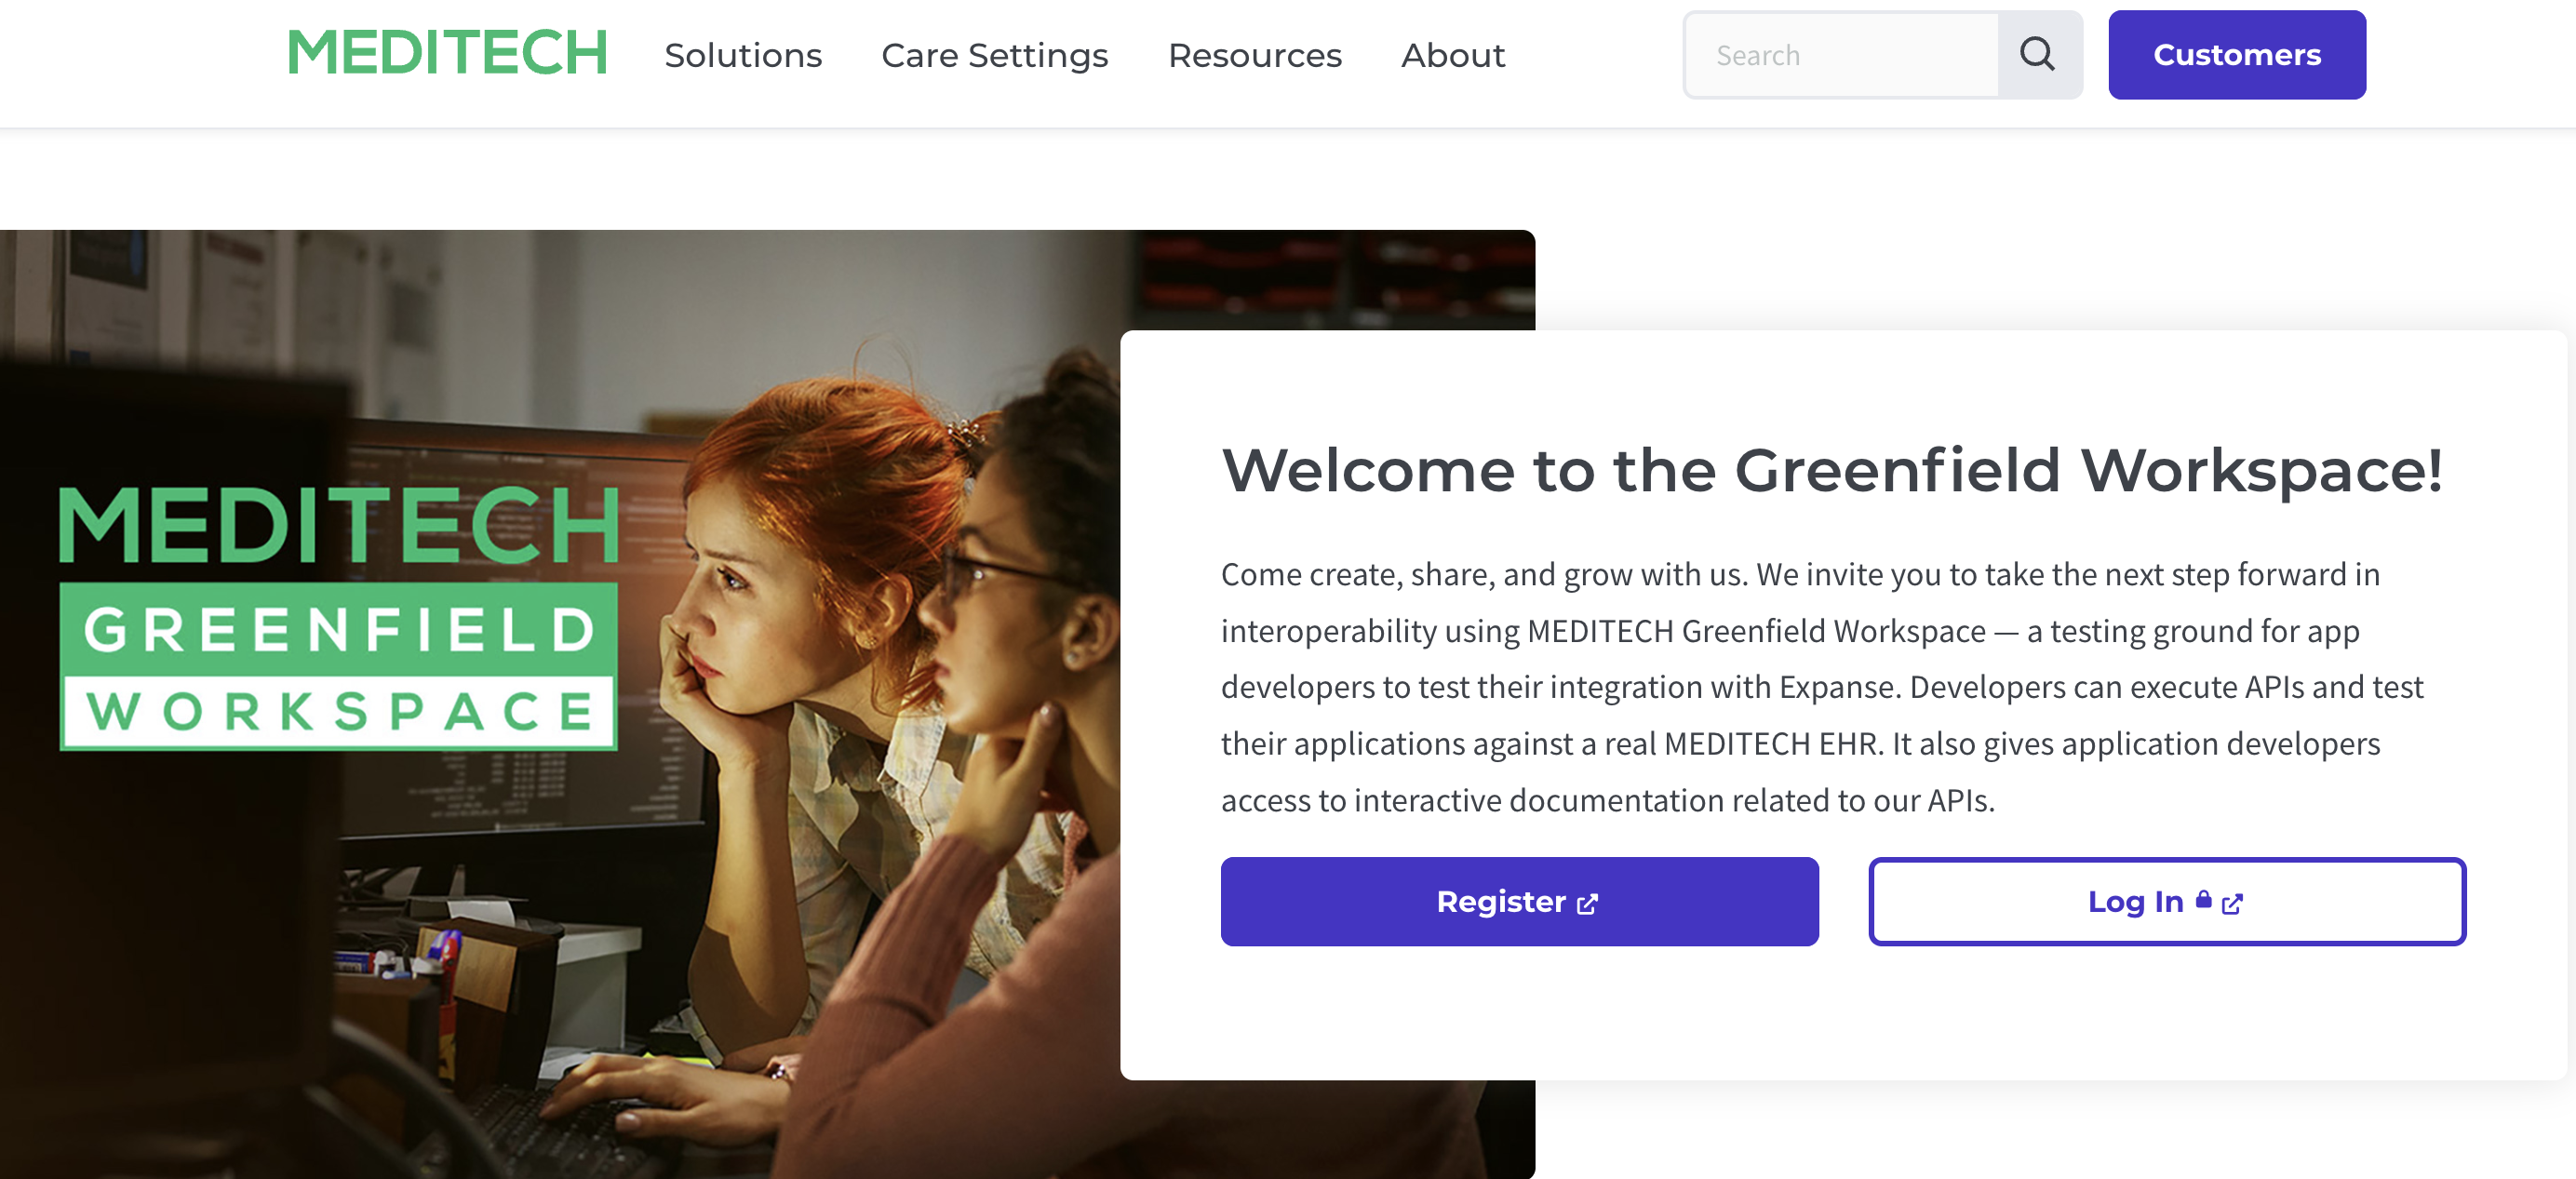
ehr.meditech.com/meditech-greenfield | Marketing landing page. The Register button here is the real start. |
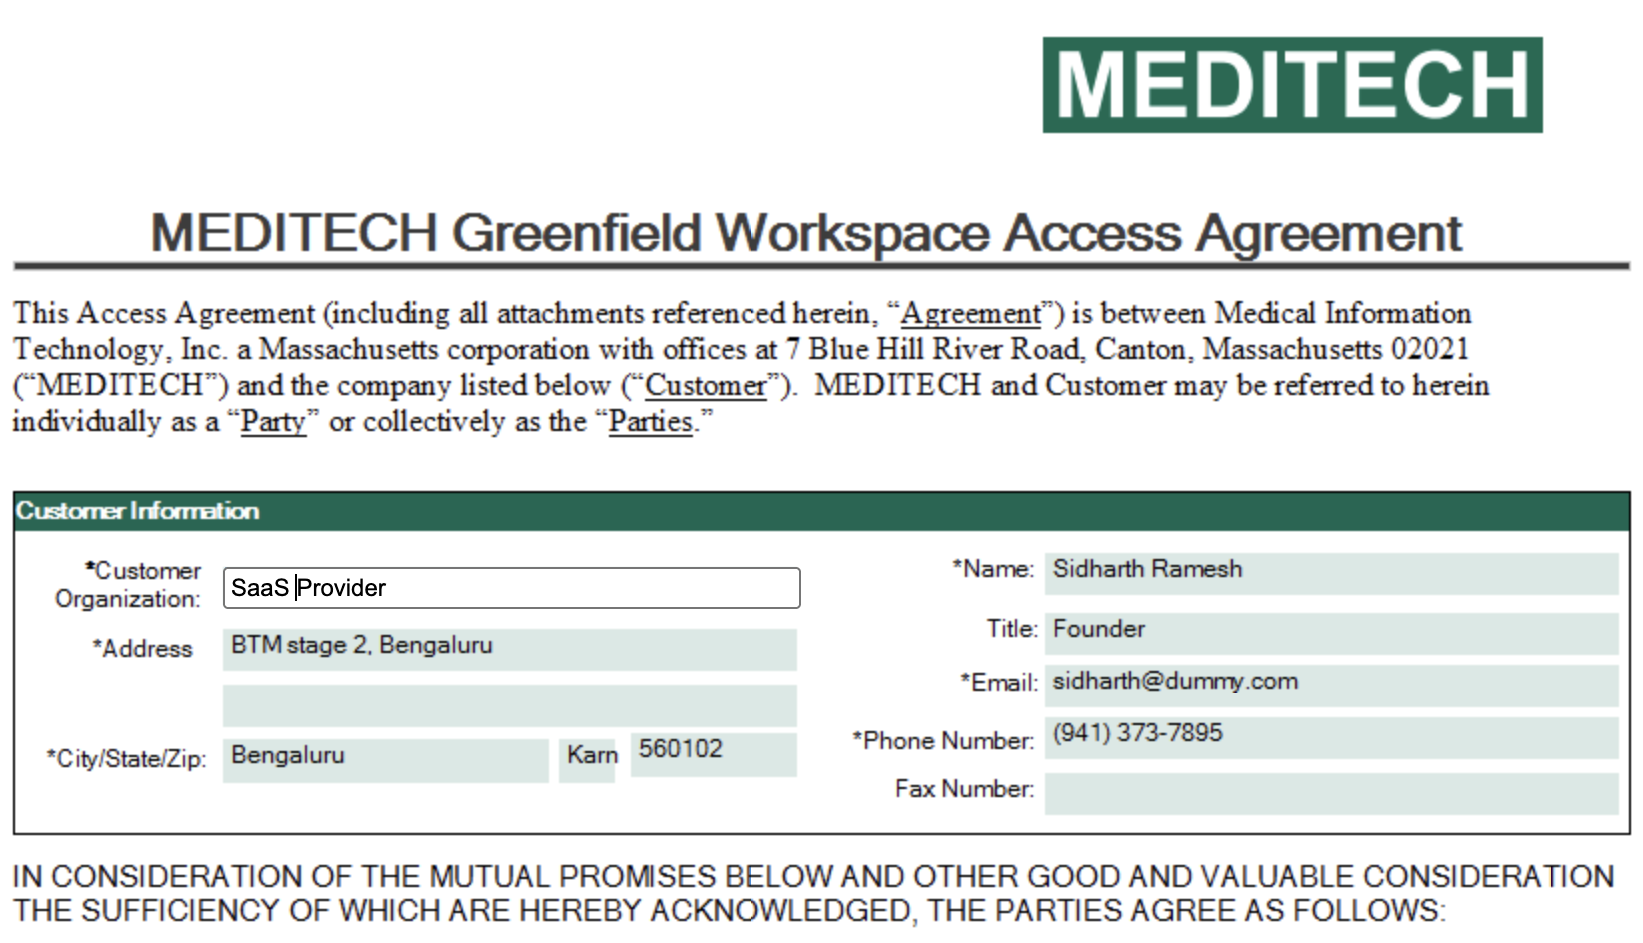
gf-ifiller.meditech.com/iFiller/iFiller.jsp | The actual registration form. This is where you “sign up”. |
greenfield.meditech.com | The Workspace itself. Login lands here after you’re accepted, with the API explorer and sandbox patient data. |
fhir.meditech.com/explorer/endpoints | Public endpoint list for live customer organizations. Read-only, no app creation here. |
Setup Guide
Submit the Greenfield Workspace registration request
- Go to the Greenfield landing page and click Register, or open the iFiller registration form directly.
- Fill out the form with your company information and intended use case. Be specific about the FHIR resources you plan to read and the patient population. Greenfield support uses this to shape the welcome packet and the EULA scope.
- Submit. You’ll receive an automated acknowledgement, then wait for a welcome packet by email from the Greenfield support team. Turnaround is typically a few business days, not minutes.
Sign the EULA and provide a Google ID
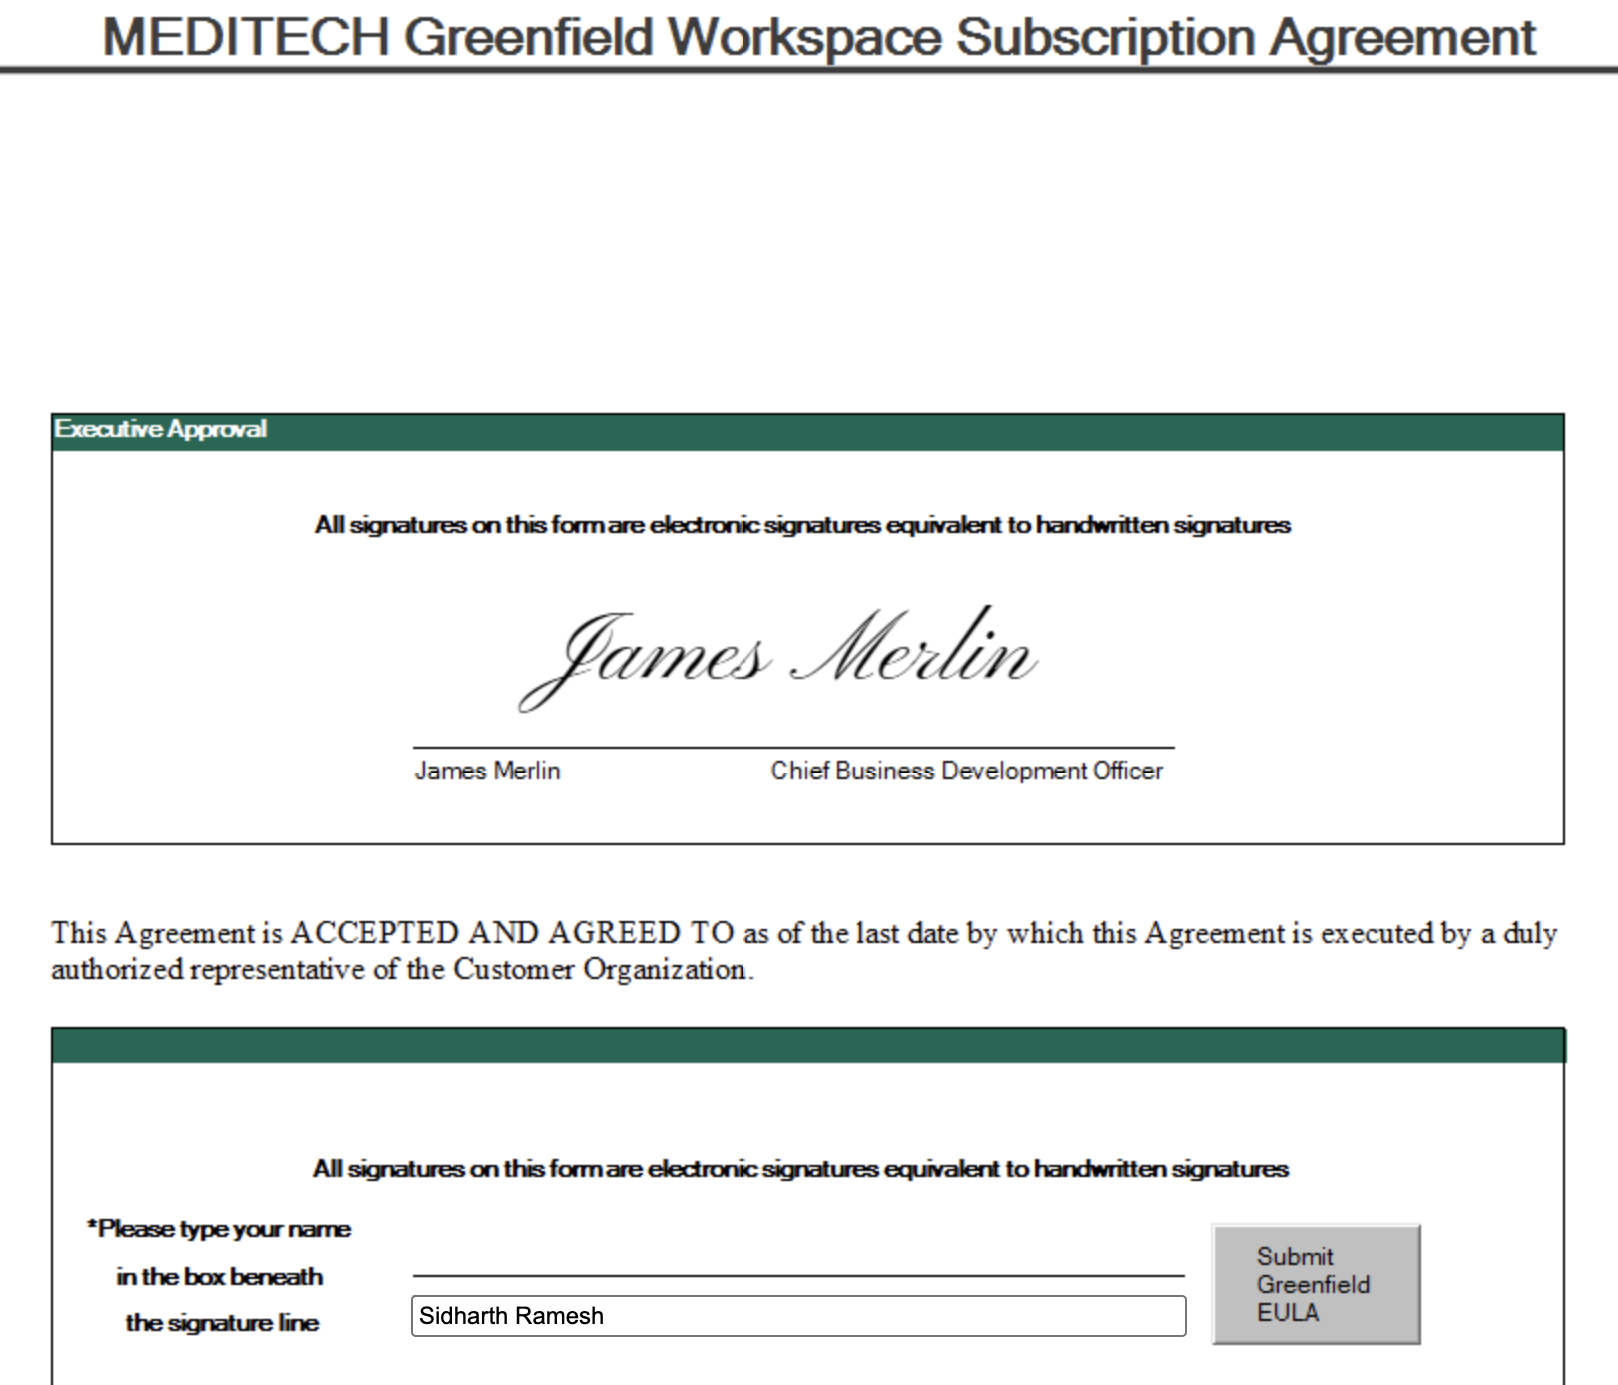
- The welcome packet contains the Greenfield End-User License Agreement (EULA). Sign it and return it per the packet’s instructions.
-
Provide a Google ID when asked. Greenfield Workspace authenticates members through Google SSO, not a username/password Meditech identity. Use a shared Google Workspace account on your company domain (e.g.
dev@yourcompany.com) rather than a personal Gmail. This is the single biggest gotcha. Without a Google identity you cannot log into the workspace at all. -
Greenfield support confirms your account is provisioned. You’re now ready to log in.
Log into the Greenfield Workspace
Go to greenfield.meditech.com and sign in with your provisioned Google ID. Once inside, you have access to the API Explorer (interactive docs for every exposed endpoint), sample patient data for testing, the US Core FHIR R4 and DSTU2 APIs, and FHIR Scheduling APIs where supported.
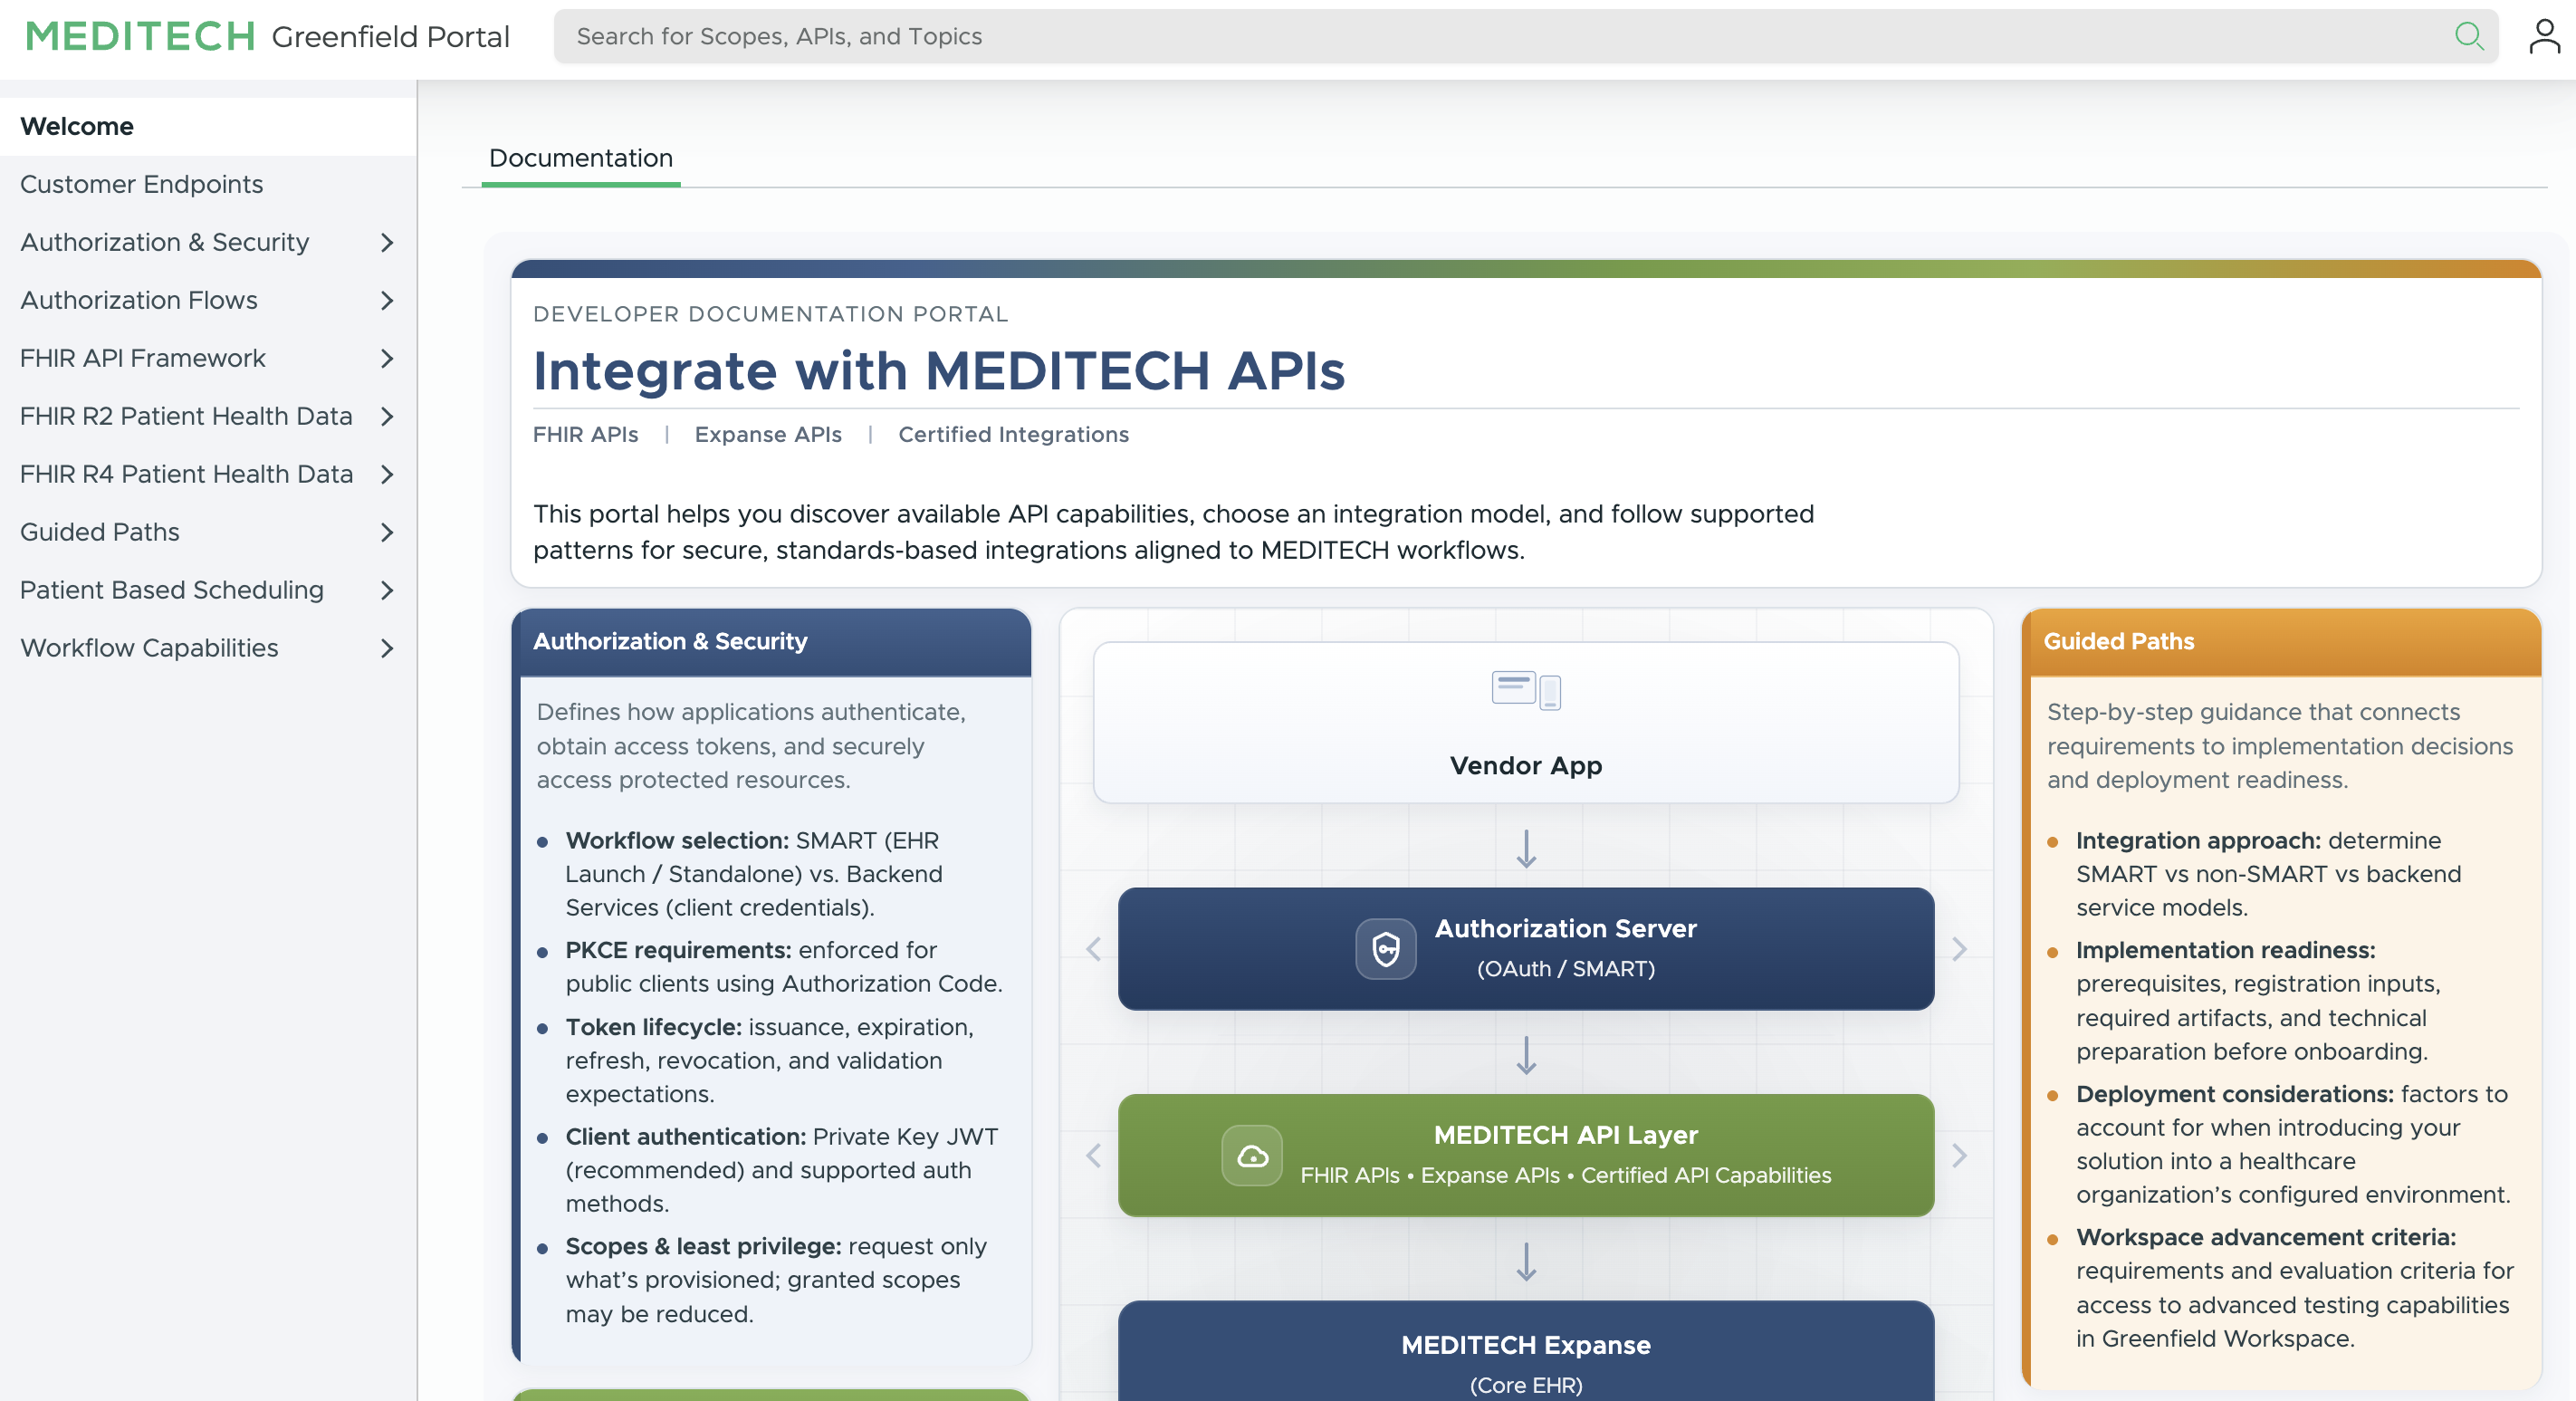
Treat the Workspace’s built-in test app as a sanity check that your account is alive. Your own app gets a separate Client ID delivered in the next step.
Receive your OAuth credentials
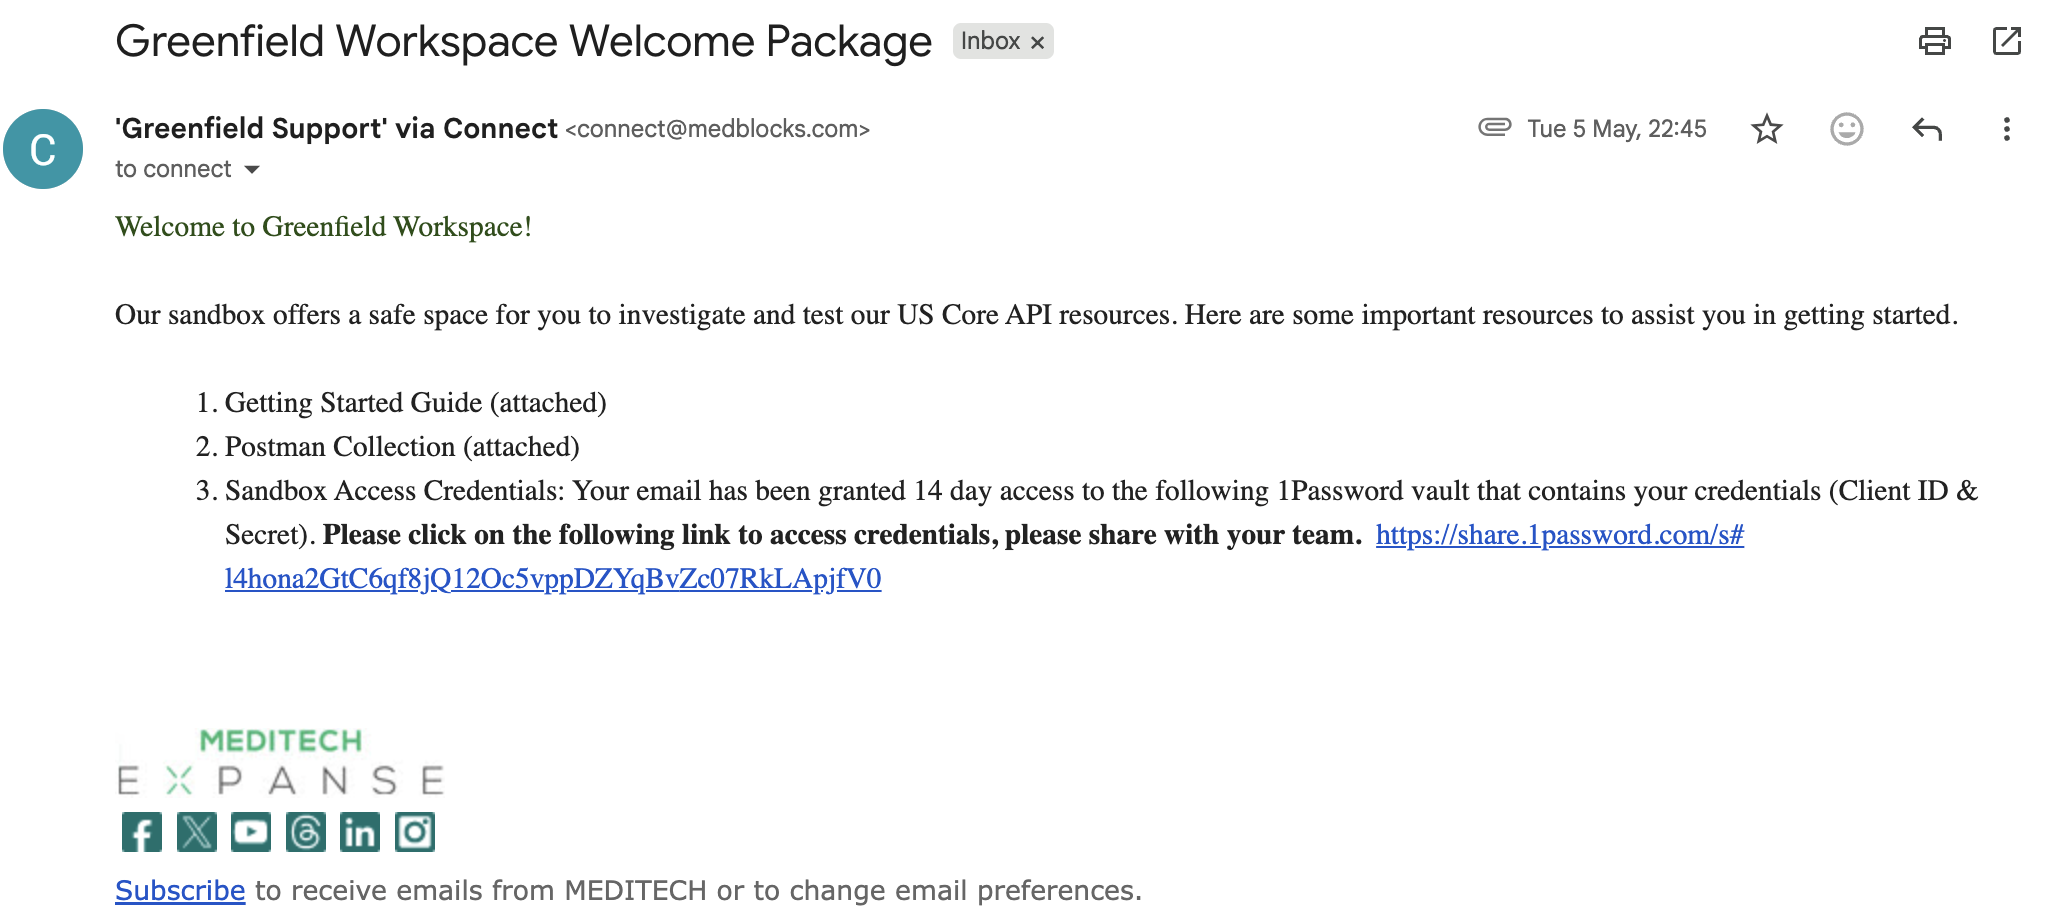
Meditech does not have a “Create App” button. Credentials are delivered via a secure 1Password share.
- After your registration is processed, your organization’s primary contact receives an email containing a 1Password link with the Client ID and Client Secret. The link is active for 14 days. Open it once, copy the values into your team’s secret manager, and never paste them into chat or commit them.
-
Issues with the 1Password link or signing in to the Workspace? Email
greenfieldinfo@meditech.com. That inbox is scoped narrowly to sandbox access issues (Google sign-in problems, Greenfield Portal access). It is not the channel for redirect URI registration or scope changes. -
The registered client comes pre-configured. The grant type is
authorization_code(3-legged OAuth, SMART Standalone Launch), and the sandbox enables the wildcardpatient/*.readscope for exploratory testing. The wildcard works in Greenfield only. Production restricts you to the minimum scopes for your approved workflow. -
The sandbox endpoints are fixed and shared across all Greenfield tenants, with no per-customer discovery.
| Endpoint | URL |
|---|---|
FHIR base (iss / aud) | https://greenfield-prod-apis.meditech.com/v2/uscore/STU6 |
| Capability Statement | https://greenfield-prod-apis.meditech.com/v2/uscore/STU6/metadata/ |
| SMART configuration | https://greenfield-prod-apis.meditech.com/v2/uscore/STU6/.well-known/smart-configuration |
| Authorize | https://greenfield-prod-apis.meditech.com/oauth/authorize |
| Token | https://greenfield-prod-apis.meditech.com/oauth/token |
| Introspection | https://greenfield-prod-apis.meditech.com/oauth/introspect |
| Revocation | https://greenfield-prod-apis.meditech.com/oauth/revoke |
Verify these any time by curling the SMART configuration URL. It returns authorization_endpoint, token_endpoint, and the full scopes_supported list as JSON.
⚠️ Critical: Meditech’s authorization codes are signed JWTs with a 60-second TTL, not the opaque multi-minute codes most OAuth servers issue. Your callback handler must exchange the code for tokens immediately. Manual copy-paste flows will routinely expire, and any retry or queue logic between callback and token exchange has to fit inside that 60-second window. If you’re integrating through the Medblocks Platform, the exchange already happens inline in the callback.
Configure your redirect URI
The Greenfield sandbox does not require you to pre-register redirect URIs by email. Meditech accepts any URI that conforms to the pattern rules below. Pass it as redirect_uri on the authorize call and use the same value verbatim on the token exchange.
| Requirement | Rule |
|---|---|
| Must be fully qualified | No relative paths. Full scheme + host + port + path. |
| No wildcards | Exact-match only. |
| Must align with the declared client type | Browser-based / confidential apps use HTTPS. Native public apps use a custom URI scheme. Mobile public apps use OS-verified deep links. Installed desktop apps use loopback per RFC 8252. |
| HTTPS | Required for browser-based and confidential clients. |
localhost / non-HTTPS | Permitted only in Greenfield Workspace and on-site TEST environments. Disallowed in LIVE (production). |
Using the Medblocks Platform? Your callback URL is already handled. Use https://app.medblocks.com/api/auth/smart/callback as your redirect URI, with no custom domain or backend setup needed.
⚠️ Critical: The URI must match exactly between the authorize request and the token exchange, including protocol, domain, port, and path. A mismatch at authorize time returns a 400 with redirectUri: null in the error envelope, before the patient ever sees a login screen.
Select scopes
Meditech exposes the standard US Core FHIR R4 patient scopes, in both SMART v1 (patient/Patient.read) and v2 (patient/Patient.rs) formats.
-
For the sandbox, request
openid fhirUser launch/patient offline_access patient/*.readand you’ll have read access to every supported US Core resource. -
For production, the wildcard is not allowed. List every scope your workflow actually needs, at minimum
patient/Patient.read,patient/Observation.read,patient/Condition.read,patient/MedicationRequest.read,patient/AllergyIntolerance.read,patient/DocumentReference.read,patient/Immunization.read,patient/Procedure.read, andpatient/Encounter.read, plusopenid,fhirUser,launch/patient, andoffline_accessfor refresh tokens. -
The authoritative scope list is in the SMART configuration.
curl -s https://greenfield-prod-apis.meditech.com/v2/uscore/STU6/.well-known/smart-configuration | jq .scopes_supportedImportant Notes on Scopes
| Scope | Why it matters |
|---|---|
offline_access | Required for refresh tokens. Without it the patient must re-authenticate every time the access token expires. |
launch/patient | Returns the patient’s FHIR id in the token response, which is how the connection gets linked to a patient record. |
fhirUser | Identifies who authenticated. In the Greenfield sandbox this resolves to the developer’s own identity, so the launch/patient context is the reliable way to reach the patient record. |
Enter your Client ID in the Medblocks Platform
-
Navigate to Settings → EHR Clients → Meditech in the Medblocks admin panel.
-
Enter the Client ID from your 1Password delivery.
-
Share the Client Secret with Medblocks support through a secure channel so it can be configured server-side. The secret authenticates every token exchange and refresh, so it never belongs in frontend code or a repository.
The Meditech Greenfield sandbox is already registered as a source on the platform, so once the credentials are in place, patients see Meditech as a connect option in your app.
Test the connection in your app
With the credentials in place, run the connect flow end to end. Create a patient session, pick Meditech from the source list, and complete the authorization.
One quirk to know before you sign in. The patient login is your Greenfield Google account, not a separate test-patient credential. When the authorize step opens the Meditech sign-in page, use the same Google account you registered with Greenfield, and the token returns that user’s synthetic patient context.
After the connection completes, the platform pulls the patient’s records in the background and you can read the data through the API or SDK. Seeing the synthetic patient’s demographics and observations come back confirms the whole chain, credentials, redirect URI, scopes, and token exchange.
Want to poke the sandbox APIs without your app in the loop? See the optional Postman section below.
Going live at a customer hospital
Greenfield testing is not required for production and does not initiate production onboarding. Production is a separate, organization-driven process.
-
You secure an active engagement with a healthcare organization that has reviewed and approved the proposed integration.
-
The healthcare organization opens a case with their Meditech Interoperability team to initiate onboarding. You cannot start this yourself. Plan for a per-hospital sales and onboarding cycle.
-
Meditech and the organization handle scope approval and registration. Provide the organization with your Client ID, your production redirect URI (
https://app.medblocks.com/api/auth/smart/callbackfor Medblocks Platform), and the list of scopes your app requests. -
The organization’s production FHIR endpoint is published in the public endpoint directory. Contact Medblocks support to get that FHIR base URL added as a source for each new organization.
⚠️ Critical: Greenfield credentials never become production credentials, and there is no global “make my app live everywhere” toggle. Each hospital issues its own registration.
Explore the raw APIs with Postman (optional)
You don’t need Postman for the platform flow. It’s a quick way to sanity-check your credentials and browse the sandbox data without your app in the loop, using the Postman collection Meditech ships in your welcome email.
- Install Postman desktop and enable browser pop-ups in Chrome (the OAuth flow opens a window).
- Import the Greenfield US Core APIs Postman Collection linked in your welcome email.
- Highlight the collection name, open the Variables tab, enter your Client ID and Client Secret, and Save.
- On the Authorization tab, click Get New Access Token. Postman opens a browser; sign in with your Greenfield Google account.
- Pick any resource in the collection and Send.
Note: Your welcome package also includes a detailed Getting Started guide that walks through this Postman setup step by step, so keep it handy if you get stuck.
Postman is not HIPAA-compliant. Only ever use synthetic sandbox data with it, and never point a Postman collection at production patient data.
FHIR API Usage
After token exchange, fetch patient resources using the following request.
GET https://greenfield-prod-apis.meditech.com/v2/uscore/STU6/{Resource}?patient={patient_id}
Authorization: Bearer {access_token}
Accept: application/fhir+json
Resources Available via Meditech FHIR R4
| Resource | Description |
|---|---|
Patient | Demographics |
AllergyIntolerance | Allergies and intolerances |
CarePlan | Care plans |
CareTeam | Care team members |
Condition | Problems and diagnoses |
Coverage | Insurance coverage |
Device | Implanted / used devices |
DiagnosticReport | Lab and imaging reports |
DocumentReference | Clinical documents |
Encounter | Visits and encounters |
Goal | Patient goals |
Immunization | Vaccination history |
MedicationDispense | Dispensed medications |
MedicationRequest | Prescriptions |
Observation | Labs and vital signs |
Procedure | Performed procedures |
Provenance | Record provenance |
ServiceRequest | Ordered services |
Specimen | Collected specimens |
Token Lifecycle
| Token | Lifetime | Behaviour |
|---|---|---|
Authorization code | 60 seconds | A signed JWT, single-use. Exchange it immediately after the redirect. |
access_token | ~1 hour | Used as Bearer token on all FHIR API calls. |
refresh_token | Long-lived | Issued when offline_access is granted. Store it securely server-side. |
If a refresh token expires or is revoked, the patient must re-authenticate from scratch. A patient can revoke access at any time, so treat that as a normal state in your UI, not an error.
Common Errors and Fixes
| Error | Cause | Fix |
|---|---|---|
400 with redirectUri: null at authorize | The redirect URI violates the pattern rules, or in production it is not whitelisted on the hospital’s registration | Check the rules table in step 5, and confirm the URI was included in the organization’s Interoperability case |
invalid_grant | Authorization code older than 60 seconds, or already used | Exchange the code immediately in the callback, never cache or retry it |
invalid_client | Wrong Client ID or Client Secret | Verify both values from the 1Password delivery |
invalid_scope / 403 | A requested scope is not granted to the client | Use the wildcard only in the sandbox, and request exactly the approved scopes in production |
401 Unauthorized on FHIR calls | Expired access token | Refresh the access token before it expires |
Need a hand wiring up Meditech? Reach out and we’ll walk you through it.
See also
Need help?
Running into an issue? Get support from our team and we will get back to you.
How is this guide?