Archetype Deepdive: Vital Signs and Sections
Now that we have understood why the patient came in, and their context, the doctor will likely need to also evaluate measurements about the patient.
Capturing the patient’s vital signs
Vital signs are different from the information captured so far. They are not reported by the patient or interpreted by the clinician, they are measured.
In openEHR, this means we are working with OBSERVATION archetypes.
For an initial clinical assessment, we will be including the following commonly used vital signs:
For these particular archetypes, their purpose is usually very clear and there is rarely any ambiguity about when to use them.
In the Archetype Designer, we can search for and add each of these archetypes. As always, try to select the latest mature version.
Now our template captures:
- the patient’s story
- contextual clinical information, and
- objective measurements.
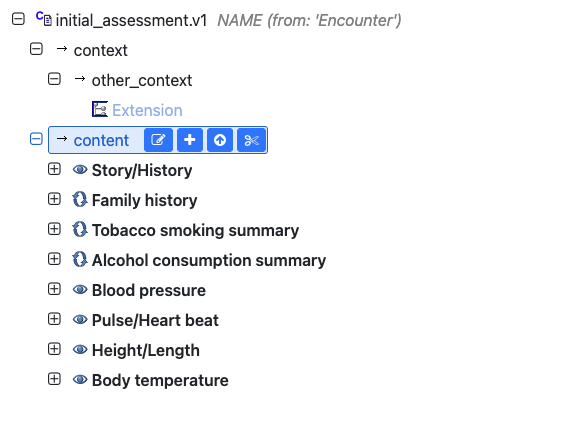
At this point, however, the template can start to feel a little cluttered.
Organizing the template with SECTION
As more archetypes are added to the template, the default is for them to appear in a flat list. The template is then harder to read and manage, even though the template is accurate and serves the purpose.
The SECTION archetype can help us at this point.
A SECTION is used purely for organization and readability. It doesn’t change the meaning of data and only adds a visual hierarchy. For more details on the SECTION class, you can take a look at the previous lesson covering Reference Model Classes.
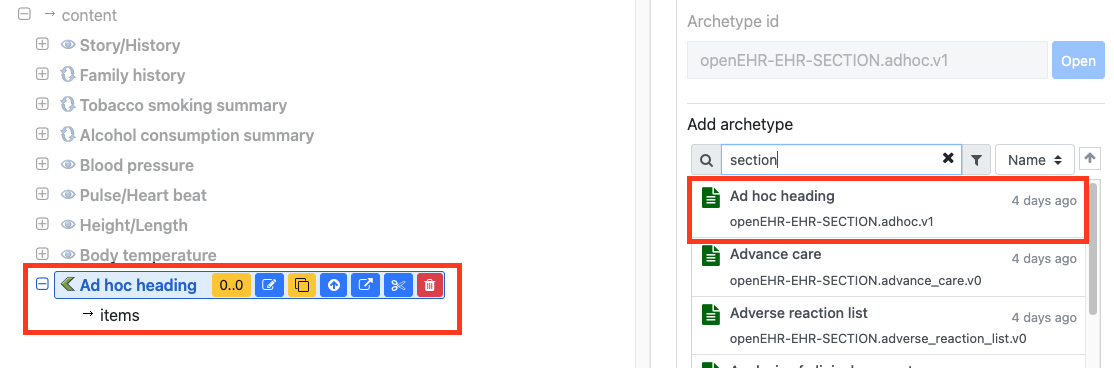
Adding a History section
The CKM provides a generic Adhoc Heading that can be renamed. We will use this to create a section called ‘History’.
We can move the following archetypes under this section by dragging and dropping them:
- Story/History
- Family history
- Smoking summary
- Alcohol consumption summary
In this way we can group related information together to make it easier to understand.
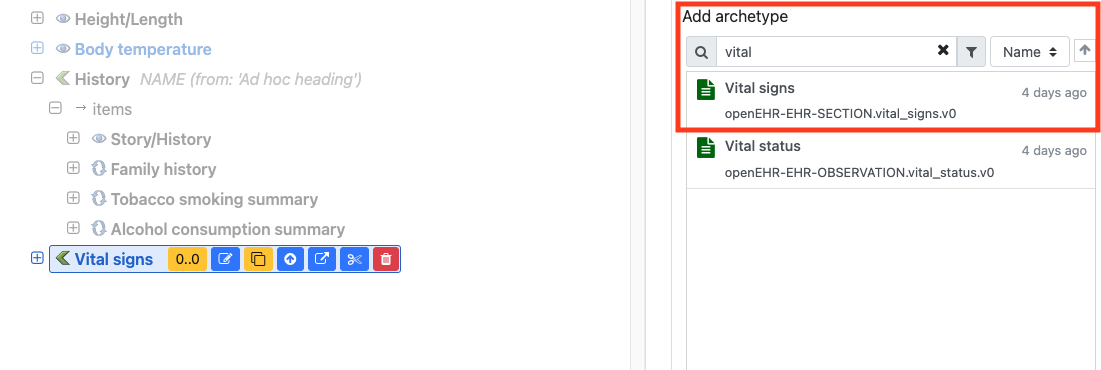
Adding a Vital Signs section
The CKM also provides a predefined Vital Signs section. This is not a mandatory section, but it also helpfully suggests the kind of observations that are usually included in it.
We can move the following archetypes under the Vital Signs section:
- Blood pressure
- Pulse/Heart rate
- Height/Length
- Body temperature
This is what the template looks like now.
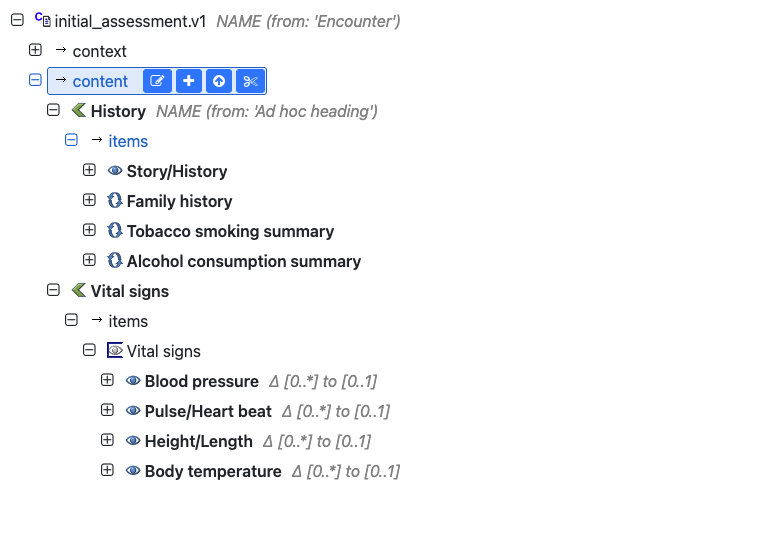
You’ll also see suggestions for Vital Signs archetypes in the bottom-right search panel, like pulse oximetry and respiratory rate. Whether you include them depends on your clinical use case, and you can refer back to the CKM to check their purpose, use, and misuse.
Lesson summary
We have now created an initial assessment template that captures:
- the patient’s story and presenting problem
- family history and lifestyle context
- measured vital signs
- organized into sections to ensure readability
The core idea across these lessons is to start from the clinical workflow, and evaluate archetypes in the CKM according to clinical needs.
With this lesson, we have created a solid baseline for an initial assessment template. Well done! Next, we have an exercise for you to try this yourself.